Think Tiling a Floor Is Hard? This Guide Makes It Simple
Sep 24, 2025 12 minute read
Tiling the floor is kind of like giving your home a fresh new outfit. You want it to look its best, but also hard-wearing to stand up to relentless wear and tear. This is where proper installation makes all the difference. When tiles are set just right, you can expect years of beauty and high performance. Ahead, we bring you a step-by-step guide on how to tile a floor.
Key Takeaways
- Planning the layout beforehand helps maximize the number of whole tiles.
- Flooring tile can go over different substrates, provided it is structurally sound and clean.
- Using as many full tiles and fewer cuts as possible results in a more professional-looking finish.
- Being patient with drying and curing times prevents tiles from shifting or grout from cracking.
- Investing time in planning and paying attention to the details will make installing tile floor smoother and more enjoyable.
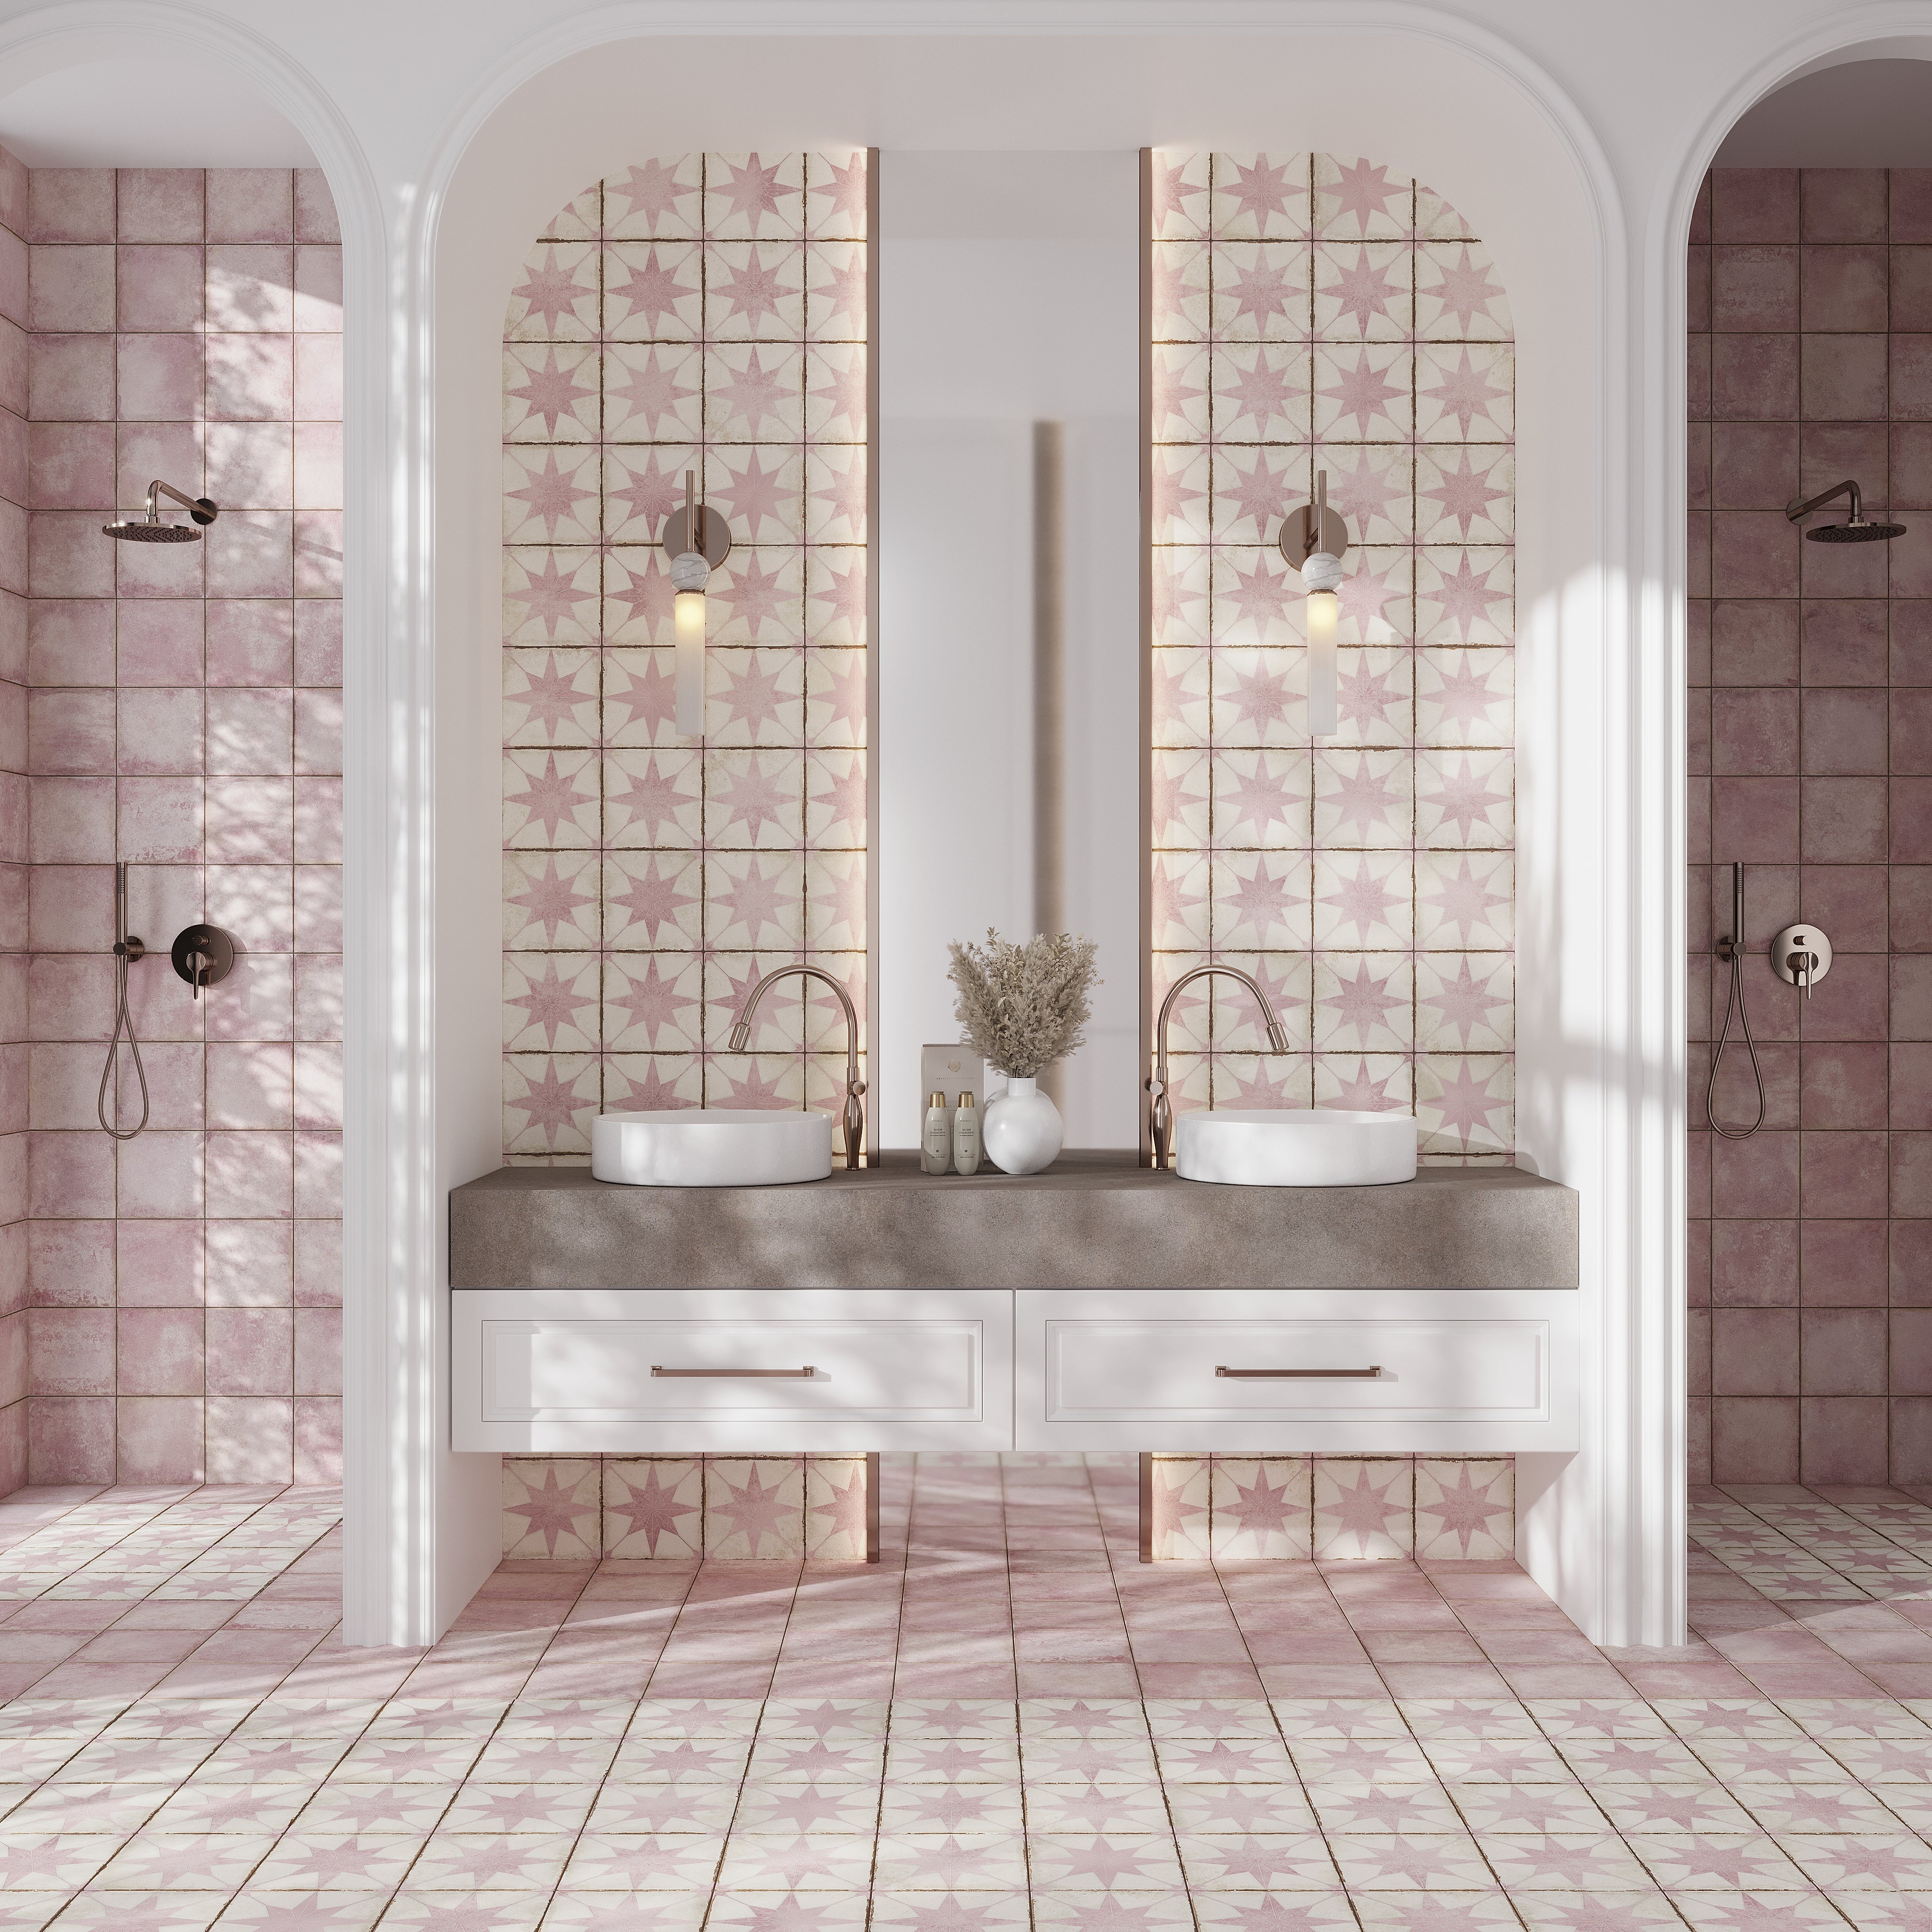
It’s hard not to fall in love with all the designer-approved flooring trends emerging right now, from elegant marble looks to stare-worthy geometric mosaics. Mastering the art of laying tile is a rewarding process that results in significant savings and increases the perceived value of the home. Even for the amateur tiler, the right tools, a clear plan, and some attention to detail can turn the mundane into a successful transformation. This is your guide to floor tile installation made easy!
Tools & Materials You Need to Tile a Floor

First things first, make sure you have all the tools and materials before you start installing tile floor to prevent unnecessary delays. While not an exhaustive list, the following provides a rough guide of what is required:
Tool
| Tile cutter or wet saw | to make clean, precise cuts for fitting tile around corners and edges |
| Notched trowel | to spread the adhesive evenly across the subfloor for tile placement |
| Rubber mallet | to help bed floor tiles firmly into the adhesive at the correct leve |
| Rubber grout float | to evenly fill tile joints with grout without scratching the surface |
| Level | to ensure floor tiles are perfectly aligned during and after placement |
| Tape measure | for accurate calculations and marking tile positions |
| Mixing bucket | to mix adhesive or grout with water using a drill with a paddle |
| Tile spacers | to ensure uniform gaps between the tiles for a professional look |
| Cleaning sponge | to remove excess adhesive and grout during floor tile installation |
| Safety gear | (goggles, gloves, and knee pads) to ensure comfort when laying tile |
Materials
| Floor tiles | to cover the floor area (ceramic, porcelain, glass, or natural stone tiles) |
| Thin-set adhesive | to bond the tile to the subfloor |
| Grout | (sanded or unsanded, depending on joint width) to fill the tile joints |
| Tile sealer | (if using natural stone) to protect against moisture infiltration |
| Backer board | to provide a stable, moisture-resistant base for the subfloor |
How to Prepare the Subfloor Before Tiling
Once you have your flooring material in hand, the next step on the “how to tile a floor” agenda is to set up the surface for professional-grade results. The good news? Tile can be applied over a variety of stable and level substrates, such as concrete, plywood, or cement board.

Clean the Subfloor: Sweep or vacuum to remove dust and debris. Mop with a solution of warm water and detergent, rinse completely, and dry to achieve a base that’s smooth, clean, and free of contaminants. If the surface where the tile will go is wet or dusty, the material won’t adhere properly.
Check for Level: In addition to cleaning, the subfloor should be free of any problematic irregularities or movements. Use a level to check for uneven areas. Fill any dips with a leveling compound and apply an acrylic primer with a clean brush, sponge, or roller to stabilize and seal the surface, as well as improve the strength of the adhesive bond when it’s time for floor tile installation.
Install Backer Board (if needed): If you have concerns about your current floor’s ability to properly bond with the adhesive, consider installing a quarter-inch layer of plywood or cement board. An anti-crack underlayment creates a reliable foundation that will bear the weight of your chosen tiles, especially for areas that come into contact with water, such as shower floor tile.
Remove Existing Moldings: Remove any floor-level moldings or trims that could interfere with installation using a putty knife. New tiles should sit flush with the baseboard once the job is completed. To plan more effectively, divide the floor into quadrants using chalk lines. This will help you better strategize your attack and ensure your tile placement stays on track. After all this? Well, it’s time to start laying tile!
Measuring and Planning a Tile Layout

With your subfloor clean, you can now plan your layout. This step will help you get as much of the full tile on the floor and minimize small cuts. It’s more than likely that you will have to make those cuts in some rooms. The standard practice when learning how to tile a floor is to position the cut pieces where they are least visible. This could be around the perimeter of the wall, beneath baseboards, or in spots naturally hidden from view. The completed tilework looks neater and professionally done this way.
Find the Center: To make floor tiling easier, it’s best to start from the center of the room. Get your tape measure, find the width of one wall, and divide that number in half, then mark that midpoint at the edge of the floor. Repeat this process for the three remaining sides of the room. Draw straight lines on the floor to join the midpoints from each side. Where the lines intersect is the center point, which will serve as your layout guide.
Layout Dry Tiles: Next, dry-fit the tiles (on the ground without adhesive) with spacers for uniform grout joints. For instance, you can place the tile on either side of the centre point, so the grout line sits at the center of the room, then work your way outward to the walls. Measure the gap where the tiles don’t fully fit to calculate how much cutting you’ll need to do.
Adjust as Needed: If you find out that the layout leaves cuts smaller than 1/2 tile at the end of the row, it’s a good idea to adjust the lines and set a new centre. Cuts at the edges should be as close as possible to half the tile size. Once you’ve finalized the layout, map out the order in which you will tile each section of the room.
How To Apply Mortar and Install Floor Tiles

Now the real work begins: placing tiles down with adhesive this time around! Before putting these simple steps on how to lay tile floor into action, remember to prioritise safety by wearing protective goggles, gloves, and a dust mask, using knee pads (trust us, you’ll need them), ensuring proper ventilation, and following the manufacturer’s instructions for any tools used.
1. Mix Tile Adhesive:
Get a cement-based adhesive compatible with the substrate and tile you're installing. For instance, bathroom floor tile requires a waterproof adhesive. Mix the correct quantity of water and the correct ratio of powder in a bucket according to the instructions on the package. Stir with a drill and paddle mixer to a peanut butter consistency.
The adhesive can harden as you work, so make sure to mix only enough to use within 30 minutes. Let the mixture rest for about 5–10 minutes. This brief waiting period is referred to as slaking, where the chemicals activate and crystals form for strong and reliable adhesion.
2. Apply the Adhesive:
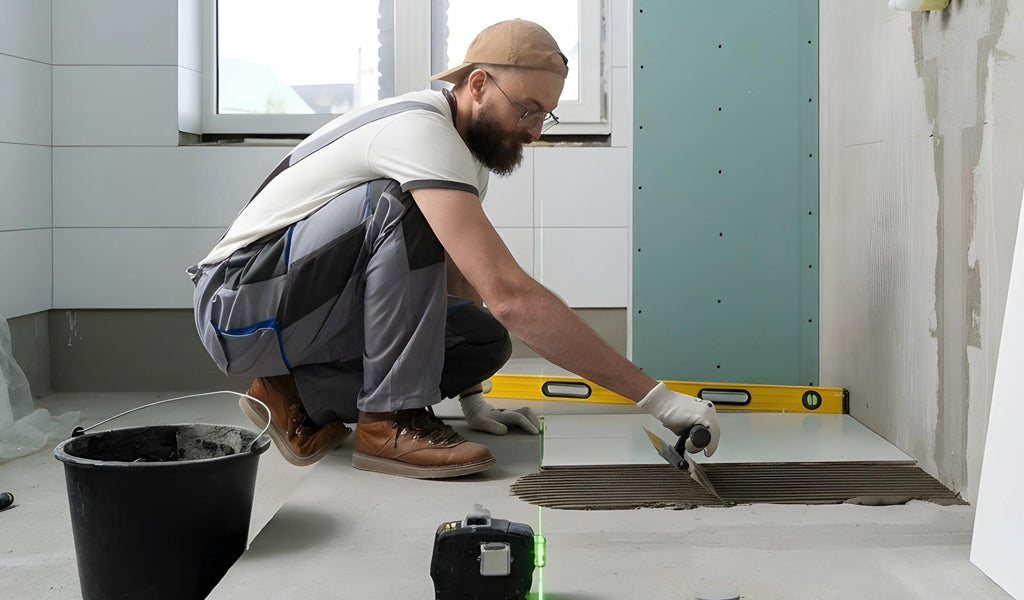
Using a notched trowel, scoop a small amount of adhesive and spread it evenly onto the floor. Holding the trowel at a 45-degree angle, drag the adhesive across the surface to create a uniform, ridged setting bed. Spread only what can be used in 15 minutes, so it won't dry before you’ve had a chance to place the tiles.
3. Lay the Tiles:
Begin installing tile floor at the center of the room, one section at a time. Set each piece on the adhesive with conviction but not too much force. Then, tap the tile with a rubber mallet or give it a little side-to-side wiggle to ensure a secure bond and level plane. Large format tile benefits from back buttering; that is, applying a thin, even layer of adhesive on the back of the material to create an even stronger bond.
Continue laying tiles, removing excess adhesive from between the joints, and inserting spacers for consistent gaps. Also, use a spirit level to consistently check if the tiles are running straight and level as you go.
4. Make Tile Cuts:
Double-check measurements before cutting and fitting tiles at the edges of the room. Flooring tile tends to be quite thick, so you’ll want to use a wet saw with a high-quality diamond blade to get clean, precise cuts. Our blog on How to Cut Marble Tile may be about natural stone, but the guidelines apply to other tiling materials such as porcelain. Have a read!
 Pro Tip: Leave a gap of at least 1/8 inch between the tile and the wall to allow natural shifting when temperatures fluctuate. This space can later be concealed with wall tile or baseboard trim, which can be fitted after floor tiling.
5. Allow Adhesive to Dry:
Ideally, you should finish laying tile in front of the door so you can exit without stepping on a fresh installation. Allow the adhesive to fully cure according to the manufacturer’s recommended time, which typically is at least 24 hours.
6. Grout the Floor Tiles:
If this is a natural stone floor tile installation, we recommend applying a sealer before grouting. Porous materials such as marble are easily stained, so you’ll need this coating as a protective layer. And now that the grout is mixed to the desired consistency, let it stand for a few minutes just to harden a little, and then give it another quick mix.
Use a rubber grout float or squeegee to force grout into tile joints while simultaneously scraping away excess from the surface. This process is easier if you tilt the float at a 45-degree angle. Once you’ve finished one area, allow 10-15 minutes for the grout to set slightly, then wipe the tile surface with a damp sponge. Rinse the sponge frequently to avoid spreading the collected grout around and swap out the water as needed. Continue with all the other sections, then let the grout dry for at least 24 hours.
7. Clean and Seal:
We haven’t finished yet! Wipe over the tile surface with a damp sponge to remove any residue or haze that has formed. Seal the grout lines to guard against staining and discoloring. Last on our “how to tile a floor” guide? Buff your newly installed floor tiles with a dry microfibre cloth and wait 72 hours for heavy use. If you need more help with sealing grout, check out our guide on How to Seal Grout on Tile Floor.
Conclusion
When flooring is at war with the rest of your aesthetic, there’s no better covering than tile to elevate the look and feel of the room. A successful project is part practice, part patience; so much so that even a beginner can achieve great results. Once you’ve mastered how to tile a floor in a simple room, you can move forward with confidence and tackle a more complicated space. Take your time because those extra few hours are all worth it if you want a beautiful and long-lasting installation. And once the job is done, you can walk on your new floor with a spring in your step.
Frequently Asked Questions
1. Where do you start tiling a floor?
2. What is the best pattern to lay floor tiles?
3. How many square feet of tile can you lay in a day?
4. How long after tiling can you grout?
5. What is the best underlayment for tile?
The best underlayment will depend on the application and subfloor type. For most floor tile installations, such as laying our Splendor 48x48 Petra Gray Porcelain Large Format Square Veining Wall and Floor Tile, a cement backer board provides a solid, stable, and moisture-resistant base.
6. What happens if I don’t use spacers when tiling?
7. What are the types of adhesives to use with floor tile?
Common tile adhesives include thin-set mortar, which is ideal when laying ceramic, porcelain, or natural stone flooring like our Eastern Black 12x24 Honed Rectangle, Brick Marble Large Format Tile. For heavy-duty tiles or outdoor installations, an epoxy adhesive is recommended for its high strength and water resistance.