How to Install Porcelain Tile
Nov 24, 2025 14 minute read
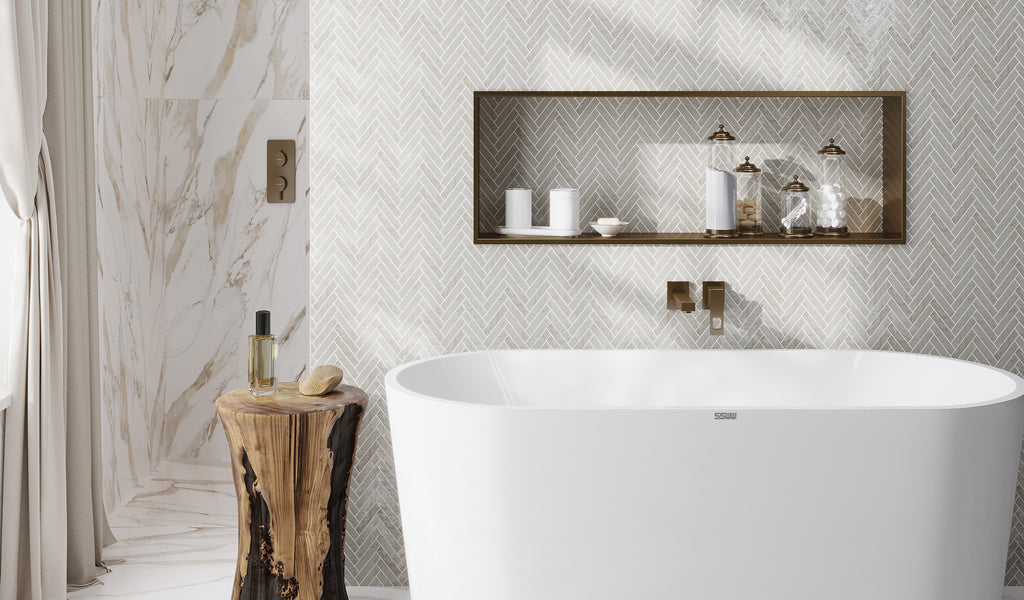
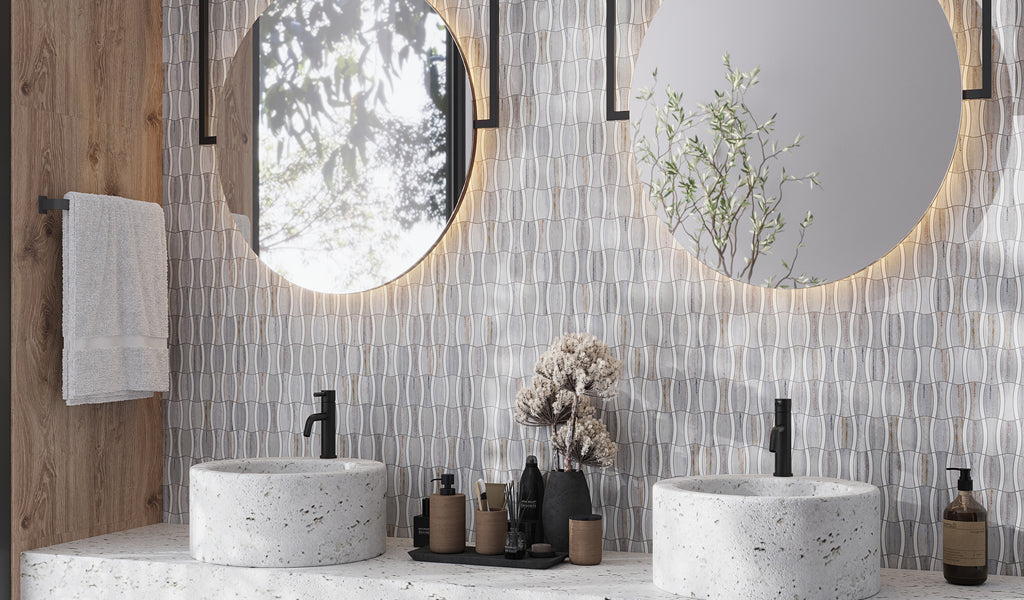
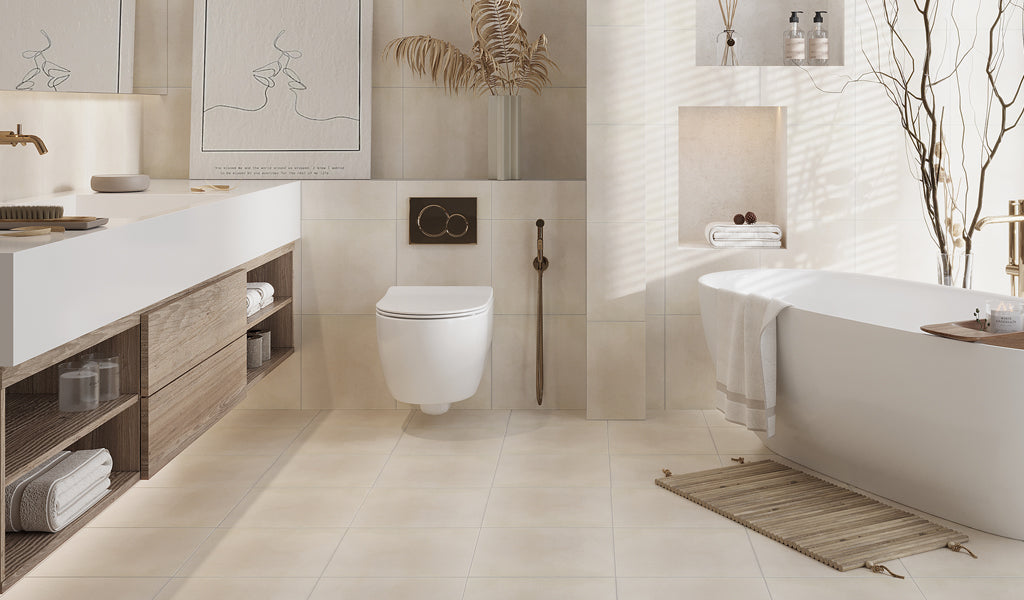
Walk into any home and you’ll find different types and styles of porcelain tiles fitted on walls or floors throughout the bathroom, kitchen, or living areas. It’s very little wonder why. Porcelain, large or small format tiles, has a stunning visual appeal that can take an already well-appointed room to new heights. They are incredibly low-maintenance and can withstand the test of time, no matter fleeting trends. That said, porcelain tile installation can sometimes be a tricky undertaking without the right know-how.
The material itself is rarely the issue. It’s the slip-up in preparation, layout, or application that overshadows its beauty and potential. To achieve a flawless finish, it’s essential to follow best practices for how to lay porcelain tile. We have put together an easy-to-do guide so your next project goes smoothly.
Key Takeaways
- Porcelain tiles are a superior and low-maintenance tiling option for many areas of the home.
- Proper surface preparation and picking tiles suited for the space are essential for a long-lasting installation.
- Using the right tools and materials makes installing porcelain tile easier, effective, and more precise.
- Planning the tile layout before the final fitting helps eliminate uneven tiles and awkward cuts.
- Following step-by-step guidance and avoiding the urge to rush the installation process leads to a flawless finish.
Tools and Materials Needed
Porcelain tile installation done right can outperform and outlast nearly any other wall or flooring material designed for the same purpose. Whether tackling a small or large project, the intricacies of the job require the right tools. Invest some time up front for a smooth and efficient process.
Tools:
- Manual tile cutter, wet saw, or angle grinder
- Notched trowel (1/4” or 1/2”, depending on tile size)
- Rubber mallet
- Tile spacers
- Level
- Tape measure
- Mixing bucket
- Drill with a mixing paddle
- Grout float
- Sponge
- Protective gear (safety glasses, gloves, knee pads, and a dust mask)
Materials:
- Porcelain tiles
- Adhesive (modified thin-set recommended for porcelain)
- Tile backer board (if needed)
- Waterproofing membrane (for wet areas)
- Grout (sanded or unsanded, depending on joint width)
- Sealer (for grout if required)
 Pro Tip:
Although these tools can be purchased, it's also a good idea to rent them from your local hardware center, especially if you're not likely to take on another tiling project anytime soon.
Planning and Preparing the Surface

We'll assume that you've ordered your new tiles and have all the necessary tools and materials. The next step is to prepare the surface on which the tiles will go. Although it’s possible to install porcelain over existing tiles, it's best practice to remove the old and start afresh. Tiles are inflexible, so you really want a foundation that’s smooth and stable, with no movement.
An uneven surface with bumps, dips, or imperfections is a tiling mishap begging to be fixed later on. Also, keep an eye out for any dampness or moisture issues when inspecting the substrate, whether it’s a floor or wall. If it isn't completely level, use a leveling compound to attain a solid, flat base. Address these concerns, then clean the surface and allow it to dry completely.
In a wet area, overlay the subfloor with an appropriate moisture barrier if needed. For instance, a waterproof membrane can be installed when laying shower floor tile. This will protect the surface beneath in the unlikely event of any leaks or water penetration.
Just before you roll up your sleeves and start tiling, we recommend priming the surface with a suitable primer. This is an important component of learning how to install porcelain tile and will aid with the following:
- Stabilize and seal your substrate
- Enhance the strength of the adhesion
- Prolong the working time of the adhesive
Step-by-Step Installation Guide

Done adequate surface preparation? Know how to install porcelain tile with these simple steps:
1. Plan the Tile Layout
Whether you’re re-tiling a small kitchen area with new backsplash tile or overhauling the entire living room, a seasoned pro will tell you it's always best practice to “dry lay” the tiles before applying the adhesive. This way, you can visualize the orientation and ensure you use as many full tiles as possible, leaving any cut pieces for the edges. Find the center of the wall or floor, and work out the best layout to see how many full pieces will fit.
2. Mix the Tile Adhesive
Add the powdered adhesive to clean water in a bucket, in accordance with manufacturer’s instructions. Use a drill with a mixing paddle to mix to a peanut-butter-like consistency. Let it rest (“slake”) for 5–10 minutes, then remix. Don't add too much water, as doing so may impair the bonding strength.
3. Apply Adhesive to the Surface
Make sure the primer is touch-dry; only then can you spread the adhesive with the flat side of the notched trowel to create a bond coat. Hold the tool at a 45-degree angle and ease it gently to create even ridges. It doesn’t matter if the ridges go horizontal or vertical, just ensure it’s in the same direction.
For large formats, back-butter the tiles with a thin layer of adhesive to improve coverage and bonding strength. Work in small sections (around one square meter) to prevent parts of the adhesive from drying before you’ve had a chance to complete the entire installation.
4. Lay Porcelain Tiles
Start at the center of where you planned and work outward. Press each tile into the adhesive, giving it a slight twist to ensure good contact. Place the next tile in the same way and insert tile spacers for even gaps.
Repeat until you’ve completed a full row, then use a level to check the quality of your work. Are the tiles running straight? Are they flat with no obvious lippage? Are they and the joints clear of adhesive? Where necessary, make re-fit adjustments before the adhesive hardens.
5. Cut Tiles as Needed
Compared to glazed ceramic tile, porcelain is a dense material that requires the right tools for cutting. Use a wet saw for clean, precise cuts. An angle grinder works for notches or curved cuts around obstacles. Check out our blog How to Cut Porcelain Tile for a detailed guide.
6. Allow Adhesive to Cure
Let your newly laid tiles set for at least 24 hours before applying grout.
Grouting and Finishing

The last lap of porcelain tile installation: grouting! Quickly vacuum the tile joints to remove any debris or adhesive residue. Remove tile spacers poking through before grout application.
1. Mix the Grout
Follow the manufacturer’s instructions to get the right consistency, allow it to stand for 5 minutes, then remix for another thirty seconds or so. Hold the rubber float at a 45-degree angle to spread grout diagonally across the tiled surface, pressing it into the joints. Work in smaller sections and remove excess grout from the tile as you go.
2. Clean the Tiles
Allow it to harden slightly, say 10-15 minutes, then wipe the tile surface with a damp sponge to remove grout haze. Avoid placing too much pressure when cleaning, as this may dislodge grout from the joints. Rinse the sponge often and change water to avoid spreading dirt across the tiled surface.
3. Final Cleaning
Once the grout cures (typically within 24 hours), buff the tiles with a soft cloth to remove any remaining haze. For stubborn grout haze stains, opt for a specialist grout haze remover.
4. Seal the Grout Lines
Cement-based grout requires sealing at installation. It might seem a bit of a thankless task, but this step protects porous sanded or unsanded grout against stains and moisture. Follow product instructions for the right application. We have a blog on how to seal grout on a tile floor to guide you through the process.
Extra Tips for Installing Porcelain Tile Like a Pro
- Measure the surface to be tiled to determine the number of tiles you’ll need for the project.
- Invest in 10-15% more tiles (20-30% for complex patterns) than you expect to use in case of breakage or future repairs.
- Porcelain tile installation can be messy; cover any fittings or fixtures nearby with large paper or secure with painter’s tape.
- Once you’ve applied grout, don't let the excess harden on the tile surface. It will be harder to scrape off once it dries up.
- Use a high-quality, mold-resistant silicone caulk around all movement joints. That is, where the tile meets other surfaces like the bathtub, countertop, or door thresholds.
- After caulking, reinstall any baseboards, skirting, or trim pieces removed during the preparation stage. These elements help conceal the expansion gaps and create a neat, uniform transition.
Common Mistakes to Avoid

Learning all you need to know about how to install porcelain tile also requires understanding common mistakes to avoid. As mentioned above, laying new wall or floor tile can dramatically transform a space, but only if it’s done correctly. An installation gone wrong takes away so much from the structural integrity and aesthetic appearance. Below are some missteps to look out for:
Selecting the Wrong Tile: One of the biggest mistakes that leads right into trouble is choosing tiles that aren’t rated for your specific project. No matter how stunning they look, performance and longevity matter more. Make sure to pick material rated for the environment and the wear and tear that comes with it. Need resilient kitchen tile for a busy and active household? Or something watertight and slip-resistant for the patio? Apollo Tile has pro-level options for every area and surface.
Neglecting the Prep Work: Another mistake we’ll touch on is insufficient surface preparation. Remember, the condition on which the tiles are laid sets a foundation for the durability and longevity of the installation. It’s essential to first flatten your area and make sure it meets all criteria: stable, smooth, clean, and dry. This can be done with a spirit level to identify any high or low spots. Bumps on the surface will likely translate into imperfections on the tiles once fitted.
Failing to Dry Fit Tiles: Not mapping out the layout before the final fitting can ruin the overall appearance. The best approach, as stated earlier on how to lay porcelain tile, is to dry-fit tiles and try out different orientations so you can visualize the final outcome and make necessary changes. This step also helps determine spacing and calculate for cuts. With any flooring installation, you really want to use as many whole tiles as possible and avoid awkward slivers.
Using the Wrong Adhesive: Not all adhesives are made for porcelain tile installation. Material with low porosity requires a high-quality thinset mortar, preferably polymer-modified, latex-enhanced adhesive formulated for dense tile. Paying less attention to this detail can result in poor bonding to the surface beneath and failure over time.
Not Accounting for Movement Joints: Many DIY installers neglect expansion and movement joints, particularly along the edges and transition areas. When placing tiles, they need room to shift slightly due to temperature and structural changes. Without expansion joints, they are likely to crack, pop loose, or lift. Using the appropriate spacing between the joints is a big part of learning how to install porcelain tile successfully.
Using the Wrong Trowel Size: You always want to use a trowel that is complementary to your tile so it sits in an adhesive bed that’s wide and deep enough to bond securely. Using a trowel that’s too small, failing to “comb” the adhesive for uniform ridges, or not back-buttering the tile may compromise adhesion. If you go with larger formats, such as our Warm Beige 24x48 Matte Plain Porcelain Large Tile, make sure to have a trowel equipped with deep notches in hand (typically 12mm - 15mm notches).
Tiling Over Damaged Tiles: Tiling over damaged tiles (if it’s a preferred application) is a mistake you want to avoid, because doing so will inevitably cause the new material to lift off. The best step is to check for any cracked or shifting tiles. To do this, gently tap each piece with a hammer to ensure they’re fully bonded. A hollow sound is a clue they are not. Also, use a long spirit level to check if the existing tilework is flat and level. Only proceed if you are 100% sure they are soundly adhered, stable, and flat enough to have another load over them.
Skipping Sealing Grout Lines: While sealing porcelain isn’t required, sealing grout is paramount to a long-lasting installation. Unless, of course, you’re using epoxy grout. Neglecting to protect cement-based grout lines leaves them susceptible to staining, discoloration, and moisture damage. Opt for a high-quality penetrating grout sealer as it absorbs into the material without altering its appearance, and apply it as per the manufacturer’s instructions.
Not Allowing Enough Curing Time: Last on the list is walking on tiled floors or exposing the area to water before the grout has fully cured. To avoid tiles shifting out of place, ensure the entire installation sets firmly by following recommended drying times for both the adhesive and grout.
Conclusion
There are so many stylish and durable porcelain wall and floor tiles available for any space, but the application of these has to be carried out correctly. With proper tools, careful preparation, and attention to detail, you can achieve a beautiful, long-lasting porcelain tile installation you’ll be proud of. Avoiding installation mishaps we’ve outlined will save you time, money, and a whole lot of frustration.
At Apollo Tile, not only do we offer premium tiling material for various projects, we also love to share our knowledge and ensure our customers select the best tiles. If you have any additional questions, reach out for expert support today!