How to Cut Tile Safely and Accurately for Any Project
Nov 24, 2025
Tile cutting is an essential step in any installation project, be it a bathroom floor or kitchen backsplash. Cutting the tile properly results in a smooth, professional finish with no cracks, chips, or rough edges. The tile must be cut to fit tightly around fixtures, corners, and the edge of the room. Depending on what you are working with, whether it is natural stone, porcelain, glass, or ceramic, they will all present a different challenge to cut. With the proper process, however, you will end up with cleaner, smoother cuts and less waste.
Key Takeaways
-
Accurate tile cutting ensures professional and clean edges.
-
A wet saw, manual cutter, angle grinder, and tile nipper each have their best uses and benefits.
-
Different tiles (ceramic, porcelain, glass, natural stone) may need different cutting tools and methods.
-
For the best results, measure, mark, and set tiles precisely before cutting.
-
Take safety measures by wearing safety gear and ensuring the room is well ventilated.
In this guide, you will learn how to cut tile, the correct tools and techniques to use, and safety measures to be taken. From using a wet saw to cutting tile with an angle grinder, you will be prepared for various tiling materials.
Types of Tiles and Their Cutting Challenges
It is also important to know what kind of tile and challenges you will face when learning how to cut tile. You can use a wet saw, an angle grinder with a diamond blade, or even tile nippers for making smaller cuts. The different kinds of tiles and cutting challenges are outlined below:
-
Ceramic Tiles: These are smoother and easier to cut and are ideal for beginners. Using a hand tile cutter or tile nippers will do the trick.
-
Porcelain Tiles: The porcelain tile is dense and robust, and needs stronger tools such as a wet saw or an angle grinder. It may crack if it is not cut properly.
-
Glass Tiles: Glass tiles require extreme care and precision. They have to be cut using a scoring wheel or a wet saw with a glass-cutting blade to prevent cracking or splintering. For step-by-step tips, check out our detailed guide on how to cut glass tile.
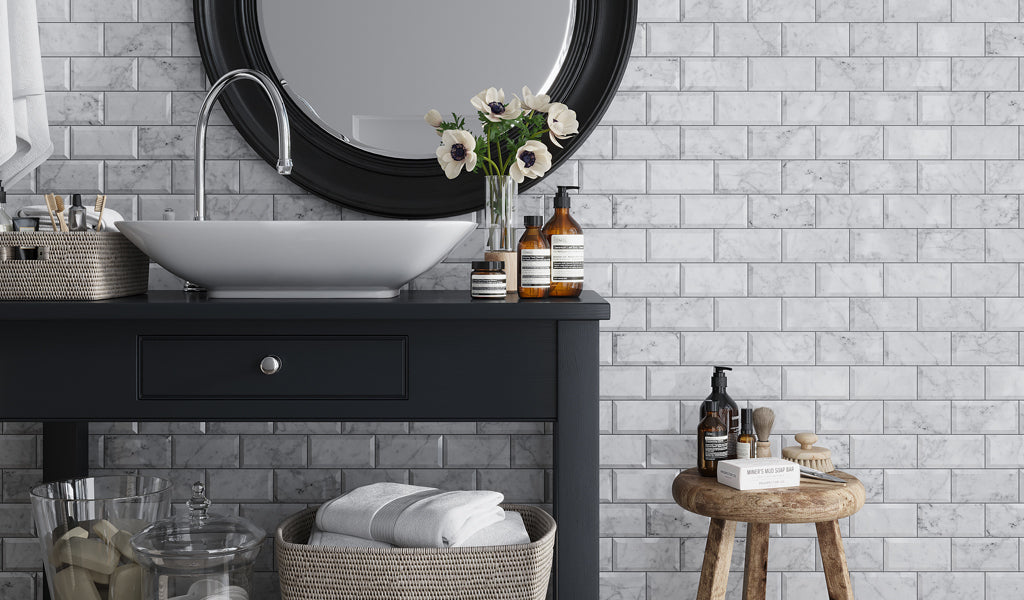
- Natural Stone Tiles: Natural stone, such as marble tile, is heavy and brittle; therefore, it must be cut using the right tools to achieve clean cuts. Learning how to cut tile with a wet saw is essential for thicker, harder, or textured tiles because the composition of the tile will determine the right method to cut it.
Tools and Materials Needed to Cut Tile

Learning how to cut tile begins with knowing the right tools for the job. Tile cutting is a skill built through practice, and your tool choice depends on the tile type and cut required. Here are the basic tools needed and supporting materials to successfully cut tile.
Tools Needed:
-
Tile Nippers: For trimming small areas as well as irregular edges.
-
Wet Saw: Ideal for cutting glass, porcelain, and marble tiles cleanly and accurately.
-
Manual Tile Cutter: Best for straight cuts on ceramic and porcelain tile.
-
Tile File or Sanding Stone: For smoothing the cut edges.
-
Angle Grinder: Suitable for curves or complex patterns, particularly for cutting to fit tile around obstacles.
Supporting Materials:
-
Measuring tape and pencil for marking the cuts.
-
Safety gear like goggles, gloves, a mask, and ear protection.
-
Water supply (where the use of a wet saw is applicable).
Types of Tile Cuts

Proper tile cutting involves understanding the different kinds of cuts. As you are implementing your design and learning how to cut tile without a wet saw, manual cutter, or an angle grinder, this knowledge will enable accurate cuts, prevent material waste, and produce a clean, professional-looking finish.
-
Notched Cuts: Notched cuts provide a way of tilting around obstructions like electric outlets, pipes, door framing, and cabinetry. L-shaped or U-shaped notched cuts are likely to be obtained by using a wet saw or an angle grinder. To obtain precise notches, tiles are carefully measured and marked, and areas to be removed are cut progressively for fit.
-
Straight Cuts: The simplest type of cut is the straight cut. It is used when installing tile on walls, floors, or borders. Here, clean, linear edges can be achieved with a wet saw or manual tile cutter. Straight cuts work well for standard installations, such as backsplash and floor tile applications.
-
Curved Cuts: To cut curves around curved edges, holes, or fittings like toilet bases and pipes, use an angle grinder with a diamond blade. As a novice, start with small cuts in increments, then build the edges with a tile file for fine, precise curves. Our Emerald Green 12x12 Glossy Uniform Square Glass Mosaic Tile is a good option as it can be trimmed with ease to fit curves and is hence perfect for complex, bespoke designs.
- Diagonal Cuts: Diagonal cuts are performed when the tiles are fitted at a 45-degree angle or in diamond patterns. Diagonal cuts will be necessary for a tidy fitting of tiles around the corners. Diagonal cuts require accurate measurement and marking, and a slight error may take away from the symmetry of the pattern. Learning how to cut tile with a wet saw results in a smooth, professional appearance.
Step by Step Guide to Cutting Tile
Whether you are a DIY beginner or a contractor, cutting tile properly is the key to a neat, professional finish. Even if you are new to learning how to cut tile without a wet saw, it’s worth the effort to measure, cut, and finish the tiles appropriately to get beautiful results. Take these simple steps to work safely and efficiently.
Step 1: Measure and Mark Properly
Begin by measuring the area to be tiled extremely carefully. Measure them out with a measuring tape and record them. Mark them on the tile with a pencil or a temporary marker. Straight and precise ones are achievable with the use of a ruler, straight edge, or carpenter's square. Accurate marking means your cuts will fit well, particularly around fixtures, corners, or walls.
Step 2: Lay the Tile Correctly
It is a good idea to put and set your tile in position before you cut. Not all tiles are created equally. The thickness and the material affect whether it will be clean and easy to cut or not. You could be cutting straight lines, curved lines, or complicated cut-outs, depending on how unusual a shape you need, and all of these require planning. Position the tile where it will be installed and indicate where cuts will be made. This maintains accuracy, prevents mistakes, and reduces the risk of tile breakage or wastage. Measuring and marking your tile helps you achieve a clean, professional finish when learning how to cut tile.
Step 3: Select the Correct Cutting Tool
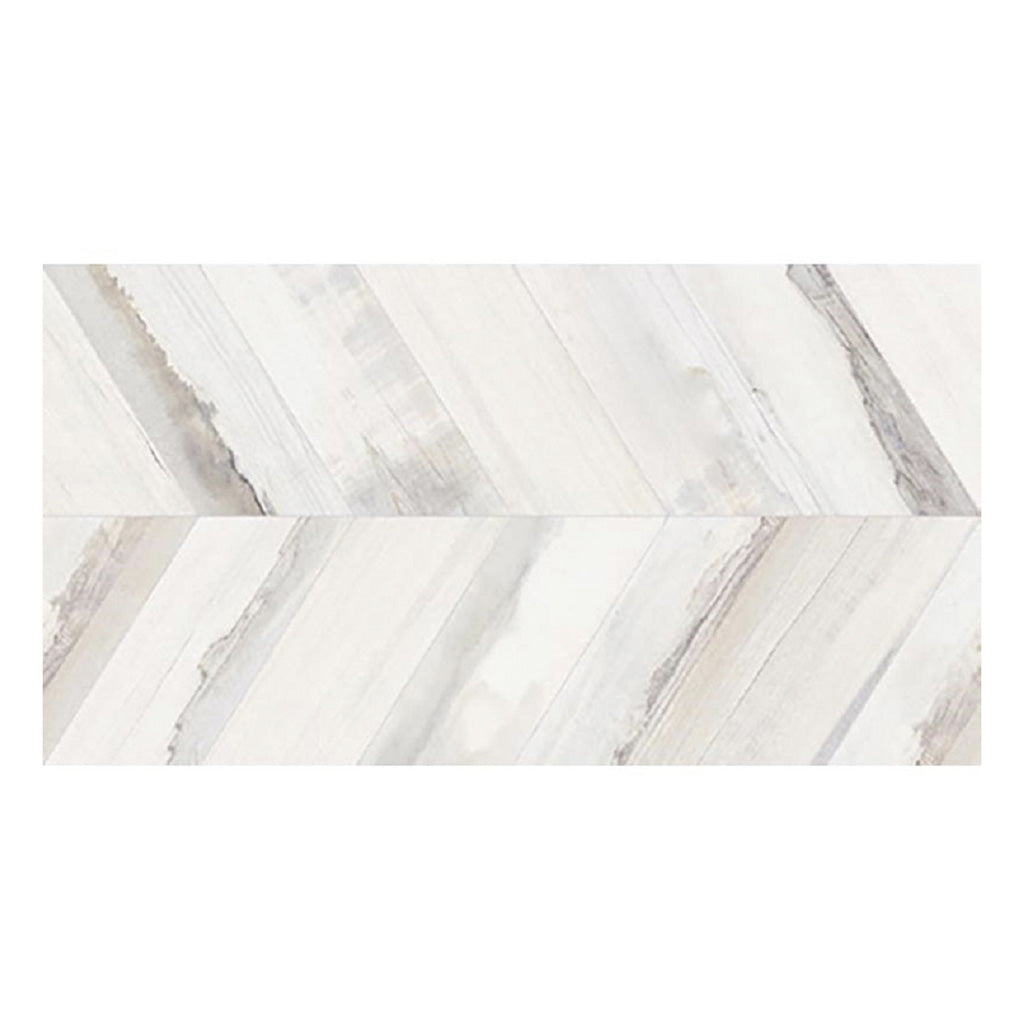
Selecting the proper cutting tool is perhaps the most important step in tiling. Different tiles like ceramic, porcelain, or natural stone have different hardness levels, and the improper tool can result in cracks, chips, or rough edges. Tiles that are very hard or very thick, like our Chiffon White 18x36 Matte Field Porcelain Tile, may require a wet saw to achieve smooth, precise edges.
Using the appropriate tool not only makes your cuts cleaner but also saves time, eliminates waste, and provides your completed project with a professional appearance. Always use safety equipment such as gloves and goggles to shield yourself while cutting.
Step 4: Cutting the Tile
Cutting tiles is perhaps the most important stage in a tiling project as it enables a tidy, expert finish. Not all tiles are cut the same way, the material, thickness, and shape you need will dictate which tool and method you should employ.
How to cut tile effectively? Below are ways to use different tools:
Using a Wet Saw: Put the guideline in line with the blade. Feed the tile slowly and without pressure through the blade. Let the water cool down the blade, making chip-free and clean cuts.
Using a Manual Cutter: Score the drawn line by applying pressure to cause a shallow groove. Press the handle along the scored line to enable the tile to break cleanly along the line. This is the method used for application on ceramic tiles.
With an Angle Grinder: Hold the grinder and, slowly along the line, don't apply too much pressure; maintain control to prevent chips and to have smooth cut-outs or curves.
These methods show that you can achieve professional results even if you want to learn how to cut tile without a wet saw, using manual tools or grinders for most cuts.
Step 5: Smooth and Finish the Edges
Once cut, tile edges may be jagged or rough. Sand them with a rubbing stone, tile file, or fine-grit sandpaper for a smooth finish. For added protection and a professional finish, use a pencil tile trim on the edges, particularly where sides or corners are exposed. Not only does this improve appearance, but it also ensures that sharp edges are avoided, making your tile installation safer and more long-lasting.
 Tips for Cutting Tile Accurately
-
Double-check measurements each time before cutting.
-
Make solid marks and use straight edges for precision.
-
Use even pressure when scoring tiles to prevent cracking.
-
Keep blades wet and cool when operating a wet saw.
-
Practice cutting on some extra tiles to get comfortable before actually cutting.
Common Mistakes to Avoid When Cutting Tile
-
Cutting too fast: Attempting to cut too fast can lead your tile to crack or break. Cut slowly for cleaner and more precise cuts.
-
Incorrect Blade Use: The incorrect or dull blade increases the risk of chipping and uneven edges. Make sure your blade is always suitable for the tile material.
-
Not Using Safety Equipment: Not wearing goggles and gloves exposes you to the dangers of flying shards and sharp edges. Safety equipment protects you while cutting.
-
Slitting Tiles: Slitting tiles face down will destroy the surface glaze and harm the finish. Unless otherwise stated, the majority of tiles must be cut face-up to achieve a cleaner cut.
Conclusion
The secret to a flawless finish in any tile installation project, be it a kitchen backsplash, bathroom floor, or patio, is in mastering the art of how to cut tile. Choosing the right way to cut tile will prevent cracks, chips, and lean edges. Understanding the material, whether it is porcelain and ceramic or glass and natural stone, prevents you from applying the wrong blade and cutting method to a particular tile. With correct measurement, a steady hand, and the right safety protocol, you can cut cleanly, professionally, and confidently, which contributes to the quality and look of your tile installation.
Frequently Asked Questions:
How do I cut tiles for corners and edges?
To create clean, neat cuts around corners, use a wet saw or an angle grinder for curves or specialty cuts. Measure and mark carefully before cutting, especially when cutting around fixtures by notch-cutting.
Can tile nippers be used for all tile types?
Tile nippers can be used for cutting glass, porcelain, and ceramic tiles, depending on their type and quality. Harder materials like porcelain and glass can be cut with carbide-tipped or tungsten nippers. Standard tile nippers are suitable for ceramic tiles. Extremely hard materials such as marble or granite need a wet saw or angle grinder to cut them neatly and accurately.
Should I cut tile face up or face down?
Tiles must be cut face up so that the glaze side won't be damaged, and chipping will not be noticeable.
What grout should I use after cutting tile?
Select grout based on tile and joint size, sanded grout for wide joints and with floor tile, and unsanded grout for narrow joints, glazed surfaces, or delicate material such as glass and marble.
Should I seal cut edges before grouting?
If using natural stone tile, sealing the cut edges will prevent moisture from being absorbed and staining. Porcelain and ceramic tile are non-porous and do not need sealing.
How do I cut tiles without chipping the edges?
To prevent chipping edges, score the tile with care and cut slowly using the right tool for the tile. Wet the blade when using a wet saw, and then file the edges.
What do professional tilers use to cut tiles?
A wet saw is a common tool used by experts as it cuts tiles cleanly and neatly without making them crack. For small or curved cuts, they use an angle grinder or a hand-held tile cutter. They help produce clean edges and an appropriate fit in difficult areas for tiles.
How to hide the cut edge of tile?
You can hide tile edges using tile trim. The other simple method is to place the cut edge of the tile where it won't be seen, for instance, against a wall, under cabinets, or behind accessories. This gives the tilework a clean, professional look.


