How to regrout shower tile
Nov 13, 2025 10 minute read
Tile can last for decades, but grout rarely does. As most tile grouts are cementitious, years of constant exposure to water, humidity, and deep-set stains gradually take a toll and cause the grout lines to deteriorate. You might notice cracks, discoloration, or unsightly mildew forming in the joints, which not only makes your bathroom look worn but can also jeopardise the structural integrity of the entire installation. If any of these issues arise, knowing how to regrout shower tile is a handy skill that can help bring your space back to its fresh-as-new state.
Key Takeaways
- Tile typically outlasts grout, as the seams are more vulnerable to stains and cracks.
- Removing old, cracked, or moldy grout before reapplying new material ensures stronger adhesion.
- For durable, lasting results, the joints should be clean and dry, and the grout mixture should be of proper consistency.
- New grout should properly cure and then sealed to protect against water and discoloration.
When grout starts to wear down, what do you do? The short answer: regrout shower tile. Tackling grout work at the first sign of damage is one of the most effective ways to restore your bathroom’s look and ensure it remains watertight. The process is straightforward: remove old, damaged grout and apply a fresh layer; a task completely achievable with a little patience, the right tools, and some know-how. This means it is not required to regrout the entire tilework, just the affected areas.
Here are a few signs to watch out for:
- Visible mold starting to form along the grout lines
- Grout that has lost its original color or texture
- Crumbling grout that gives way under moderate pressure
In this detailed guide, you’ll learn everything you need to know about tile regrouting, from preparation and removal to cleaning, applying, and sealing a new layer. Whether you’re a first-time DIYer or a seasoned renovator, these steps will help you achieve quality results that protect your bath space and make it look immaculate.
Tools and Materials You’ll Need for Regrouting Shower Tiles
For a successful tile regrouting job, start by gathering all required tools and materials. Having everything at hand makes the process painless and far more efficient. You will need:
Tools:
- Grout removal tool (manual grout saw or oscillating multi-tool)
- Grout float
- Utility knife
- Safety goggles, dust mask, and work gloves
Materials:
- New grout (sanded or unsanded)
- Grout sealer
- Mild detergent or grout haze cleaner
- Sponge or microfiber cloth
- A bucket with clean water
How to Prepare the Shower Area for Tile Regrouting

Once you have the necessary tools, next on the agenda for “how to regrout shower tile” is preparing the area. This entails:
Drying the Area Completely: Before regrouting shower floor tile, ensure the area is completely dry, well-lit, and well-ventilated. The last thing you want to do is remove and apply grout right after use. Moisture can interfere with the bonding of the new material and lead to mold or mildew growth later.
Removing Items from the Area: Clear out all bathroom essentials such as soap dishes, shampoo bottles, and care products. Temporarily remove built-in shelves or corner caddies if possible, or cover them with plastic film to protect from dust and debris. Clearing the area will give full access to the tiles and also prevent accidental damage.
Protecting Fixtures and Fittings: Cover fixtures and fittings with painter’s tape or plastic sheeting to shield from grout as it falls.
Ventilating the Bathroom: As mentioned in the first point, proper ventilation is essential when regrouting shower tile, especially if you are using grout cleaners and sealants. Open windows or use an exhaust fan to enhance air circulation and dry the area more quickly after cleaning. Adequate lighting, too, helps you identify cracks, mold, or areas where the old grout needs to be removed.
Removing Old Grout from Shower Tiles
At this stage you need to remove old grout, and there are two ways to effectively do so: manually and mechanically.
1. Manual Grout Removal (Best for Small Areas or Delicate Tile)
If you prefer a hands-on and cost-effective approach or are working in a small area, manual grout removal is often the best choice. Here, a grout saw, grout rake, or a carbide-tipped grout removal tool can be used. Apply firm pressure to cut into the joints and loosen the old material, and you will soon see the grout begin to powder. Scrape it out to create a clean surface for a new application. This method gives you more control, though it does require some patience and elbow grease.
2. Mechanical Grout Removal (Best for Large Areas or Hard, Deeply Set Grout)
For larger jobs or hardened grout, an electric oscillating or rotary tool fitted with a grout removal saw blade is the most effective way to get the job done. Guide the blade along the joints, apply gentle and steady pressure, and slowly move the tool up and down, being careful not to scar the edges of the tile. While power tools speed up the process and produce consistent results, note that they can be quite aggressive. It’s important to take your time.
Whichever method you choose, always wear safety goggles and gloves, as grout dust and small fragments can fly up during the removal process. Vacuum or brush away the loosened debris as you go, keeping the joints clean and clear to evenly fill with fresh material later.
 Pro Tip:
If the power tool doesn’t remove all traces of grout, follow up with a carbide-tipped grout removal tool to gently scrape out remaining bits from the tile joints.
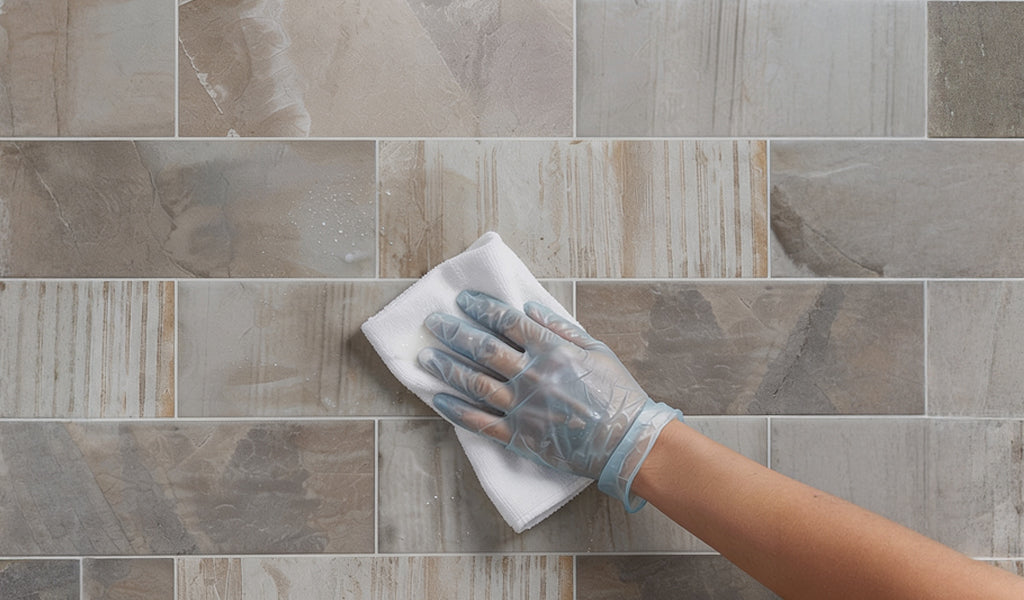
Cleaning the Tile Surface Thoroughly Before Regrouting

After removing the old material and right before regrouting shower tile, thoroughly vacuum the entire tiled surface. Clear out every trace of dust and loose debris from the joints, so as not to compromise the hold of the new grout.
Next, wipe the shower wall or floor tile and the seams with a damp sponge or cloth to remove any remaining residue. Allow the area to dry completely, as moisture trapped can weaken adhesion and affect grout curing.
Mixing New Shower Tile Grout Properly

Achieving the right consistency is key to a smooth application and long-lasting results. If the grout mixture is too thin, it won’t hold in the joints; too thick, and it will be difficult to spread evenly.
Follow the Manufacturer’s Instructions: Mix grout powder with half the recommended amount of water in a bucket.
Stir Thoroughly for the Right Texture: Use a mixing paddle or stick and slowly add water until the grout reaches a lump-free peanut-butter-like consistency (thick enough to hold its shape on a trowel but soft and pliable enough to spread easily).
Let the Grout Mixture Rest: Let the mixed grout sit for 5–10 minutes. This resting period, known as slaking, lets the ingredients fully absorb the water and activate the binding agents. Stir again before tile regrouting.
 Note:
Note:
To choose the right cementitious grout, consider the area you’re regrouting, the width of the joints, and the tile type. To learn more, check out our blog: Sanded vs Unsanded Grout.
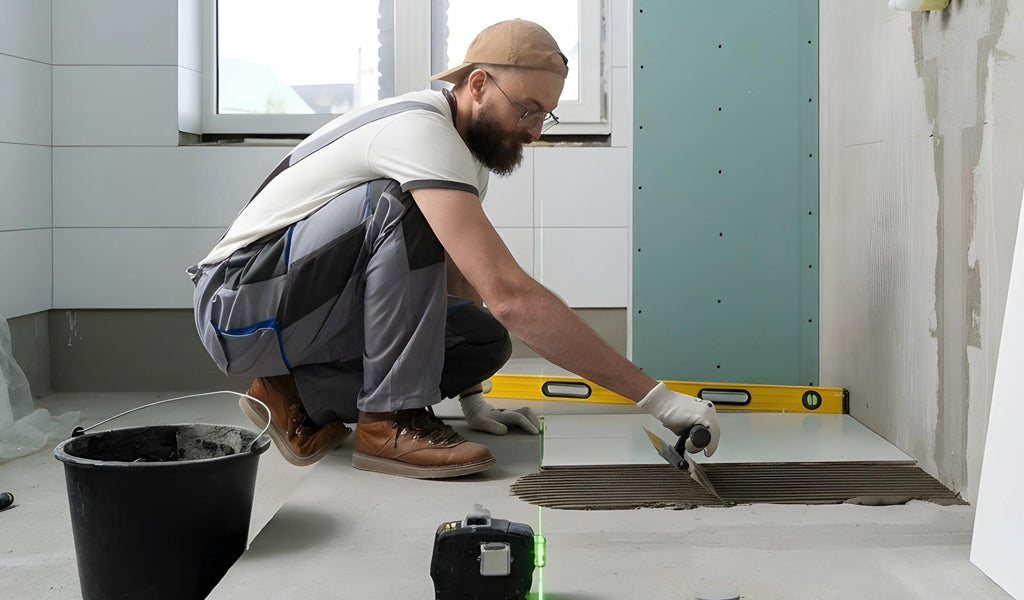
Applying Fresh Grout Between the Shower Tiles

How to regrout shower tile? Follow these simple steps for a fresh, new look:
1. Spread the Grout: Take a small portion using a rubber grout float and press it into the joints at a 45° angle. Fill completely without leaving any gaps so that the joints are flush with the tile surface. Regrout shower tile in small sections at a time to prevent premature drying.
2. Remove Excess: When done filling the grout lines, allow to dry out a little, then use a damp sponge to wipe off excess from the tile surface. Do this gently in a light, circular motion to eliminate any pinholes and avoid pulling the grout out from the joints. Take care to rinse and wring out the sponge often and change the water once it becomes dirty.
How to Cure and Seal Grout After Regrouting
Be it mosaic or large format tile application, proper curing is vital for durability. It can take up to 48 hours, depending on the grout type, but most manufacturers specify 24 hours for drying. Keep the shower area dry and avoid exposing the grout to any moisture during this period.
Once cured, check for any grout haze left on the shower tiles. Take a cloth and simply wipe this. Next, apply a grout sealer to protect your renovated joints against water and mold.
Conclusion
So there you have it: how to regrout shower tile when it looks tired and worn! While replacing both large and small format tiles is a messy, involved job, tile regrouting is a surprisingly doable project that any DIYer can take on. Even if the grout isn’t old, cracked, or loose, replacing it with a different color is reason enough to give your space a whole new vibe. With patience and the right tools, you can save on a full-scale bathroom overhaul by simply freshening grout lines. For upkeep going forward, make sure to reseal grout every 1-2 years or sooner depending on use.
Frequently Asked Questions
1. How often should shower tile be grouted?
Shower floor or wall tile typically only needs to be grouted during installation. But when grout lines begin to show signs of deterioration due to water exposure and cleaning habits, it’s time to regrout before extensive damage. Sealing and conducting regular visual inspections help extend its life.
2. Can you put new grout over old grout in a shower?
3. How hard is it to regrout shower tile?
4. How much grout needs to be removed when regrouting?
5. How long does it take to regrout a shower?
6. What is the lifespan of grout in a shower?
Whether it’s modern, rustic, or vintage tile, shower grout typically lasts 8 to 16 years, though with proper care, it can endure 20 years or more. Its longevity depends on several factors, including the type used, the quality of the overall installation, and the consistency of upkeep.