
How to Remove Tile Backsplash: Step-by-Step Guide
Dec 09, 2025 11 minute read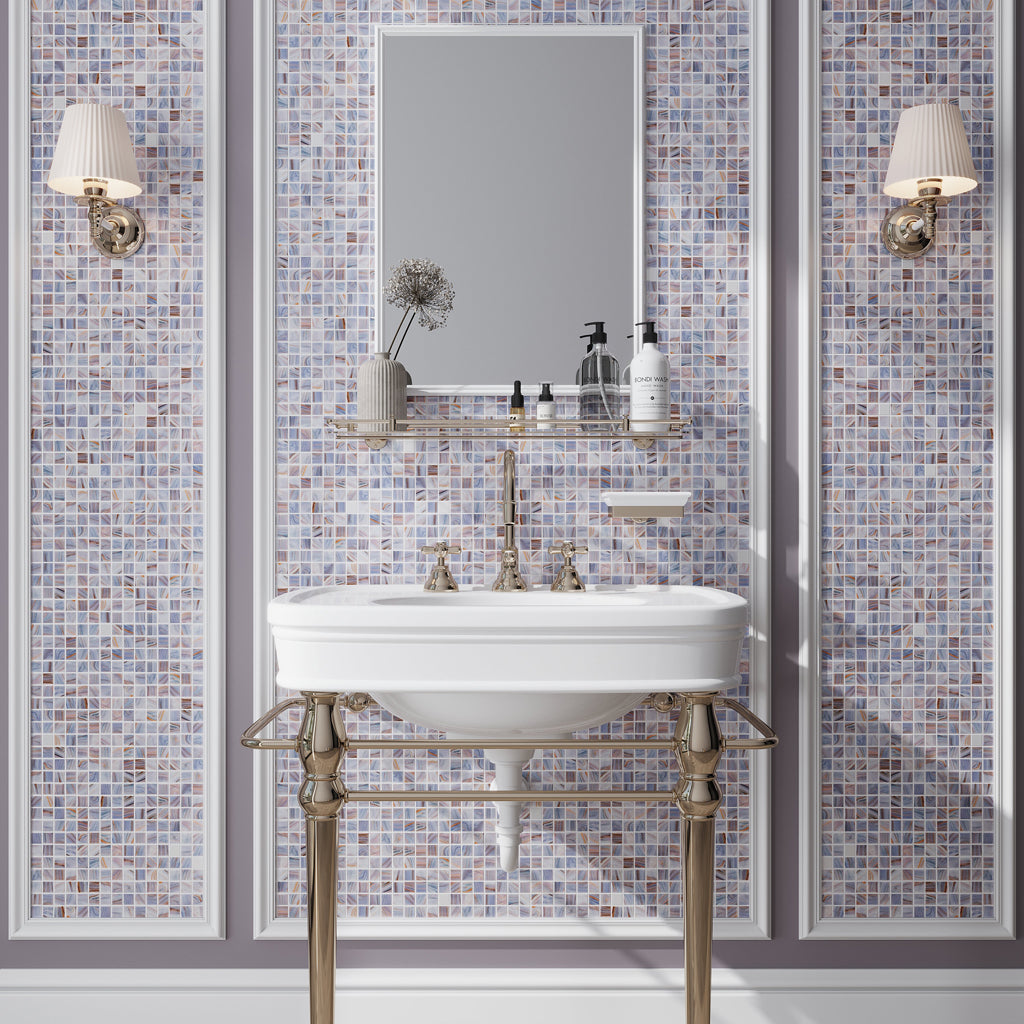
Upgrading your kitchen or bathroom can bring a new look to your home, and one of the common renovations involves tearing out old backsplash tile to replace it with one that’s new. While it might seem like a daunting task, a tile backsplash removal is achievable with proper preparation and the right tools and technique.
Key Takeaways
-
Knowing how to remove tile backsplash correctly will save you from unnecessary delays and costly repairs.
-
Always start with grout; this step will help remove the rest of the material easier, safely, and cleanly.
-
Starting at an exposed edge makes it easier to lift tile, especially when learning how to remove kitchen tile backsplash without damaging surrounding surfaces.
-
To protect your walls, work slowly without rushing, and use the right tools so as not to damage the wall beneath.
-
Smoothing and repairing the substrate after removal provides a clean, solid base for a new backsplash installation.
Perhaps your existing design has deteriorated or you simply want to refresh the look of your space. This guide will show you how to remove backsplash tile safely and efficiently. Whether you have glass mosaics, large-format porcelain or glazed ceramic tile, we have you covered.
Tools and Materials Needed to Remove Tile Backsplash
Before removing a tile backsplash, gather the necessary tools and materials. Having the correct tools minimizes potential wall damage and expedites the removal process.
Essential Tools:
-
Utility knife: to score caulk and grout lines
-
Hammer and chisel: for loosening tiles
-
Pry bar: for gently lifting tiles
-
Putty knife or scraper: to remove adhesive residue
-
Safety glasses and gloves: protection for eyes and hands
-
Drop cloths: used to protect countertops and floors
-
Bucket and sponge: for cleaning the wall afterwards
Optional Equipment:
-
Oscillating multi-tool: for cutting through stubborn grout or adhesive
-
Heat gun: used to help loosen old adhesive, particularly for ceramic tiles.
-
Tile removal tool or rotary tool: for glass mosaic tile backsplash
Having these tools ready makes the process smoother, ensuring you can handle how to remove tile backsplash without damaging the wall.
How to Prepare Your Kitchen or Bathroom Before Removing Tile

Preparing your space is an essential part of how to remove tile backsplash, especially when you want to protect fittings nearby. Done properly, you can avoid unnecessary damages, which makes the removal process efficient. Below are steps you can take before commencing:
1. Clear the Area
Before you begin, clear everything off your countertops. Remove any appliances around the backsplash area. Cover countertops and floors with drop cloths or plastic sheets. This keeps debris contained and sets you up for a smoother tile backsplash removal process.
2. Turn off the Power
If the backsplash houses outlets and switches, shut off the power supply. This is a safety precaution to take when learning how to remove tile backsplash, whether it is in the kitchen or bathroom.
3. Score the Caulk Lines
Use a utility knife to cut through the caulk where the backsplash meets either the countertops, walls, or cabinets. Scoring of the caulk helps to loosen the tile and is a necessary step before lifting the tile.
4. Protect Yourself
Wear gloves, goggles, and a dust mask. Removing tile is a messy process that results in sharp pieces and dust.
Keeping these preparation steps helps create a clean and safe workspace, and makes the process on how to remove a kitchen tile backsplash much easier and more controlled.
How to Remove Old Tile Backsplash: Step-by-Step Instructions

If you are thinking of how to take out tile backsplash safely and in the most effective way, it is easier when one is well-prepared for this process. The instructions below work for every material, whether ceramic, glass, or porcelain tile. They are handy when learning how to remove tile backsplash without damaging the kitchen or bathroom vanity wall:
Step 1: Remove the Grout
Work on the grout lines first. Use a grout saw or oscillating multitool to grind the lines between tiles carefully. This will weaken the bond that holds them and make it easier to lift them later. Take your time here to reduce the risk of pulling chunks of drywall off as you go, which is an important detail as you learn how to remove old tile backsplash without causing unnecessary damage.
Step 2: Start at Tile Edge or Corner
Tiles loosen more easily from an exposed edge. Start at the outer edge of the backsplash or in a corner. Slip a putty knife or chisel behind the first tile and gently tap the tool with a hammer. Continue the work slowly and patiently until you see that the tile begins to lift. This approach works well on how to remove backsplash in kitchens of all sizes.
Step 3: Carefully Pry the Tiles Off
Once you have the first tile out, work across the wall, tile by tile, carefully prying each piece off the adhesive with either a chisel or a pry bar. If a tile won't budge, heat the adhesive for a few seconds with a heat gun to soften it. Always pull outward, not downward, to protect the wall surface.
Step 4: Remove Adhesive Residue
Once all the tiles are removed, you might find that thinset or mastic remains on the wall. Take a putty knife or scraper and shave the adhesive off. You will need a wall that is smooth and even for the new backsplash installation. This is an important step in any of the methods regarding how to remove tile backsplash in kitchen settings.
Step 5: Clean and Inspect the Wall
Finish off by wiping the wall with a sponge, warm water, and detergent to remove dust and debris. Let it dry completely. Once dry, check for dents, holes, or rough areas, because small imperfections can be repaired with joint compound before tiling.
Follow these steps, and your tile removal project will be much cleaner, easier, and less likely to cause damage to the wall, no matter what type of tile you are working with, from how to remove ceramic tile backsplash to more delicate surfaces like how to remove glass tile backsplash.
How to Repair the Wall After Removing a Tile Backsplash
Once you have removed tile backsplash, whether in a kitchen or bathroom, it is common to find dents or remaining adhesive on the wall. Even when you attempt to figure out how to remove tile backsplash without damaging drywall, some imperfections may still appear. Proper surface repair ensures that the base is clean and is fully ready for a new backsplash.
Fill Holes and Dents
After removing the old tile backsplash, carefully examine the drywall. Fill in any gouges, nail holes, or places where the tiles tugged slightly off the surface with joint compound or spackle. Apply the compound with a putty knife; smooth it out and let it dry completely. This creates a strong, even base for your next upgrade.
Sand the Surface Smooth
Allow the compound to dry, and then sand the repaired areas lightly, feathering the edges to blend with the surrounding area. You need a smooth, even surface before painting or reinstalling the backsplash. After sanding, wipe away all dust with a damp cloth for proper adhesion.
Prime the Surface
If you are going to paint the wall or install a new design of tile, use a good-quality primer after sanding. It seals the surface, evens out the texture differences, and helps paint or new tiles adhere better. This is of paramount importance if the drywall was exposed in the process of how to remove tile backsplash without damaging drywall.
 Pro Tip:
Taking the time to repair, smooth, and then prime your wall provides a clean and flawless base for any kitchen or bathroom project. Proper wall prep makes your next backsplash installation easier, longer-lasting, and visually seamless.
Expert Tips and Common Mistakes to Avoid During Tile Backsplash Removal
Removing backsplash can get tricky, even with the right plan in place. When learning how to remove old tile backsplash, it's important to understand the common mistakes and how to remedy them.
Expert Tips:
• Start from an edge or corner
Tiles come off cleaner when you start at an exposed edge. This reduces the resistance and minimizes unnecessary damage to the wall.
• Use the right tools for the tile
Glass tiles often demand a rotary tool or an oscillating tool to remove the grout precisely, whereas you may be able to lift ceramic tile with a chisel and hammer. Using proper tools makes kitchen tile backsplash removal faster and safer.
• Take your time with the process
Patience is key. The more you rush, the greater your chances of tearing the drywall, cracking tiles, and making unnecessary repairs later.
Common Mistakes to Avoid:
• Not removing the grout first
Trying to pry tiles off without first removing grout can cause them to shatter or chip in inconsistent ways, which in turn makes removal more difficult and dangerous.
• Failure to protect surroundings
Countertops, appliances, and floors should be covered with drop cloths or cardboard at all times. Falling pieces of tile and falling tools may scratch or crack things you'd rather not have later.
• Not wearing safety gear
Gloves, goggles, and even a dust mask are required. The shards of tile, dust, and adhesive can create serious injuries.
Set up for a smoother, safer, and more controlled backsplash removal, especially when working on kitchen tile backsplash removal or any project featuring delicate drywall, by following these expert tips and steering clear of common mistakes.
When to Hire a Professional for Tile Backsplash Removal
While many DIYers can handle how to remove tile backsplash projects on their own, some situations call for a professional touch. In hiring a professional, you will save time, prevent costly damage, and ensure the best results. Consider hiring a pro if:
-
The tiles are hard to remove from the wall that you would like to preserve.
-
There are electrical outlets, switches, or plumbing lines running through the backsplash area.
-
You don't have the necessary tools or experience to remove old tiles safely.
-
You are not sure how to remove the kitchen tile backsplash without causing damage.
A professional can minimize wall damage, handle complex areas, and complete the job much faster. If there is any uncertainty about the project, it is smart to get advice from a contractor.
Final Thoughts: Getting Your Wall Ready for a Fresh New Backsplash
Removing a tile backsplash is taking the first step toward changing the look of your kitchen or bathroom. With appropriate tools, preparation, and technique, you can remove old tile safely and efficiently. Wall protection, proper repair, and safety always go hand in hand. Once your wall is ready, you are good to install a fresh backsplash, adding more style and functionality to the space. For style ideas to upgrade your kitchen, check out our blog on 25 Kitchen Tile Ideas.
Frequently Asked Questions
1. How much does it cost to remove a tile backsplash?
2. Is it safe to remove tile myself?
3. How do you transition from tile to drywall?
After having removed the tile, repair any wall damage with joint compound, sand it smooth, and prime the surface before adding new tiles. Apollo Tile has a wide range of backsplash tiles to choose from, including stunning White Gray 9x11 Polished Framed Diamond Calacatta Gold, Thassos Mosaic Tile and Tropical Green 2x16 Glossy Zellige Subway Ceramic Tile.


