Sanded vs Unsanded Grout: Which One Should You Use?
Nov 13, 2025 13 minute read
Currently tackling a tiling project and have to decide between sanded vs unsanded grout? When it comes to decorative tile installation, the type of grout used has a significant impact on both the final look and the overall durability of the covered surface. Whether you’re working on a patio remodel, bathroom overhaul, or refreshing the kitchen, this blog will provide you with the insights you need to select the best grouting material for the job.
Key Takeaways
- Understanding the critical difference between sanded and unsanded grout is essential to a well-appointed space.
- Sanded cement-based grout is better suited for flooring tile and wider grout lines due to its strength.
- Unsanded grout is a winner for delicate tiles, vertical surfaces, and narrow joints to avoid scratching and ensure strong adhesion.
- Unsanded grout is typically more costly than sanded grout because it lacks inexpensive sand filler and uses pricier polymers.
After spending a good chunk of your budget on tiles you love and taking time to install them, you’ll want to make sure they stand the test of time! In our blog What is Grout, we express that it is a putty-like mixture that fills the spaces between tiles. Once applied, it hardens, bonding the tiles together and reinforcing the entire tiled surface. And that’s pretty much how installation rigidity and endurance are attained.
In addition, grout protects the surface from chips and cracks and forms a barrier that stops liquids and other foreign items from seeping in between and beneath the tiles. Cementitious grout is the conventional type used in private residences for years. The addition of sand to the mixture determines whether it is considered sanded or unsanded grout.
What is Sanded Grout?

Sanded grout is the most common type of filler used for home improvement projects. It is made from a fine mix of quartz or silica sand grains with cement. The sand gets suspended in place as the grout cures, adding to the material’s tensile strength, while the cement gives it adhesive properties. Given that sand is often a low-cost filler, this is a cost-effective type and available in a wide array of colors.
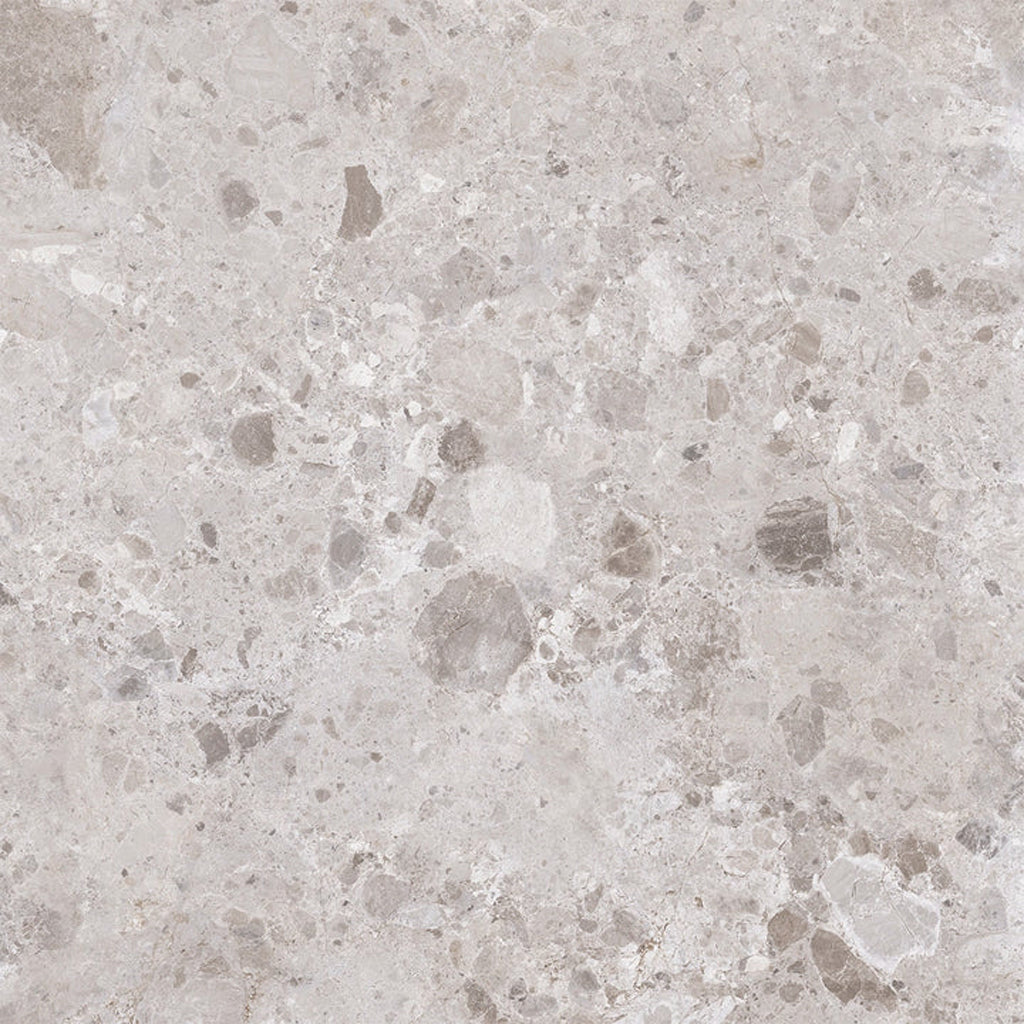
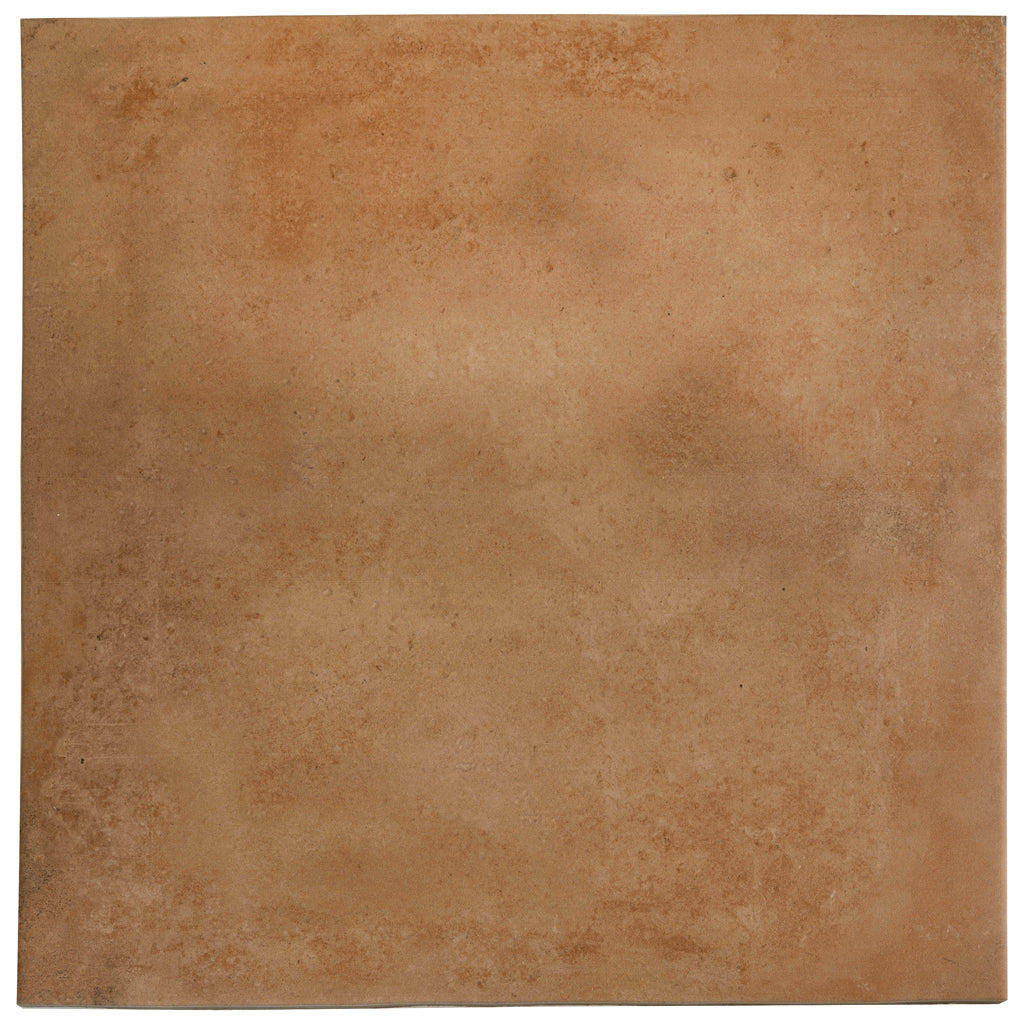
High-performance grout with sand is a no-brainer for most interior design flooring projects, such as laying our Petra Gray 48x48 Matte Square Marble Look Vein Porcelain Large Tile. Its thicker consistency is more rigid, denser, resistant to shrinking, and can endure the strain of heavy foot traffic. Lastly, it has a better bond suitable for tile joints that are 1/8” to 1/2” wider.
What is Unsanded Grout?
Unsanded or non-sanded grout does not contain any sand in its makeup. This absence of abrasive particles gives it a smoother texture that works well with scratch-sensitive surfaces, like glossy glass, polished marble, and glazed ceramic tile. Another added bonus? Its thinner consistency is easier to fill narrow joints under 1/8”. Anything wider than that, the grout tends to slump, crack, or not hold properly.
Furthermore, it’s easier to use on vertical surfaces, such as kitchen backsplashes, powder room walls, and fireplace surrounds, since it is stickier and stays in place without dropping. While non-sanded cementitious grout costs more than its counterpart due to the expensive polymers added as a bonding agent, it proves to be a superior option in some situations.
Sanded Vs Unsanded Grout: Key Differences

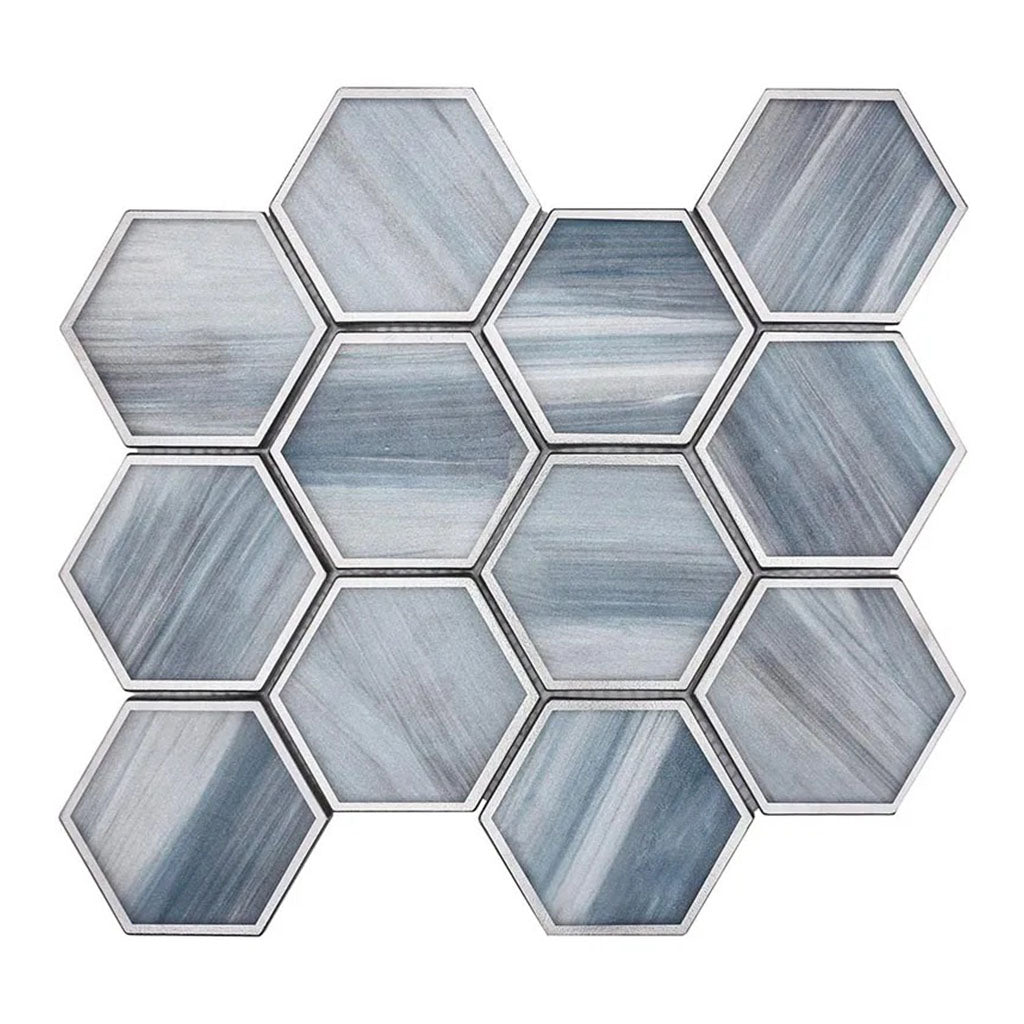
As indicated in the descriptions above, the main difference between sanded and unsanded grout is the presence or absence of silica sand. This fine grit aggregate added to the cement mixture helps resist cracking in areas that get a lot of movement, but it isn’t always necessary for all tiling scenarios. This is simply because some projects lend themselves better to grout without sand, such as when installing our glossy sea glass tile. So, what exactly sets unsanded vs sanded grout apart?
| Sanded Grout | Unsanded Grout |
|---|---|
| Contains silica sand, course consistency | No silica sand, smooth consistency |
| Best for wider tile joints (1/8” - 1/2”) | Best for narrow tile joints (>1/8” – 1/16”) |
| Holds well in high traffic areas | Less robust for high traffic areas |
| May slump on vertical surfaces | Holds well on vertical surfaces |
| Can scratch delicate tile materials | Will not scratch delicate tile materials |
| Offers more color choices | Offers fewer color choices |
| Less expensive than unsanded grout | More expensive than sanded grout |
| Challenging to clean due to coarse texture | Easier to clean due to smoother texture |
Sanded cementitious grout is more affordable and has contents that make it robust, shrink-resistant, and ideal for high-traffic areas. These properties aid in its ability to handle people walking all over it day in, day out. Even better, it offers plenty of color choices; everything from basic beige and gray to vibrant shades of red, green, and blue, so you can make tilework look how you want it. However, it can scratch delicate tile surfaces and is trickier to fill into tighter seams. Its coarse texture also traps dirt, requiring regular scrubbing and more effort to keep it looking immaculate.
Unsanded grout, by contrast, performs better between small seams and is gentler on delicate tiles thanks to the lack of aggregate. The trade-off, though, is that it shrinks more easily if applied too thickly and is not as robust for wide joints where cracking is a risk. As a result, you may find yourself needing to remove tile grout and redo it more often.
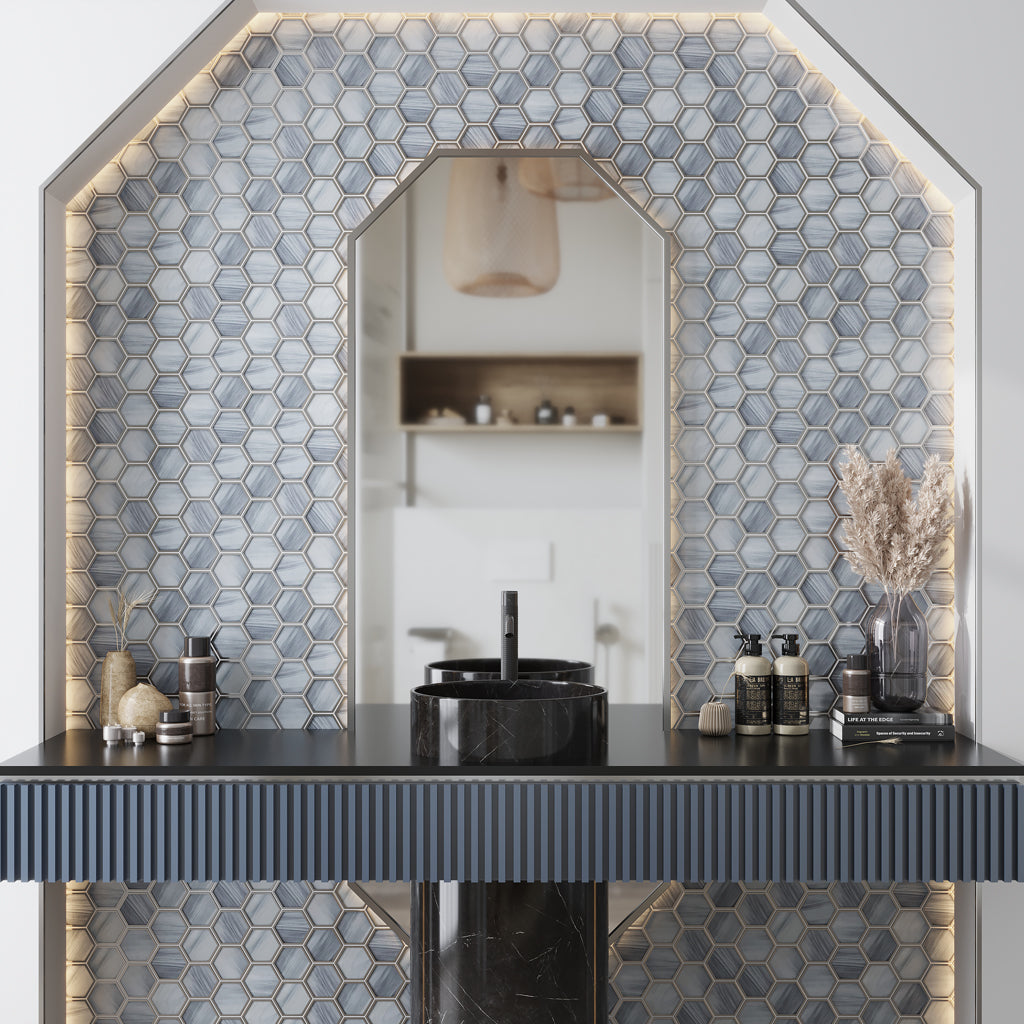
Light Frost Blue 9x10 Matte Hexagon Glass Mosaic Tile
Even though one type is recommended for a particular use, they can be interchangeable. The key when choosing between sanded vs unsanded grout is to pay attention to the following:
Assess Tile Joints: To pick the right grout, start by assessing two things about the tile installation: the material used and the joint width. If you're laying highly polished Calacatta marble tile, for instance, on a vertical surface and with thinner seams, cement grout without sand is almost always the better choice for precision work. Even if it shrinks as it dries, this process won’t have an effect on the durability of the tilework. Style-wise, it gives a nice, clean finish where visual aesthetics are more important. For porcelain tiles or other high-traffic flooring material where installation joints are wider, sanded grout is a superior option for strength and resilience.
Consider the Tile Type: When sand is added to cement grout, the mixture becomes gritty and can work a lot like sandpaper. This type can cause swirls and scratches on delicate materials like glass, marble, or limestone. For this reason, we advocate using unsanded grout for a scratch-free application. Scratch-resistant material like matte porcelain tile is suitable for use with any grout type.
Think About the Location: Next, take into account the area where the tiles will go. For example, bathroom wall tile may benefit from unsanded grout. Spreading its smooth texture onto a vertical surface is easier and less likely to capture soap scum, dirt, or grime. On the other hand, surfaces that are subjected to weight and pressure, such as kitchen or hallway floors, require the supplemental strength of sanded options to stand up to the rigors of everyday wear.
Factor in the Costs: If budget is a deciding factor between sanded vs unsanded grout, you’ll definitely want to grab a high-quality sanded filler to save money. On average, unsanded grout costs nearly twice as much as sanded grout. This price gap stems from their composition, as including inexpensive sand as a filler significantly reduces production costs. Additionally, non-sanded cement grout relies on pricier polymers and mineral particles to compensate for the lack of sand.
Grout for Walls, Backsplashes, and Floors: What to Use?
Now that we’ve defined the two types of cementitious grout, let’s explore the common areas in the home where the unsanded vs sanded grout decision may come into play.
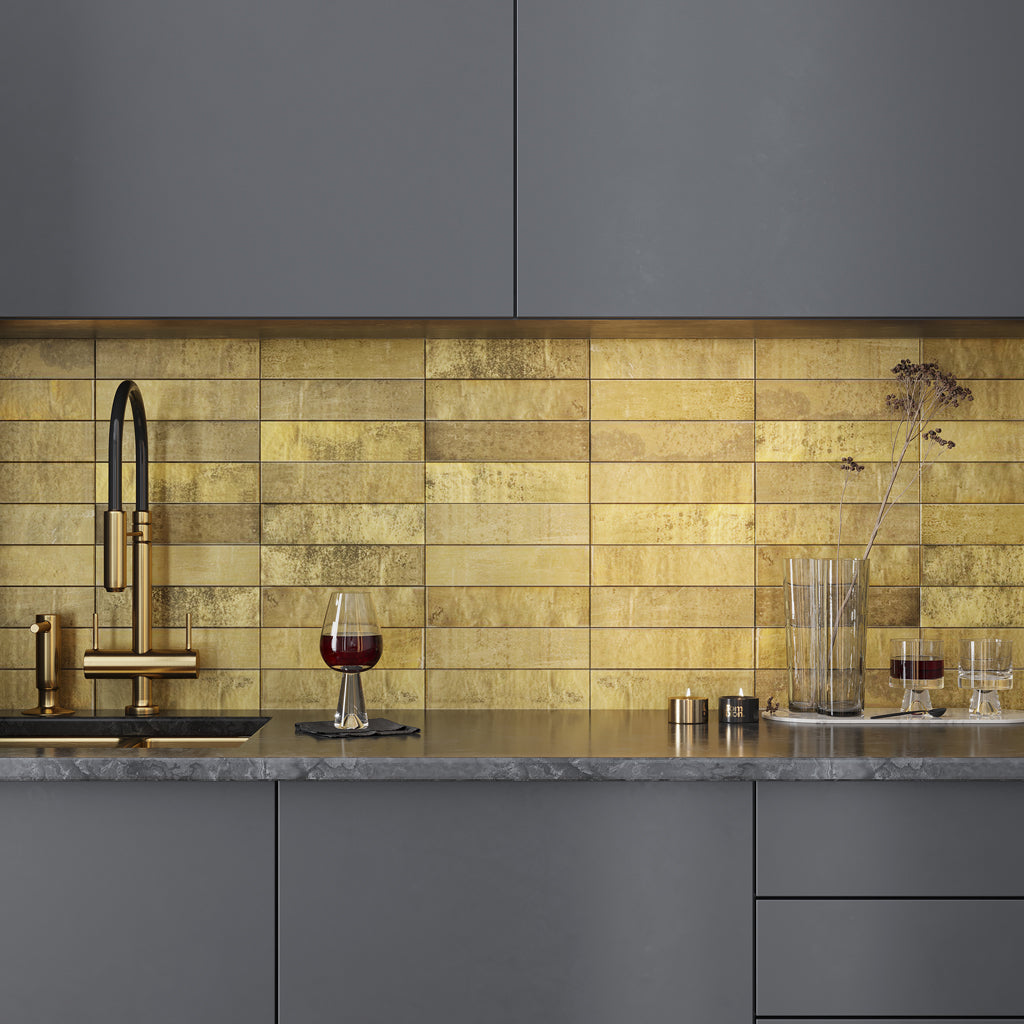
1. Sanded or Unsanded Grout for Shower, Kitchen & Living Area Walls


Unsanded Grout:
- Best for accent walls, fireplace surrounds, and other vertical surfaces with narrow joints (under 1/8”) and delicate surfaces.
- The smooth texture prevents scratching on glossy or polished glass, porcelain, ceramic, or natural stone.
- The sticky consistency stays in place on vertical surfaces without sagging or dripping.
- For mosaics or small format tiles on walls, non-sanded grout is almost always the safer choice.
Sanded Grout:
- Not typically recommended for most wall applications, especially if tiles are delicate or joints are narrow.
- Coarse texture can scratch softer tile surfaces and is harder to push into thinner gaps.
- Can be used on walls with wider grout joints (1/8” or more), such as scratch-resistant large-format tiles.
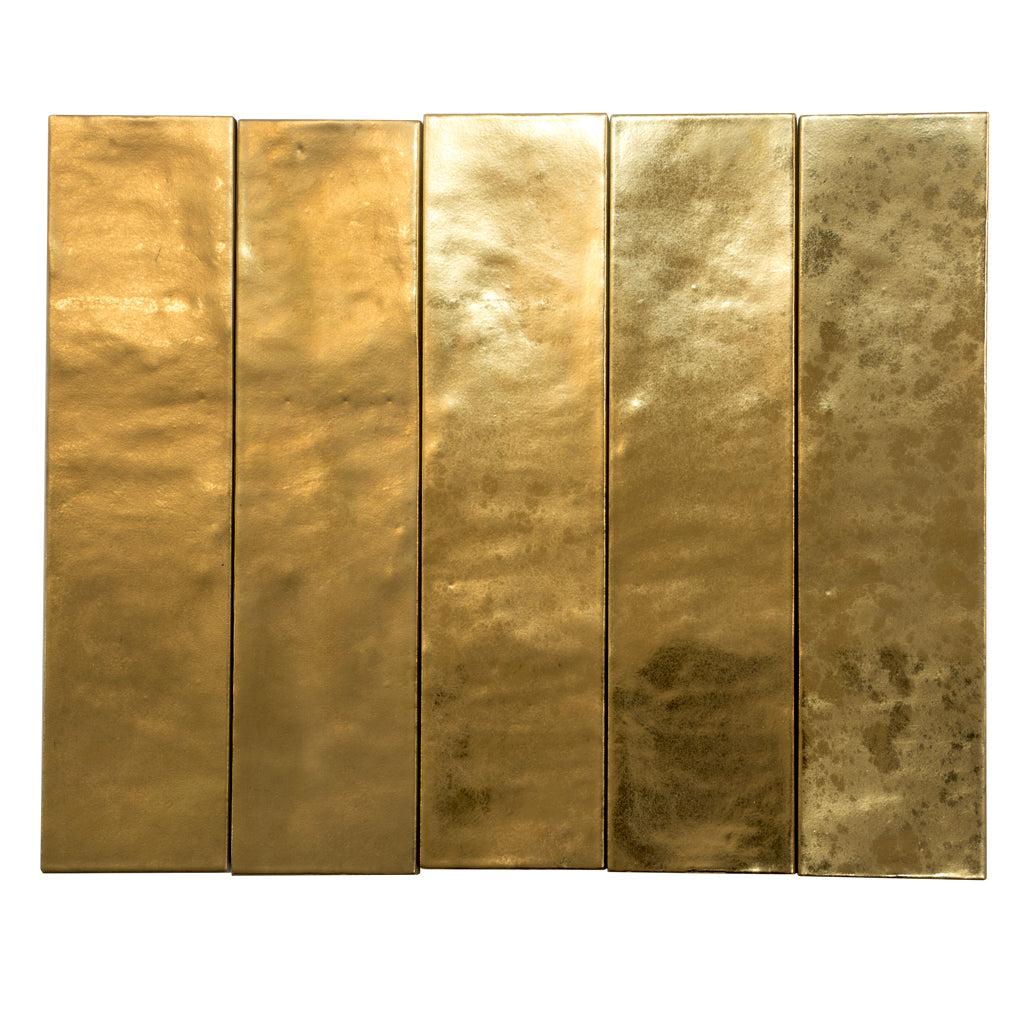
2. Sanded or Unsanded Grout for Kitchen & Bathroom Backsplashes
Unsanded Grout:
- The smooth consistency sits nicely between narrow backsplash tile joints under 1/8 inch.
- Perfect for smooth and highly polished surfaces like glazed ceramic or glass mosaic tiles.
Sanded Grout:
- Use only if the backsplash has wider joints, such as some natural stones or large-format tiles.
- Its rougher texture provides strength in areas where the grout needs to resist movement or minor shifting of tiles.
3. Sanded or Unsanded Grout for Low & High Traffic Floors

Sanded Grout:
- The go-to pick for floor tiles that see heavy use due to constant foot traffic.
- Stronger and more resistant to cracking than unsanded grout, making it ideal for joints 1/8” or wider.
- Works well for matte or textured tiles that can tolerate a rougher mixture without damage.
Unsanded Grout:
- Suitable only for very narrow floor joints under 1/8”, typically seen in mosaic or small-format flooring tiles.
- Not recommended for high-traffic areas or wide joints as it can shrink, crack, or wear down more quickly.
Practical Tips for Using Sanded and Unsanded Grout

Whether sanded or unsanded, grout can be used to create a feature out of a functional necessity. Done right, it brings the entire installation together like a perfect melody. To avoid a long and frustrating ordeal, keep the following practical tips in mind:
Use the Right Grouting Tools: If you’ve ever started a tiling project, you know how important it is to use the right tools. A rubber grout float for pressing grout firmly into joints and a damp sponge for cleanup will give you the best control and finish.
Test Color Before Full Application: Here’s the thing, grout color can vary slightly once it dries. Mix a small test batch and use with a sample tile to ensure it’s what you envision for your design.
Follow Manufacturer Instructions: Always refer to the packaging for specific mixing ratios, curing times, and compatibility with your tile type. The mixture should have a peanut butter–like consistency that holds its shape when applied.
Avoid Over-Watering the Mix: Note that adding more water to sanded grout to make it easier to squeeze between narrower joints will only lead to slumping and what’s known as pinholing (tiny holes that form as the grout dries). The grout may collapse over time and these small visible holes can compromise durability and aesthetic quality.
Wipe Excess Promptly from Tile: Remember when applying grout, be it sanded or unsanded grout for shower walls or kitchen floors, the best approach is to work in small sections. Grout generally dries quickly, so clean off residue on the tile surface immediately with a damp sponge to prevent stubborn haze and streaks from forming.
Allow Proper Curing Time: Sanded or unsanded grout for shower or other wet areas should be allowed ample time to dry. Avoid walking on or getting the tiled surface wet before it’s fully cured, typically 24 to 72 hours, depending on conditions.
Seal Grout for Added Protection: Unless instructions say otherwise, make sure to seal both unsanded and sanded grout after curing. This step helps prevent water penetration, staining, and mold growth that may compromise the substrate.
Check Grout Regularly for Cracks: Inspect grout lines for cracks, chips, or loose sections. Even with proper care, both sanded grout vs unsanded grout can deteriorate over time. Remedy any problem areas as soon as possible.
Conclusion
As you can see, understanding the difference between sanded vs unsanded grout will help you pick a side suitable to knock your next tiling project out of the park. Grout, though not always the most interesting part of installation, improves structural integrity, prevents edges from rubbing against each other, and keeps moisture and debris out of the seams. Remember, the type of tiling material, the size of the tile joints, and the area where they are to be installed are key factors in determining which grout type is right for the job.