How to tile a shower floor
Nov 24, 2025
Tiling the floor of the shower may seem daunting, but with a good plan and following the steps described below, you can get a professional finish that is water-tight, non-slippery, and durable. Each detail counts, from constructing an appropriate slope and waterproofing to finally creating the look that works for you. Laying shower floor tile is one of the most rewarding DIY projects you can undertake, as you get total control over the style and atmosphere you desire for your space.
Let's share the steps on how to tile a shower floor, from the right tools to prepping the surface and completing a successful installation.
Key Takeaways
-
The secret to a durable shower floor is a level, smooth, clean, and waterproof subfloor.
-
Dry-fitting the tiles before applying the adhesive will help you get the right layout.
-
Textured or mosaic tiles work best for wet floors because they provide better grip and are easier to slope.
-
The appropriate slope toward the drain prevents puddling and allows water to flow properly.
-
A correctly laid and properly cured shower floor provides functionality combined with a smooth, professional, and good-looking finish.
-
Grouting and sealing protect the tile from moisture, stains, and daily wear.
Gather Your Tools and Materials
It is important to prepare everything beforehand. Having all your tools and materials ready before you start will make installation simpler and much faster.
Tools:
-
Notched trowel
-
Safety gloves and goggles
-
Tile cutter or wet saw
-
Tape measure
-
Sponge and clean cloths
-
Level
-
Mixing bucket
-
Drill mixer
-
Rubber mallet
-
Tile spacers
-
Grout float
Materials:
-
Shower floor tiles
-
Drain assembly
-
Cement backer board (optional)
-
Waterproof membrane or liquid waterproofing
-
Grout
-
Tile sealer
-
Thin-set mortar
 Pro Tip:
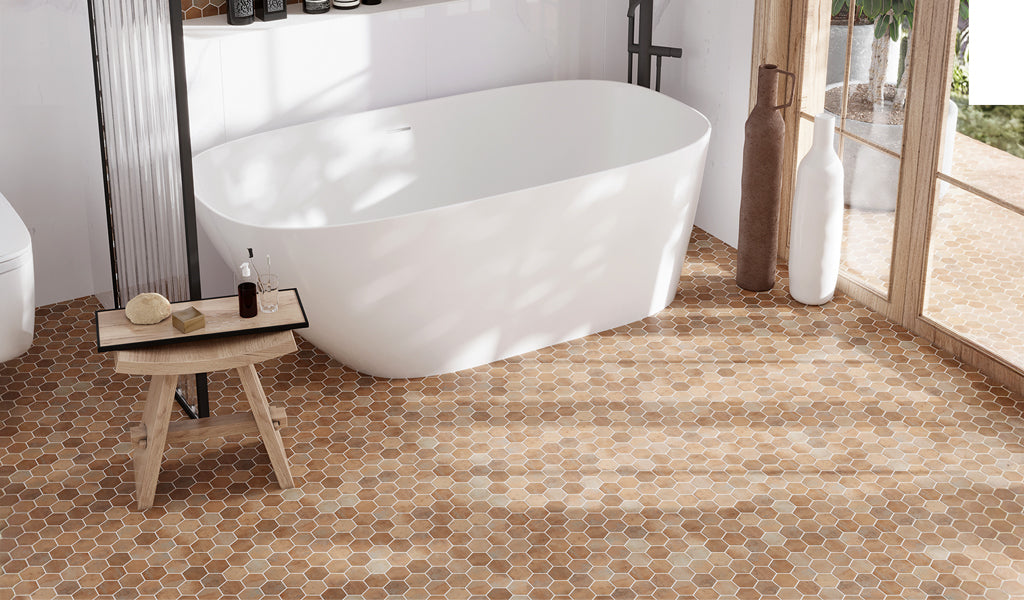
When choosing shower floor tile, consider a tiling material with a textured finish or in mosaic format, such as porcelain, marble, or glass tile. Not only do they appear gorgeous, but they also offer enhanced slip resistance and long-lasting durability.
Prepare the Subfloor
The key to a flawless shower floor starts underneath the tile. You need to inspect and prepare the subfloor to have your tiles stick well and be watertight for many years to come. Begin by inspecting the subfloor for damage, cracks, or unevenness. Repair any damaged areas and fill in soft spots to provide a stable and solid surface. After repairing, thoroughly clean the surface by sweeping or vacuuming off the dust, debris, and dirt. This is a very significant step to ensure the mortar will gain its hold and will not create future installation issues.
If you are learning how to tile a shower floor without a pan, start by installing a cement backer board and securing it with corrosion-resistant screws. This creates a solid, waterproof foundation for your tiles. Once the board is in place, apply a liquid membrane waterproofing or sheet membrane cover to seal the surface completely. Sealing prevents the water from seeping in, and you do not need to worry about mold, leaks, and water damage, as this keeps your tiled shower floor watertight and sturdy.
Plan Your Tile Layout
Before diving into how to install tile shower floor, plan your layout without mortar. First, lay out the tile pattern to determine the pattern. Do this without the adhesive to visualize how they will fit together. Install tiles outward, starting from the center, going toward the walls and drainage. Once you are satisfied with the arrangement, mark the floor’s centerlines using a chalk line or straight edge to guide your installation.
These markings will also serve to keep your tiles level and at proper spacing when you are installing. Also, inspect the slope of your shower floor, let it drop 1/4 inch per foot towards the drain hole so there is free flow of water and no puddling. If needed, adjust the mortar bed to form the proper gradient.
 Pro Tip:
To find out how to tile a shower floor without a pan, do it with small mosaic tiles; they are easier to curve around the drain and stay level.
Mix and Apply Thin-Set Mortar

With your layout ready, it is time to start the process of how to install tile shower floor correctly. Begin by mixing the thin-set mortar according to the package instructions until it reaches a smooth, peanut-butter consistency. Let the mix set (or "slake") for several 10 minutes, and then remix it before use to fully engage the bonding agents. Spread the mortar with a 45°-angled notched trowel in a restricted area of the floor in an even application, combing out in straight lines for maximum hold. Press each sheet of tiles firmly into the mortar, spreading them evenly apart from each other using tile spacers. Gently tap the tiles with a rubber mallet to make sure that they are level and firmly set on the mortar bed. It is best to work the mortar in sections at a time so that it will not dry out before your tiles are set, forming a good and even bond on the surface.
Cut Tiles to Fit Around Edges and Drain
To master how to tile a shower floor, accurate cutting and careful placement are essential for a professional finish. This is especially important around edges, corners, and any obstacles. Start by measuring and marking the cutting dimensions. Use a pencil or marker to draw clear-cut lines on every piece before cutting. Cut straight with a wet saw to achieve uniform edges, then use the tile nipper or hole saw for curvy or round cuts. Dry-lay all cut tiles to see if they fit before applying mortar. Once the fit is confirmed to be satisfactory, apply the mortar and place the tiles in position, checking to achieve a smooth, professional finish that enhances form and function.
Grout and Seal the Shower Floor
After the mortar dries completely, ideally 24 hours later, it is time to grout your shower floor. Start by preparing the grout as described in the manufacturer's instructions. With a grout float, spread the mixture in a diagonal motion across the tiles, forcing it deep into the joints for complete coverage and a watertight seal. Let the grout set for 15–20 minutes, then use a damp sponge to remove excess and haze from forming on the surface. Rinse the sponge often to provide a clean, shiny surface. After the grout has fully cured, usually 48 to 72 hours, treat the grout with a sealer to prevent moisture, mold, and stain damage. For a detailed guide on protecting grout lines, read our blog on How to Seal Grout on Tile Floor.
Final Touches and Cleanup
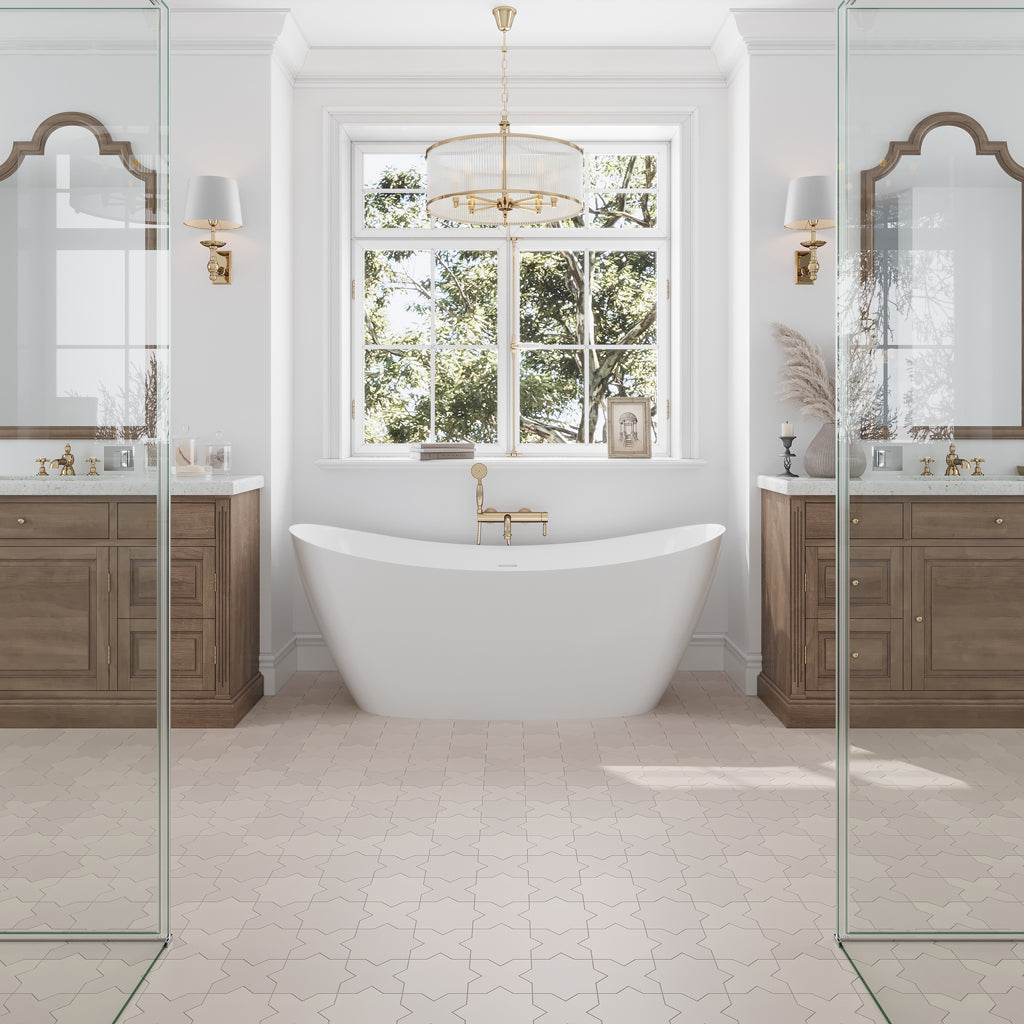
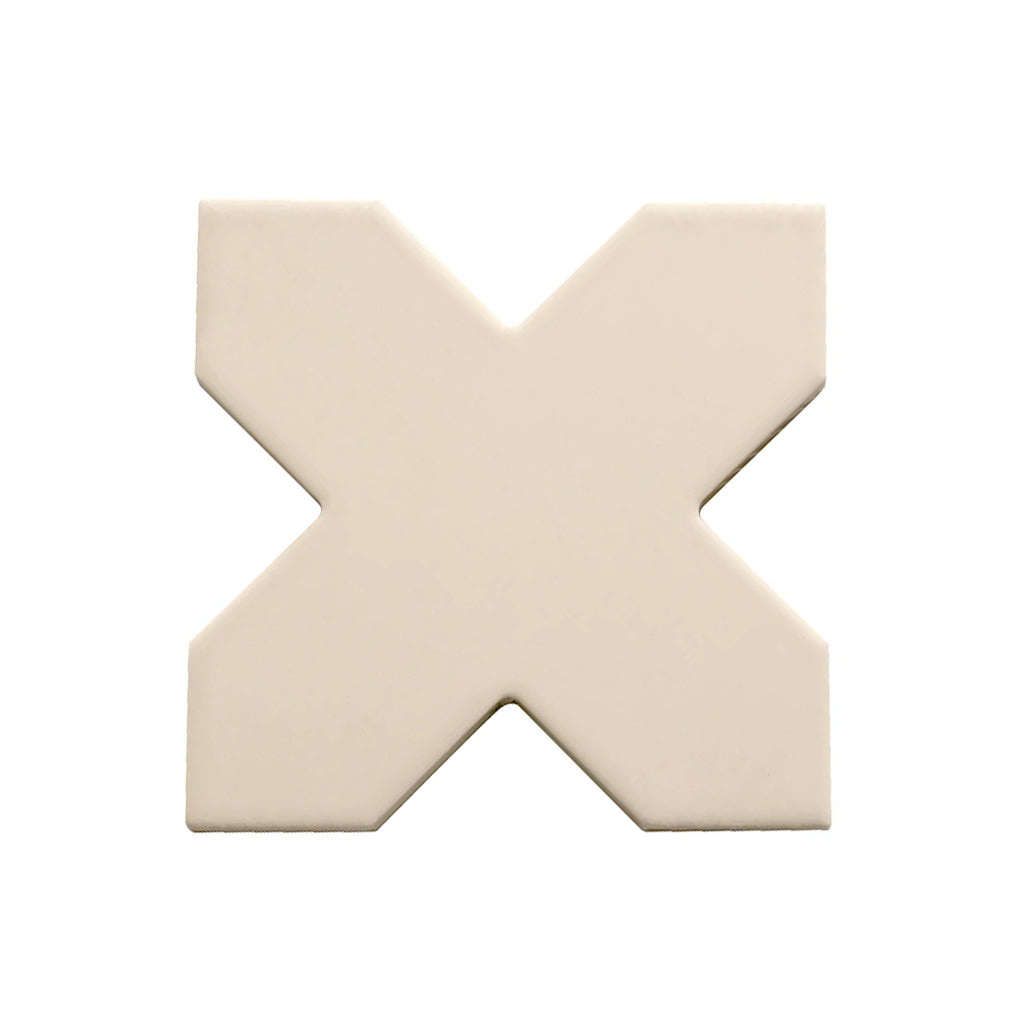
Upon sealing and grouting tiles, the finishing touches can be done to complete your shower floor installation. Start by checking if tiles are level, the pitch to drain is accurate, and grout lines are gap-free and even. Any low areas or imperfections should be filled in as necessary for a smooth, even finish. Add texture and sophistication to your shower floor with the stylishly modern look of Ecru Taupe 5x5 Matte Cross Porcelain Tile. Next, lightly clean the tiles with a pH-neutral cleaner to eliminate any haze, dust, or film left behind. After the surface is dry and clean, install the cover drain and let the shower floor fully cure before use. This will typically take three to five days. Following these steps when learning how to tile a shower floor ensures your new shower floor is not only beautiful but also durable, waterproof, and long-lasting.
Conclusion
Installing a shower floor might seem like an exhausting job, but with the right tools, materials, and following these easy installation steps, you can attain a stunning finish. With a waterproof subfloor and proper adhesion and sealing, your new non slip tile will not only be durable but look immaculate for years. Whether sharpening your skills of tiling a shower floor without a pan or mastering the craft of laying shower tile from scratch, following this guide will ensure a safe, elegant, and long-lasting finish.
Frequently Asked Questions:
What do you put on a shower floor before tiling?
A cement backer board with a waterproof membrane or shower liner should be placed before tiling. This stops water from reaching the subfloor and causing damage.
What is the best floor for a walk-in shower?
Different materials are ideal, including porcelain, marble, and glass tiles. These tiles are long-lasting, waterproof, and slip-resistant.
What tiles should not be used on a shower floor?
Any tiling material not rated for shower flooring should be avoided. Make sure to check specifications for the area of use when shopping for tiles online.
What goes under shower floor tile?
A cement backer board and waterproof membrane can be installed for stability and protection against moisture. Thereafter, an adhesive can be used to bond the tiles to the surface below.
Is it better to put cement board or plywood under tile?
Cement backer board is a better option for shower floors. It is water-resistant and prevents the movement of the tile.
What is the best grout for a shower floor?
Epoxy grout is the best grout because it is waterproof and stain-resistant for wet areas like showers. However, if a cement-based grout is preferred, it should be sealed periodically to protect against water damage.
How do you slope a shower floor for proper drainage?
Create a slope of about 1/4 inch per foot with a mortar bed or pre-sloped pan to achieve effective drainage of water.
How do you waterproof a shower floor before tiling?
Apply a liquid waterproof membrane or install a waterproof liner over the subfloor and up the walls before tiling. Overlap seams and corners for a waterproof seal.

