
How to Clean Bathroom Tile and Keep It Looking New
Dec 09, 2025 12 minute read
Bathroom tiles deal with constant moisture, soap residue, and daily wear, all working slowly to create a dull, stained surface. Even with regular cleaning, buildup can settle in corners, grout lines, or a textured finish. That is why learning how to clean bathroom tile the right way matters, because using the wrong products or rushing the process could, over time, damage the surface. When properly maintained, tiles stay brighter, longer, and the entire space feels fresh and well cared for.
Key Takeaways
-
Proper cleaning of bathroom tiles involves knowledge of the type of material.
-
Sweeping, mopping, gentle scrubbing where stains appear, rinsing, and drying keep tiles bright and prevent damage.
-
Grout requires special care; clean buildup regularly and seal periodically to prevent deterioration.
-
Porous materials such as natural marble stone require periodic sealing to guard against moisture and stains.
This guide takes you through everything you need to know: how to clean bathroom tile, the best way to clean bathroom tiles without damage, and also simple daily habits that help keep the tiles looking new even after years of use.
Know Your Tile Type Before Cleaning Starts

Before you begin cleaning bathroom tile, take a moment to understand the kind of material you are working with. Each material reacts differently to moisture, chemicals, and cleaning tools. Using the wrong product can lead to etching, stains, or a dull, worn-out finish, especially in a high-use area like the bathroom.
1. Porcelain Tile
Porcelain is durable, water-resistant, and easy to look after. It is chemical-resistant, making it an easy surface to clean and maintain. These features also make it an excellent bathroom floor tile, where surfaces are prone to daily water contact, soap scum, and grime.
2. Ceramic Tile
Like porcelain, glazed ceramic tile is also a practical choice for bathroom surfaces. However, it’s important to avoid harsh chemicals or abrasive scrubs as they can dull and cause permanent damage to the glaze. Stick to mild, non-abrasive cleaners to avoid wearing down the surface over time.
3. Natural Stone Tile
Special care and the right products are required to care for natural stone, including marble, travertine, and limestone tile. Avoid acidic cleaners like vinegar or lemon, as they will etch and discolor. The best practice is to use a pH-neutral cleaner approved for natural stone.
4. Glass Tile
Glass tiles clean easily but may sometimes show streaks due to their highly polished surface. A solution of warm water and mild cleaner works best, along with a soft, lint-free cloth so you can restore the shine to the tile surface while cleaning.
5. Textured or Matte Tile
Textured or matte-finished tiles may be prone to accumulating dust and dirt. A soft-bristled brush will help lift grime from grooves without scratching the tile.
Understanding your tile type will make it easier to choose the safest and most effective method when learning the best way to clean bathroom tiles without causing markings or impressions.
What You Will Need to Clean Bathroom Tile

Have everything ready before you start cleaning bathroom tile. The right tools will get the job done efficiently.
Cleaning Essentials
-
Warm water
-
Dish soap or pH-neutral cleaner
-
Soft microfiber cloth
-
Soft bristle brush (if needed)
-
Spray bottle
-
Mop (for bathroom tile floors)
-
Bucket
-
Squeegee
Step-By-Step Cleaning for Wall and Floor Tiles
Knowing the proper cleaning steps will help you get rid of dirt without scratching or damaging your tiles. Use this simple routine for cleaning and keeping bathroom wall and floor tiles spotless.
Cleaning Bathroom Wall Tiles

Step 1: Remove Surface Dust and Soap Scum
The first step in how to clean bathroom wall tiles is to wipe with a damp microfiber cloth. This removes loose dust and light soap scum that rests on the tile surface.
Step 2: Mix a Cleaning Solution
Fill a spray bottle with warm water, adding several drops of dish soap. Shake it gently to mix. Dish soap is gentle but effective; it cuts through body oils, light grime, and watermarks without stripping the tile's finish. Spray this solution directly onto the wall tile, making sure to apply evenly.
Step 3: Scrub Tile Surface Gently
Scrub the tiles gently in small circles using a soft sponge or microfiber cloth. This helps lift dirt without being abrasive. Pay particular attention to areas that catch buildup, such as corners of the walls and the bottom edge of shower walls, and spots where shampoo or soap tends to accumulate. You want to loosen grime rather than press hard.
Step 4: Rinse with Clean Water
After scrubbing, wipe the tiles with clean water or spray them down if they are in the shower area. This step removes any leftover soap that can dry into a film and make the tiles look dull if not rinsed properly.
Step 5: Dry and Shine the Tiles
Finish off the process by drying the tiles, either with a microfiber towel or using a squeegee. Drying prevents water spots and streaks on glossy or polished surfaces. It also slows down mold and mildew growth by removing excess moisture.
Cleaning Bathroom Tile Floor
Cleaning bathroom floor tiles takes a little more work than cleaning walls, as floors tend to collect more dirt, body oils, and debris. Here is a step-by-step guide on how to do it right without causing damage to your tiles.
Step 1: Sweep or Vacuum the Floor
Start with the removal of loose debris: hair, dust, dirt, and dry particles.
Sweep with a soft broom or a vacuum cleaner with a setting for floor safety to avoid scratching the tile surface. This ensures that, when you mop, you are not grinding grit into the tile.
Step 2: Mix a Cleaner
Choose the correct cleaning solution according to your type of tile:
-
For porcelain or ceramic tiles:
Option A: A solution of warm water with a few drops of dish soap.
Option B: Mix warm water and white vinegar - around 1 cup of vinegar per bucket of water. Acidic vinegar does a good job at cutting through grime, and for this reason, is far better suited to clean glazed or non-porous tiles.
-
For natural stone tiles - marble, travertine, and slate:
Use a pH-neutral stone cleaner. Avoid acidic or harsh cleaners that may damage natural stone and etch the surface or dull its finish.
Step 3: Mop the Tiles
Dip a mop (can be microfiber or a soft string) into your cleaning solution.
Wring well so it’s damp but not dripping; too much water can penetrate the grout and damage subflooring over time. Mop the floor in straight lines (forward and back) or with light, circular strokes. This will allow you to thoroughly cover the entire surface without smears.
Step 4: Scrub Tough Spots
Some areas may have stubborn spots: soap scum, body oils, or spills. Gently scrub the hardened spots using a soft-bristle brush. Work slowly and reapply a little cleaning solution when necessary, taking care not to use anything too harsh for the tile.
Step 5: Rinse and Dry
After mopping and scrubbing, rinse the floor with clean water. You can do a final wipe with fresh water or spot-rinse the areas you scrubbed. Then dry the floor with a clean mop, microfiber towel, or air-dry if the ventilation is good. Drying will help prevent water spots and streaks, and it also prevents mold/mildew buildup.
Why These Cleaning Steps Matter
-
Sweeping first prevents scratching and ensures your mop doesn’t get dirty.
-
A proper cleaner helps protect tile material, especially natural stone.
-
Mopping and scrubbing remove everyday dirt and stubborn residues alike.
-
Rinsing and drying will help the tile maintain its shine while preventing water damage or buildup.
Cleaning Grout & Stubborn Stains
Tiles are easy to clean, but grout is usually where all the dirt, soap residue, and discoloration gather. Learning how to clean bathroom tile grout naturally not only helps you save money but also keeps your bathroom chemical-free and safe for daily use.
Option 1: Baking Soda + Water
This is the most basic, natural grout cleaner.
-
Mix baking soda with a little water until a thick paste is formed.
-
Apply the paste directly onto the grout lines.
-
Use a toothbrush or small scrub brush to work the mixture into the grout.
-
Rinse with warm water to show cleaner, brighter grout.
Option 2: Baking Soda + Vinegar
Important: Do not use this on natural stone tiles such as marble, travertine, or limestone, as vinegar may cause etching.
-
Spread a paste of baking soda down the grout lines.
-
Spray white vinegar over the paste and let it foam and bubble.
-
Once the bubbling has stopped, scrub the grout with a brush.
-
Rinse well to remove all residue.
Option 3: Hydrogen Peroxide + Baking Soda
This is ideal for more stubborn grout stains.
-
Mix equal parts hydrogen peroxide and baking soda to make a cleaning paste.
-
Apply it to the grout and scrub gently.
-
Rinse particularly well to ensure you don't leave any film on if your grout is sealed.
Preventive Maintenance & Daily Habits
Clean tiles are one thing, but the best way to keep them looking new is to build simple daily habits. These little routines will prevent grime, mold, and stains from forming, so you won't have to deep-clean as often.
1. Use a Squeegee Daily
After each shower, quickly run a squeegee over the wall tiles and glass surfaces. This removes water droplets before they dry into hard water marks or soap scum. It takes less than a minute but makes a big difference in keeping the tiles shiny.
2. Ventilate the Bathroom
Moisture is the biggest cause of mold, mildew, and grout discoloration. Switch on the bathroom fan while you are showering and for a while afterwards, or open a window to let the steam out. Good ventilation keeps the space dry and prevents lingering dampness.
3. Wipe Down High-Use Areas
High-use areas like handles, corners, or shower walls build up dirt faster. Take a microfiber cloth and wipe these areas down once every few days to prevent grime from setting.
4. Clean the Floor Weekly
Bathroom floors tend to trap dust, body oils, water drops, and product residue. A weekly sweep and mop prevents dirt from bonding to the tile surface, especially on textured floors, where debris can settle into grooves.
5. Seal Grout Periodically

Grout is porous, which makes it very susceptible to stains. Ensure to seal grout annually to create an additional layer to help block spills, water, and dirt. This will also make regular cleaning much quicker while maintaining brighter grout for a longer period.
Special Considerations: Natural Stone & High-End Tiles
Some of these tile varieties are too sensitive or too expensive to take risks with, and the wrong cleaning product could easily damage them. Therefore, it is important to know the best method for cleaning each type.
Natural Stone Tiles
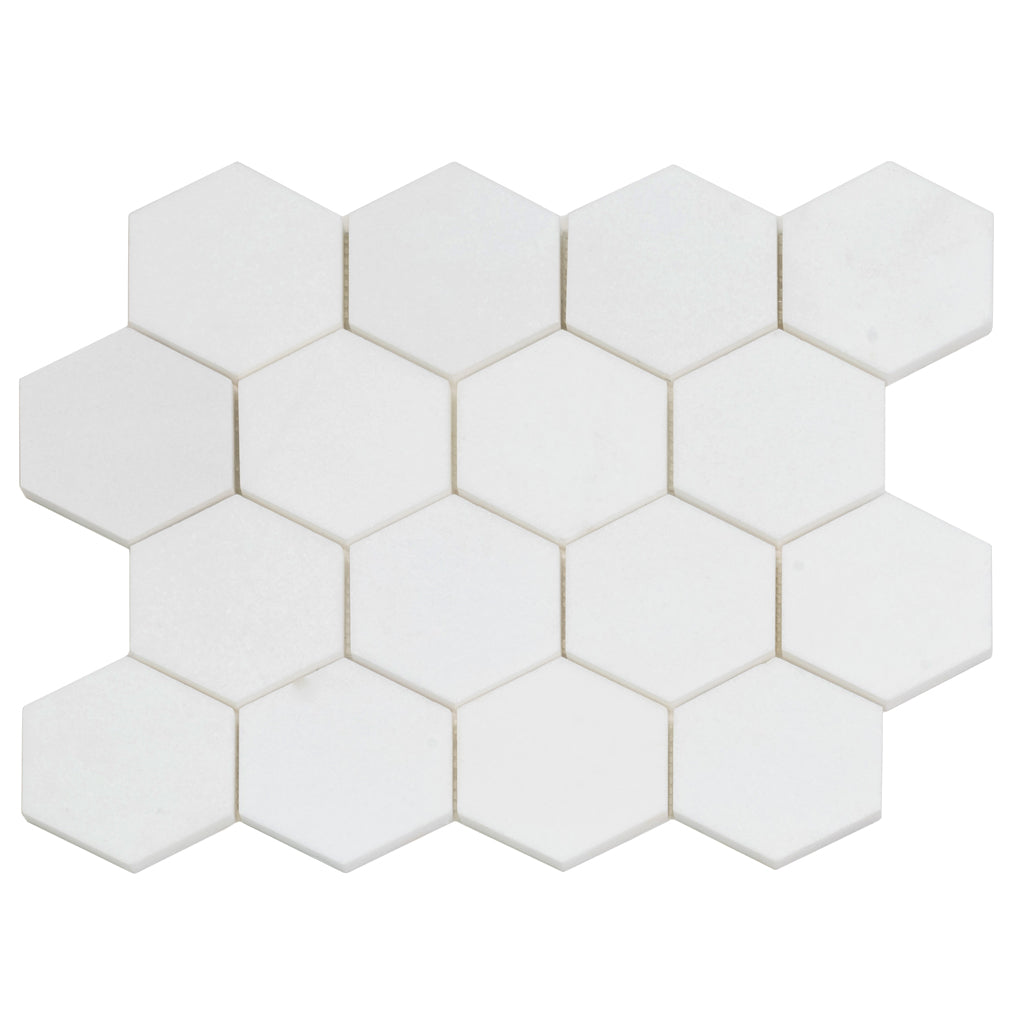
Natural stone tiles are sensitive to etching and staining. Vinegar, lemon, bleach, ammonia, and abrasive powders must be completely avoided, as they will permanently damage the surface. Instead, clean our Snow White 10x12 Honed Hexagon Thassos Marble Mosaic Tile with pH-neutral stone tile cleaners along with soft cloths or microfiber mops. After cleaning, it is important to dry the tiles thoroughly in order to avoid water marks or any dull spots.
High-End Polished or Glossy Tiles
Polished or high-gloss tiles tend to show scratches, streaks, and water marks very easily. Always clean them with mild, non-abrasive cleaners, and never use rough brushes or scrubbing pads. Lastly, after cleaning, always wipe them dry to maintain that smooth, shiny finish.
Textured, Matte, and Patterned Tiles
Textured, matte, and patterned tiles tend to trap dirt in grooves and ridges. Use a soft-bristled brush and warm, soapy water to get into the textured areas. Be sure to thoroughly rinse the tile after cleaning to ensure no cleaning residue is left on the surface; this can dull the surface with time.
Conclusion
Learning how to clean bathroom tile does not need to be complicated. With the proper tools, good maintenance, and safe cleaning solutions, you can make it shine and keep your walls and floors fresh each day. Whether you're seeking guidance on cleaning bathroom floor tiles, learning what to use to clean a bathroom tile floor, or looking for an effective way to clean bathroom tiles, the methods above will keep your entire bathroom sparkling.


