How to Tile a Wall: From Planning to Grouting
Sep 24, 2025
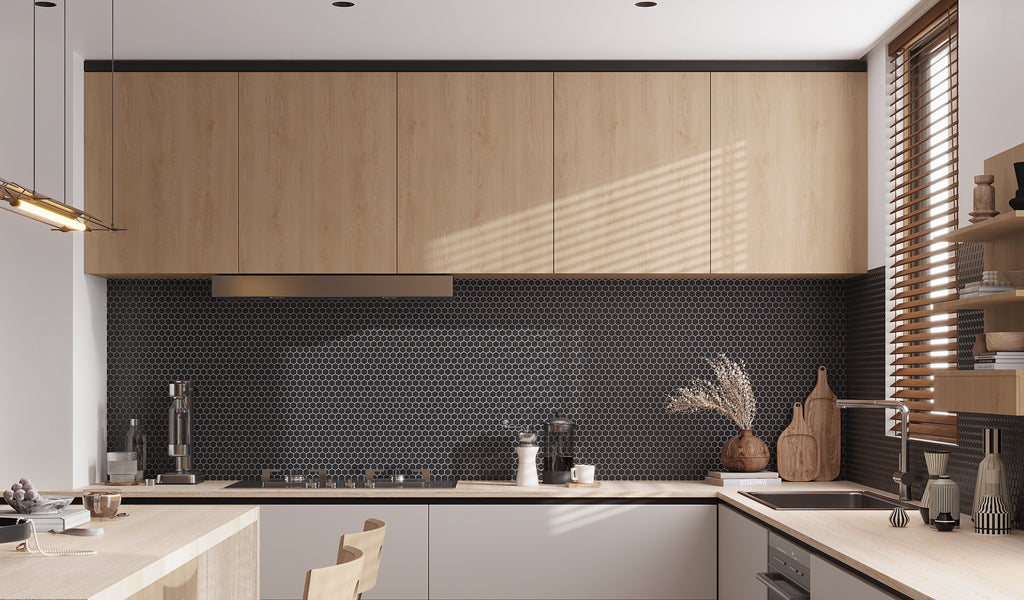
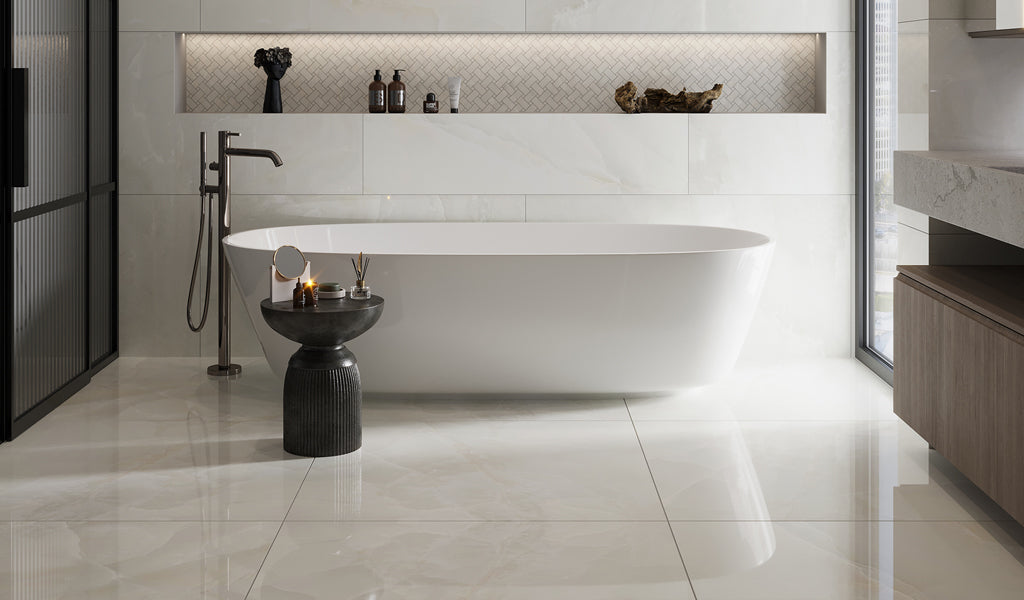
A tiled wall enhances the appearance and functionality of any space, be it a kitchen backsplash or shower surround. Tiles not only add personality but also create durable and resilient surfaces that are easy to maintain; benefits that make them a good choice for busy households. Materials such as glass and ceramic are hard-wearing and last for years. Knowing how to tile a wall allows you to have control over your design, which, in turn, cuts costs for professional installation. From timeless subway to lavish marble, the possibilities for tiling a wall are endless.
This guide will take you through the steps involved in wall tile installation. You'll learn how to prepare the surface and plan your layout, lay tiles, and finish the job with the perfect trim. Along the way, we’ll share common mistakes to avoid like uneven tiles and grouting the wrong way. With patience and proper techniques, you can get a polished, professional finish that adds beauty and functionality to your space.
Tools and Materials Needed for Tiling a Wall
Before carrying out a wall tile installation, it’s important to have the right tools and materials. Preparation helps in preventing mistakes and delays.
Tools:
-
Pencil and chalk line
-
Tape measure
-
Spirit level
-
Notched trowel
-
Wet saw or tile cutter
-
Tile nippers
-
Tile spacers
-
Rubber mallet
-
Drill paddle mixer
-
Grout float
-
Sponge and bucket
Materials:
-
Wall tiles of your choice
-
Tile adhesive (thinset mortar or ready-mix)
-
Grout (sanded or unsanded, depending on joint width)
-
Primer (to seal the wall before laying tile)
-
Tile sealer (if needed)
-
Waterproof membrane (in wet areas)
Prepare the Surface and Plan Your Tile Layout

The first step in wall tile installation is prepping the surface. Skipping this step can lead to poor adhesion and a sloppy-looking finish. Taking time on wall preparation leads to a smooth installation process with a stronger, more lasting finish.
Prepare the wall surface: A clean and dry surface allows the adhesive to set and keeps tiles from sliding. For stubborn stains or residue, use a mild detergent. Clean thoroughly, rinse, and dry completely before spreading the adhesive. This is most crucial in kitchens and bathrooms, where oil, soap, and moisture will inhibit proper adhesion.
Repair defects: Patch holes, cracks, or uneven surfaces. Tiles should be installed on a flat and smooth surface to avoid shifting or uneven grout lines. Grind off the high spots and fill the low spots with a proper filler or plaster. Uneven walls can also lead to tiles sticking out or not being flat, which will make the wall look uneven and reduce durability.
Waterproof (for wet spaces): When learning how to tile a wall in wet areas such as the bathroom or laundry room, it’s essential to install a waterproof membrane to prevent water seepage and damage. This will be useful in keeping the structure of the walls safe from moisture-related issues. Ensure the membrane is coated in all the corners and seams for complete coverage. Waterproofing is an essential process with long-term benefits, particularly where there is regular exposure to water.
Prime if necessary: Porous surfaces need to be primed for a greater bond when learning how to install wall tile. Priming also guarantees uniform adhesion across the wall so that tiles will not pop out after some time. For optimum performance, use a primer that has been specified for your project.
Planning the Tile Layout
Use a chalk line to create a middle guide point from which you will start laying the tiles. This ensures that the tiles stay straight and in line as you move horizontally along the wall. You can also insert other reference points for vertical or horizontal orientation to prevent drift with time.
Dry lay the tiles on the floor to test how they will look, making sure that cuts sit at the edges. You are able to see the final result before using the adhesive. Make small adjustments to use as many whole pieces as possible and avoid tile slivers. Planning beforehand saves time, reduces wastage, and provides a clean, professional wall finish.
For instance, our Soft Pink 5x5 Glossy Subway Ceramic Tile is a versatile choice that supports modern or traditional wall tile installation. Experiment with colors, finishes, and textures to determine the composition appropriate for your space. Even straightforward designs will look opulent when the layout is well thought out.
Mixing and Applying Adhesive for Wall Tile Installation

It is the adhesive that holds tiles in place. Otherwise, wall tiles can shift when the right adhesive hasn’t been used or applied correctly. Below are the steps on how to tile a wall the right way:
Mix the adhesive: If using powdered adhesive, mix with water to a peanut butter consistency as the instructions on the package recommend. Mix thoroughly to avoid lumps and allow it to stand for several minutes. Over-mixing or under-mixing can impact adhesion strength or drying time.
Use a notched trowel: Spread adhesive evenly over a small section of the wall. Hold the trowel at 45 degrees to create ridges, which helps tiles adhere more securely. When tiling a wall, always work in sections to prevent the adhesive from drying too quickly before you’ve had the chance to place all tiles. Use firm pressure or wiggle the tile into the adhesive at the correct level and without air pockets.
Work in small sections: The adhesive takes about 30 minutes to start hardening. Use only enough to cover 4–6 tiles at a time or as appropriate to your working speed. The adhesive will likely skin over, and its grip will diminish if too much area is covered at once. Always read the manufacturer’s instructions on the package to get the steps right.
How to Lay and Cut Tiles to Fit Your Wall Perfectly

The exciting part begins: tiling the wall. This is where all of the planning and preparation pay off. Following proper techniques will make your wall tile installation appear clean and professional.
Begin at the center point: Fix the first tile on either side of the center point so that the joint sits at the side of the marked line. Press firmly into the adhesive to the correct level for optimum adhesion. Check alignment frequently with a spirit level. Lay the first row, as this will determine the result of the rest of the wall.
Insert spacers: Insert spacers between tiles as you go for even grout lines. Standard spacing is 1/16 to 3/8 inch, based on tile thickness. Uniform gaps prevent uneven grout lines and ensure the tilework looks polished. Remove spacers only after the adhesive has cured to prepare for grouting.
Verify alignment: For every row, use a spirit level to ensure that the tiles are straight. Correct alignment at once if they begin to slide out of the marked line. Tiles that have shifted and are not straight are difficult to rectify once the adhesive has hardened.
Cutting tiles: Utilize a tile cutter for clean, precise cuts and use tile nippers for rounded edges around obstacles such as outlets. Double-check measurements and mark the cutting lines. Smooth rough edges using a tile file or sandpaper to avoid chipping and to ensure a clean finish.
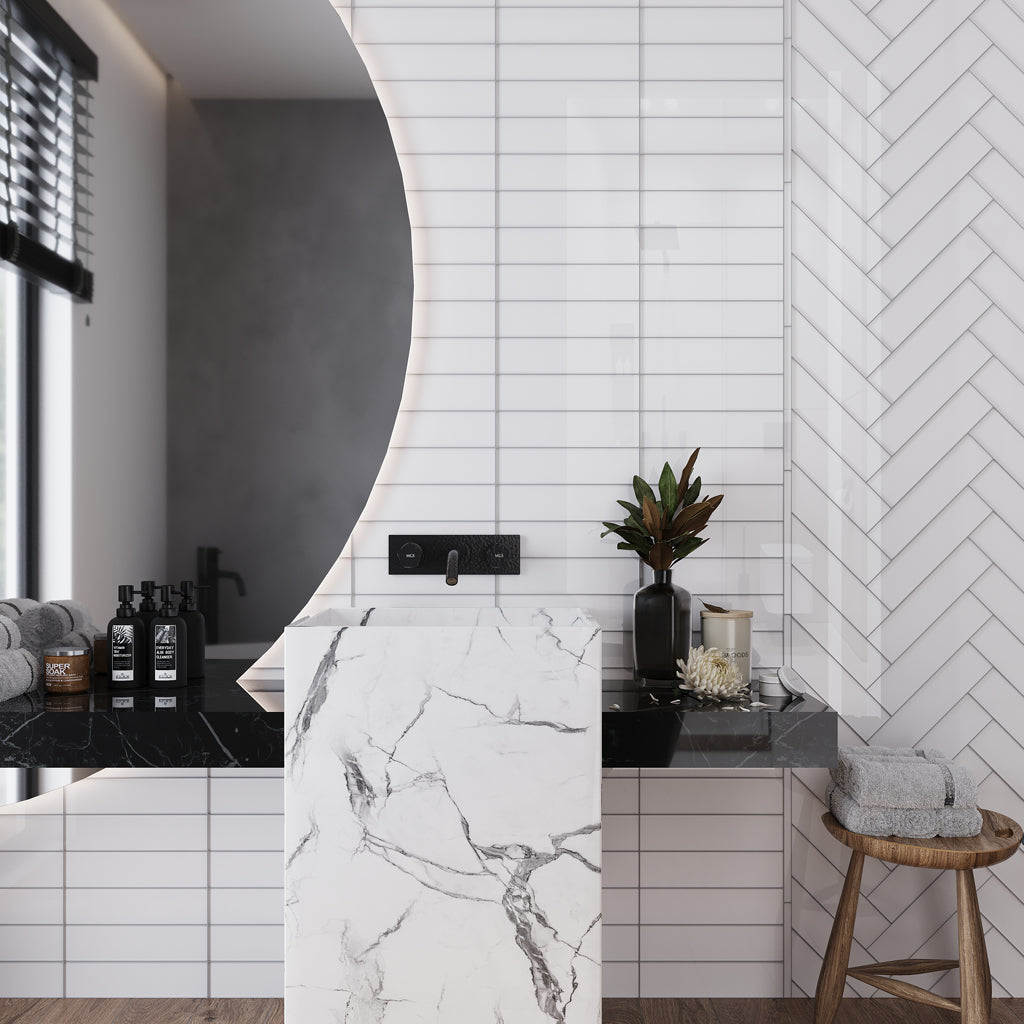
Choose the direction to tile beforehand. For instance, our Cobalt Blue 3x12 Glossy Subway Glass Tile can be set horizontally to widen narrow walls or vertically for a sense of height. Be adventurous with layout by choosing patterns such as herringbone or basket for added visual punch.
Let the Adhesive Set and Start Grouting Your Wall Tiles
Once tiles are laid, it is time to exercise patience. Allow the adhesive to dry fully so that the tiles are fixed in place. When learning how to put tile on wall, remember that proper drying time is critical for achieving a strong, long-lasting finish.
Leave adhesive to dry: Allow at least 24 hours, but take note of the manufacturer’s recommended time. Drying can be affected by the room's temperature, so take this into consideration.
Grout tile joints: Hold the rubber float 45 degrees to force grout into the joints. Fill the seams completely so no air pockets form. Work in sections to achieve excellent results.
Clean excess grout: Let the grout dry slightly, for about 10-15 minutes, then clean excess with a damp sponge. Clean the sponge frequently to avoid film on the tile surface and swap out water. Repeat as required until the surface is properly cleaned.
Final Cleaning and Sealing for a Professional Tiled Wall Finish
Now that the grout is dry, it’s time to clean and seal your installation. These last steps are essential when learning how to install wall tile.
Seal grout lines: Cementitious grout is porous and needs sealing to prevent staining, discoloring, and moisture infiltration, particularly in wet areas, such as bathrooms and kitchens. Use thin coats and allow to dry according to the directed time.
Seal tile (if required): When learning how to put tile on wall, it is important to remember that tiling material, such as stone tile, isn’t 100% non-porous and can easily stain. They should be sealed at installation and periodically afterward to prolong their lifespan. Sealing also enhances the natural look of the tile and makes upkeep simpler. To learn more about sealing natural stone, read our blog: How to Seal Marble Tile: A Step-by-Step Guide.
Final cleaning: Remove grout residue or haze by wiping the tile surface with a damp cloth. Lastly, buff with a microfiber cloth for shine. These final steps prepare the tiled wall for use straight away.
Conclusion
Learning how to put tile on wall becomes easier when you prepare, plan, and pay attention to the details. From cleaning the surface, determining the layout, and laying the tiles, every step is crucial in getting a strong, visually appealing finish. Whether your project involves a kitchen backsplash or remodeling the bathroom, getting tiling a wall right will boost your confidence to tackle even more complex areas.
Frequently Asked Questions:
1. How do I waterproof a shower wall before tiling?
Treat the cement board with a waterproof membrane before wall tile installation. This creates a watertight seal that will protect the wall structure from moisture intrusion. Take special care to seal all seams and corners, as these are the most prone to leaks. Once the waterproof coating has dried, you can install tile knowing that the wall will be protected from water damage.
2. How do I prevent tiles from sliding on the wall?
To prevent tiles from slipping during application, start your base row on an immovable support, such as an adjustable batten or ledger along the bottom of the wall. Spacers between tiles will maintain even gaps and straight alignment. Painter's tape can also be employed to hold tiles in place while the adhesive dries.
3. How long should the adhesive dry before grouting?
At least 24 hours is required for the adhesive to fully set before grouting. Always check the manufacturer's instructions for the best results.
4. How do you decide what direction to lay tile?
Horizontal tiles make a room appear wider, vertical tiles create height, and diagonal tiles add a dynamic touch. Consider the size of the area and the aesthetic you’re going for.
5. What is the minimum spacing for wall tiles?
A 1/16-inch tile spacing is widely used for wall installation. This slim profile calls for unsanded grout to squeeze in between the tiny crevices.
6. Are tiles able to be installed in repeating patterns to create a symmetrical look on walls?
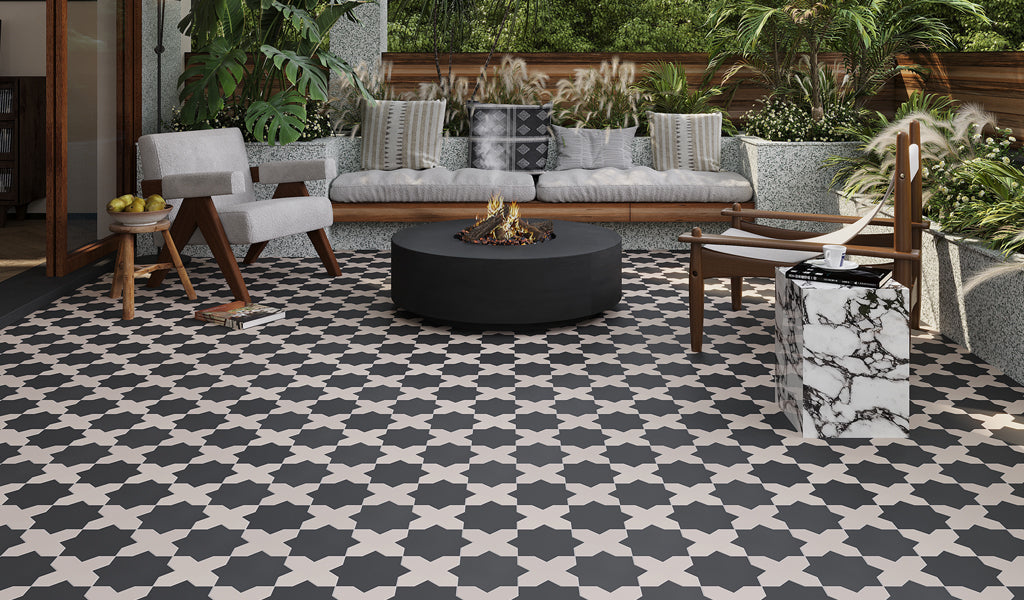
Tiles may be arranged in periodic patterns so that a symmetrical and pleasing look may be attained on walls. This is commonly termed as periodic tiling, where the shapes, colors, or textures are periodically repeated to present an even and aesthetically appealing visual impact. Subway tiles, checkerboard patterns, and herringbone designs are some of the most popular ones, all of which create a sense of order and organization in the room.
7. Can tiles be used in non-repeating, aesthetic configurations, such as a Fibonacci-inspired or aperiodic design?
Tiles can be arranged in non-recurring, more aesthetic patterns, occasionally borrowed from the likes of the Fibonacci sequence or aperiodic tiling. These patterns don't recur in a strict sequence, so every wall is different and worth looking at. They're ideal for creating an attention-grabbing focal wall that adds a touch of art to a space.
8. Why does PEI Rating matter when tiling a wall?
PEI rating reflects how strong a tile is and how well it can withstand wear and tear. For most walls, a lower PEI rating will suffice, as they do not receive heavy foot traffic. For shower walls or kitchen backsplashes, applying a higher PEI rating tile is recommended. With the appropriate rating, your tiles will remain strong, scratch-free, and long-lasting.

