How to Seal Marble Tile: A Step-by-Step Guide
Jun 30, 2025 13 minute read
Marble tiles bring timeless elegance and a luxurious finish to any space. However, marble is a porous natural stone that requires proper sealing to preserve its beauty and prevent staining or etching. If you're wondering how to seal marble tile effectively, this step-by-step guide will walk you through the process, along with essential tips for maintaining that polished look for years to come.
Key Takeaways
- Marble is a porous stone that readily absorbs liquids and stains. Sealing protects it from water and wear damage.
- Marble sealing improves durability and resistance, but does not make the tile surface stainproof or waterproof.
- Adequate preparation and following manufacturer’s guidelines help prevent common sealing problems.
- The commonly used sealants are penetrating, topical, and enhancing sealers.
- Applying a sealant is not a one-and-done solution. Proper ongoing maintenance is necessary to preserve the beauty, integrity, and longevity of your marble tilework.
Why Marble Tile Needs Sealing
Marble is naturally porous, which means it can absorb liquids and stains easily, especially in high-moisture areas like bathrooms and kitchens. Without proper sealing, substances like wine, oil, coffee, and acidic cleaners can seep into the stone, causing permanent discoloration or surface etching. Sealing marble tile helps:
- Repel moisture and stains
- Minimize etching from acidic substances
- Preserve the stone’s natural appearance
- Extend the lifespan of your tile installation
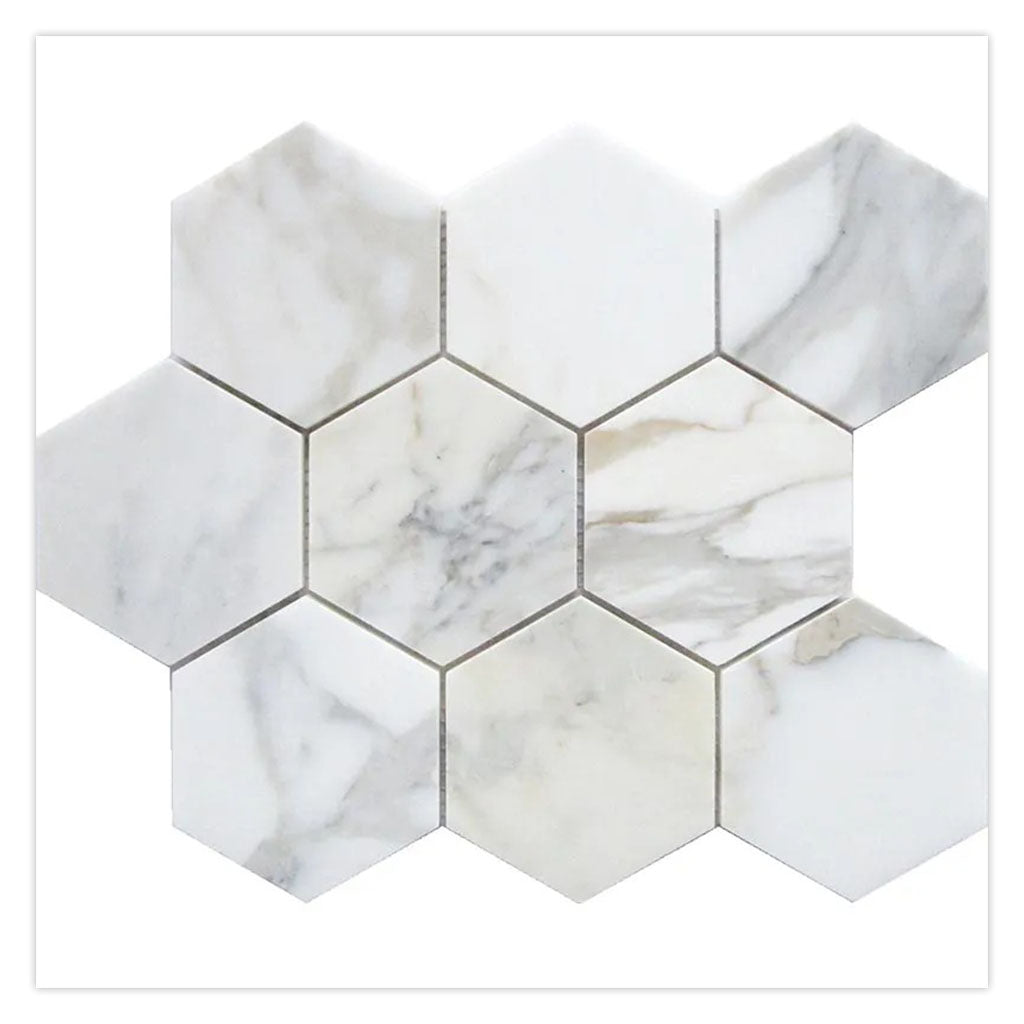
Even wall or floor tile in honed or matte finish, which has a more porous surface than polished marble, greatly benefits from periodic sealing.
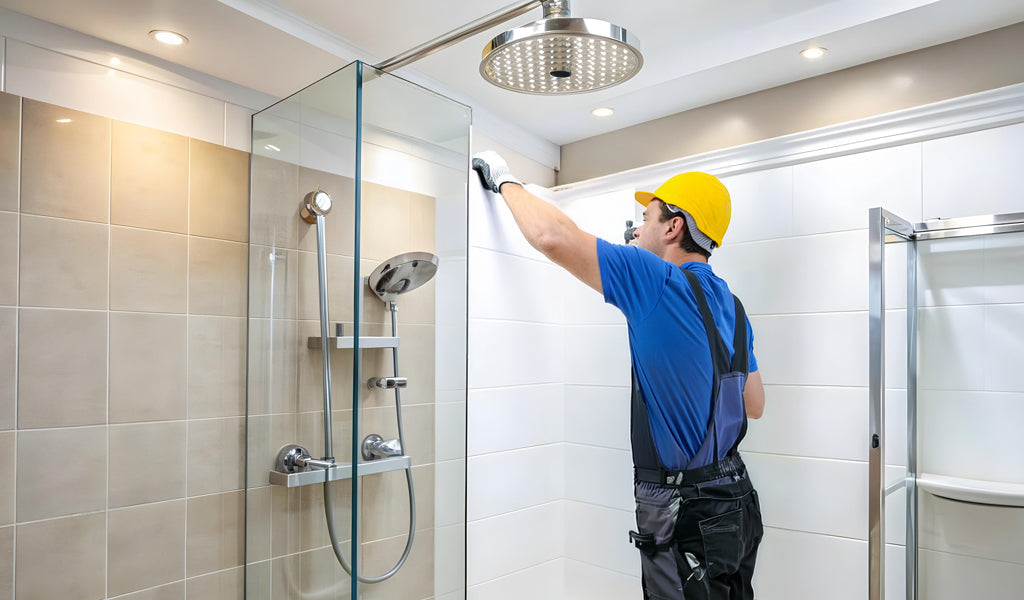
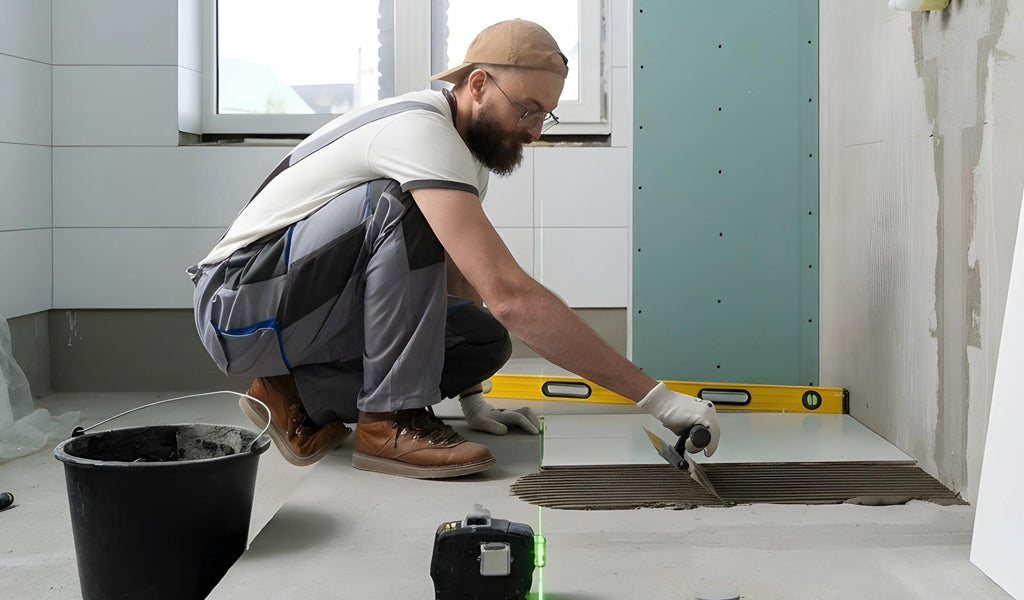
Preparation Steps Before Sealing Marble Tile
How to seal marble tile and get the best protection and aesthetic results? Proper preparation is crucial when sealing newly installed natural stone, be it Carrara, Crema Marfil, or Calacatta tile. This process should be carried out before grouting to prevent potential staining and grout from penetrating the porous surface of marble. Below are the detailed steps to follow to prep the tile surface thoroughly and safely for sealing.
1. Allow Adhesive to Fully Cure:
After setting marble floor tiles using an adhesive, it’s important to allow it to fully cure before proceeding with any sealing. Curing times vary by product and environmental conditions, but typically require 24–48 hours. Sealing too early can trap moisture within the tile or adhesive layer, which may lead to discoloration, poor adhesion, or even long-term damage to the installation.
2. Clean the Surface Thoroughly:
Once the adhesive has cured, the marble surface must be cleaned thoroughly. This step is critical because any dust, debris, oil, or construction residue left on the tile surface can interfere with sealer absorption and result in uneven coverage or diminished protection. Use a pH-neutral stone cleaner specifically formulated for marble. Gently wipe the surface with a microfiber cloth or soft sponge and allow it to dry completely.
3. Ensure Proper Indoor Ventilation:
Make sure that the room is well-ventilated. Even with a low-VOC or water-based product, marble sealing in a properly ventilated environment is still a good precaution to ensure safety and comfort.
4. Test the Sealer on a Small Area:
Before applying the sealer to the entire surface, it’s wise to perform a small test in an inconspicuous area or on a spare tile. This allows you to observe how the marble responds to the sealant in terms of color change, sheen, or absorption. Some sealers may slightly darken the stone or change its finish, and testing gives you the opportunity to ensure the results match your expectations.
5. Apply the Sealer Evenly:
Using a clean, lint-free cloth, sponge applicator, paint pad, or soft-bristle brush, apply the sealer evenly over the marble surface. Work in manageable sections, typically a few square feet at a time, to ensure even coverage and prevent the sealer from drying too quickly before it’s absorbed.
6. Repeat Application if Necessary:
For honed or more porous marble flooring tiles or heavily used areas (such as shower floors), a second or third coat of sealer may be needed. Apply the second coat within the time frame specified by the manufacturer—often within one hour of the first application, or after full drying, depending on the product instructions.
7. Allow the Sealer to Penetrate:
Let the product sit and penetrate the tiles for the time recommended by the manufacturer, usually between 5 to 15 minutes. During this period, the marble absorbs the sealer into its pores. If the surface absorbs the sealer very quickly, a second light application may be necessary to ensure complete coverage and protection. Do not allow the sealer to dry on the surface during this step.
8. Wipe Off Excess Sealer:
After the recommended dwell time, use a clean, dry microfiber cloth or soft towel to thoroughly wipe away any excess sealer from the surface. This is a critical step—any leftover sealer that dries on the surface can leave behind a hazy film or streaks that are difficult to remove later. Buff the tile gently to ensure a uniform appearance and to prevent any spots from drying unevenly.
9. Allow the Sealer to Cure:
After sealing marble tile, allow it to cure for the time specified on the product label—usually 24 to 48 hours—before exposing it to water, foot traffic, or other use. Avoid walking on the surface, placing furniture, or performing any cleaning until the sealer has fully cured. This ensures that the protective barrier is completely set and bonded within the marble.
Selecting the Best Sealer for Your Marble Tile
Not all sealers are made the same. Choosing the best sealer for marble tile depends on the type of marble, area of use, and the level of protection you need. An understanding of these types of sealants and their characteristics will help you make an informed decision.
1. Penetrating Sealers
Penetrating sealers, also known as impregnating sealants, are designed to seep deep into the pores of marble without altering its surface appearance. They create an invisible barrier inside the stone that repels water, oil, and other liquids, helping prevent stains and moisture damage.
A penetrating sealer contains smaller molecules that penetrate deeply, reacting chemically with marble’s internal structure. They do not form a surface film, so the natural look and feel of your tiles are preserved. It is the best marble tile sealer for interior floors and walls, where maintaining the authentic appearance of the stone is a priority and moisture or staining risk is high. Also good for tiles that are approved for outdoor application but require stronger surface protection, such as our Black 4x12 Honed Subway Marble Tile.
2. Topical Sealers
Topical sealers form a protective film or coating on the surface of marble. They act like a shield, creating a physical barrier that prevents liquids and dirt from penetrating. This sealant will sit atop the stone surface, creating a glossy, satin, or matte finish depending on the product. However, they can wear down over time and may require frequent reapplication. If you desire a tiled backsplash or accent wall with enhanced shine and color depth, this may be the best option for your project.
3. Enhancing Sealers
Enhancing sealers are a hybrid category with products that not only provide a barrier but also enrich the natural color and veining of marble. They often give the stone a “wet look” finish that deepens the tone and highlights patterns. Ideal for decorative interior surfaces where aesthetic enhancement and protection are both desired, such as tile surrounding the bathroom vanity or feature walls.
Maintenance and Cleaning Tips for Sealed Marble
Once marble tile is sealed, proper ongoing care is essential to maintain its splendor. Below are some key maintenance tips to follow after sealing your marble floors or walls:
1. Daily Care of Sealed Marble
Sealed marble doesn’t mean stainproof. Wipe up spills properly, especially acidic liquids like citrus juice, wine, or vinegar. Dust, dirt, and grit can act like abrasives, so use a soft cloth or microfiber mop for dusting and light cleaning.
2. Weekly Care of Sealed Marble
Clean floors with a solution of pH-neutral stone cleaner and warm water to safely remove dirt and grime. Avoid acidic or abrasive cleaners as they can etch or dull the surface even after sealing. Read our blog for an in-depth guide on How to Clean Marble Floors and Achieve a Gleaming Finish.
3 Annual Maintenance of Sealed Marble
The protective properties of a sealer diminish over time, so make sure to reseal your wall or floor tile yearly. Wet environments or areas with high traffic may need more frequent re-sealing.
Common Sealing Problems & How to Fix Them
How to seal marble tile without challenges arising? Even with careful preparation and the best intentions, sealing tiled floors or walls can go off track. Understanding how to address these issues will save you from costly mistakes and preserve the integrity of your installation.
1. Hazy or Sticky Residue:
A common issue after sealing marble tile is a hazy or sticky residue, which often is a result of over-application or neglecting to wipe off excess before it begins to dry. The surface may appear hazy or feel tacky to the touch due to the sealer sitting on top instead of absorbing properly.
To remedy this, gently scrub the affected area with a soft cloth and a solvent approved by the sealer manufacturer. Steer clear of harsh abrasives as they can scratch and damage the tile surface. A low-speed buffer with a white pad can be useful for large areas. When reapplying the sealant, always begin in an inconspicuous spot first, then use a thin, even coat and buff off any excess within the suggested timeframe.
2. Sealer Not Absorbing:
Some marble varieties, such as those with a polished glaze, are denser and do not readily absorb liquids, including sealers. This may cause the product to sit on the surface without being absorbed. Another issue is resealing tiles that still have an effective sealer, making it difficult for the new layer to penetrate.
To fix this, start by determining if your floors need sealing. Simply place a few drops of water on the surface, and if it beads up without darkening the stone, resealing is likely unnecessary. For polished tiles that do not easily allow water seepage, a surface-bonding sealer or enhancing product may be more effective than a penetrating one.
3. Uneven Finish or Dark Patches:
Another common problem that may arise during marble sealing is an uneven finish or dark patches. These result from inconsistent application, where there’s too much sealer in some areas and too little in others. Applying sealer over a damp or dirty surface, too, can lead to blotchy or darkened spots after sealing.
How to seal marble floors in a way that addresses this issue? Allow the surface to cure fully, then strip the existing sealer using a stripper or cleaner suitable for natural stone. After cleaning the area, let it dry, then reapply the sealer evenly. Applying the sealing product in small sections and immediately wiping off excess helps promote uniform absorption and a smooth finish.
4. Water Spots or Staining Despite Sealing:
Why do you see water spots or stains even after sealing your tiles? Well, this can be due to the product not being applied correctly or not being compatible with the surface.
Clean the stained area with a pH-neutral stone cleaner or a stain-specific remover, depending on the source of the stain. If the sealer has deteriorated, reapply it to a clean and dry surface free of dirty, oily, or existing stains. For areas in contact with water (like kitchens or showers), the best marble tile sealer is a penetrating formula designed specifically for that level of use.
Conclusion
If you’ve been wondering how to seal marble tile, this step-by-step guide provides everything you need to confidently tackle the job and maintain the elegance and longevity of your floors or walls. While the process may seem detailed, it’s a manageable task that protects your tilework from stains, etching, moisture, and wear damage. Whether you're a DIY enthusiast or a first-time homeowner, proper upkeep and periodic resealing are crucial to keep your tiles pristine and structurally sound. To learn how to seal grout, read our guide: How to Seal Grout on Tile Floor.