Struggling to Drill Through Tile? Here’s the Correct Method
Dec 19, 2025
Drilling through tile may seem like a challenging task, as one wrong move may cause your tile to crack, chip, or even shatter. Maybe you want to drill through wall tile to install a bathroom fixture or mount a shelf in the living room. Whatever the case, learning how to drill through tile will save you time, money, and frustration.
Key Takeaways
-
Use the right drill bit: carbide-tipped for ceramic and diamond-tipped for porcelain, glass, or natural stone.
-
It’s important to drill slowly and carefully to avoid the tool from slipping and cracking the tile.
-
To get the job done properly, make sure to have the right protective gear and tools for drilling into tile.
-
For deeper holes, make sure to change to a regular masonry bit once it has broken through the layer of tile.
-
If any errors are made, small chips can be repaired with epoxy, while badly cracked tiles may need full replacement.
The following tutorial will walk you through every step involved in the process of safely drilling into tile, the required tools, mistakes to avoid, and tips on how to handle robust and dense marble and porcelain tile. By the end, you will be confident in your tile-drilling abilities like a professional.
Tools You Need to Drill Through Tile Safely

Before you start drilling, it is important to gather the right tools. Using proper equipment helps you avoid cracks, chips, or unnecessary damage to your tile.
1. A Power Drill
A standard electric drill works perfectly. Avoid using the hammer function, as the pounding action can instantly crack porcelain or ceramic tile.
2. Tile-Specific Drill Bits
This is the most essential part of the job. Choose the right drill bit based on your tile type:
-
Carbide-tipped drill bits work best with ceramic tiles.
-
Diamond-tipped drill bits are ideal for porcelain, stone, marble, or any dense tiling material. Diamond bits are more durable and provide faster drilling, especially on tough surfaces.
3. Masking Tape or Painter's Tape
Place tape over your drilling spot. It gives the drill an extra grip and prevents it from sliding on the tile’s surface.
4. Safety Gear
Protect yourself while you work. Make sure you have:
-
Safety glasses to protect eyes from dust or debris created as you are drilling through tile.
-
Protection gloves for a better grip on the drill tool.
-
A dust mask so you do not inhale fine, harmful silica dust.
5. Spray Bottle Filled with Water
Water helps cool both the drill bit and the tile. Keeping the area wet reduces friction, prevents heat buildup, and lowers the chances of cracking and dust.
6. Marker or Pencil
Use this to mark the exact spot where you plan to drill. Clear markings ensure accuracy and prevent mistakes.
How to Drill Through Tile Without Cracking It (Step-by-Step)
Ensure to follow these steps every time you are drilling through tile. This method works for ceramic, porcelain, and stone tile and helps prevent cracks or chips.
Step 1: Mark the Drilling Point
Measure carefully and mark the exact spot where you want to drill. Drilling errors can be difficult to hide, so always double-check your measurements.
Step 2: Cover the Mark with Tape
Place a small piece of masking tape or painter’s tape over the area and re-mark your drilling point on top of the tape. The tape gives the drill bit more grip and prevents it from slipping on smooth matte or glossy tile surfaces.
Step 3: Start Drilling Slowly and Carefully
Set your drill to low speed. Hold the drill firmly, at a 90° angle and apply light pressure. One of the common causes of cracked tile is starting too fast. Make sure to take your time.
Step 4: Continue with Steady, Light Pressure
Let the drill do the work. Tile is brittle, and pushing the tool too hard can cause chips and cracks. Slow and steady pressure is key to learning how to drill through tile safely.
Step 5: Use Water to Keep the Tile Cool
Spray a small amount of water on the drilling spot every few seconds. This keeps the drill bit cool, reduces friction, and prevents overheating that can damage the tile.
Step 6: Gradually Increase Speed
Once the bit breaks through the tile’s top layer, you will feel a slight drop. At this point, increase speed slightly and continue drilling through the tile.
Step 7: If Necessary, Change the Drill Bits
If you need the hole to be deeper into the surface behind the tile, whether it is a drywall, cement board, or concrete, switch to a regular masonry bit (a drill bit made for hard surfaces). This should be done after penetrating the tile’s hard, brittle glaze and body. This helps to drill faster and safer, considering the backing material.
Step 8: Clean the Drilled Hole
Lastly, brush or blow out any dust or debris from the hole. A clean hole ensures screws, anchors, or wall plugs fit securely.
Additional Techniques for Tough Tiles
Tiling materials, such as porcelain, are harder and denser than standard ceramic. If the drill keeps slipping or the surface feels too tough, try these extra techniques to make the job easier and prevent cracks.
1. Use a Diamond-Tipped Drill Bit
Porcelain tile is extremely dense, which can be a challenge for regular masonry bits to cut through. If you’re wondering how to drill through tile that refuses to budge, switch to a diamond-tipped drill bit. Diamond bits cut through hard materials cleanly, reducing the chance of chipping, and allow you to drill faster with minimal effort.
2. Keep Cooling Constant
Drilling into tough tile creates heat, and too much of it can weaken the bit or crack the tile.
To avoid this:
-
Keep the drilling area cool at all times to reduce head buildup.
-
Spray and keep the tile and drill bit wet as you work.
-
Cooling helps the bit cut smoothly and extends the tool’s lifespan.
3. Start at a Slight Angle
Smooth surfaces, especially glossy glass tiles, can cause the drill bit to slip. To avoid this:
-
Start drilling at a 45° angle to create a tiny indentation.
-
Once the bit “grips” the tile and forms a small dent, slowly bring the drill back to a straight 90° angle.
From there on, resume normal drilling. This simple technique gives you better control and reduces the risk of scratching the tile surface.
4. Use a Drill Guide
If you struggle to keep the drill steady, especially when making larger holes, a drill guide is helpful. You can use a suction-cup drill or a homemade wooden guide to help:
-
Hold the drill bit in position.
-
Prevent the bit from slipping.
-
Maintain the right angle.
-
Make drilling easier in awkward or hard-to-reach areas.
Mistakes to Avoid When Drilling Through Tile
Even when you follow the right steps, a few small errors can cause cracked or chipped tile, as well as damage the drill bit. As you figure out how to drill through tile safely, below are common mistakes to look out for:
1. Using Hammer Mode
Avoid the hammer mode when drilling into tile. Hammer mode pushes rapid vibrations into the tile surface, and these shockwaves can cause it to crack instantly. Always switch the drill to regular mode before starting to work on the tile.
2. Starting Too Fast
Another mistake is beginning at full speed. High speed makes the drill bit “skate” across the tile, scratch the glaze, and make it difficult to create a proper starting point. Start slow and steady, then increase speed gradually once the bit has a firm grip.
3. Using the Wrong Drill Bit
Not all drill bits are appropriate for all tiles. Bits made for wood or metal are too soft and will not cut through different tile types. Using the wrong bit can:
-
Overheat the surface
-
Chip the tile surface
-
Damage the bit itself
For drilling through tile, always choose carbide-tipped or diamond-tipped drill bits.
4. Applying Too Much Pressure
One of the common reasons tiles crack is putting too much pressure. Tile drilling requires light, controlled pressure. Let the drill bit do the work. Too much force creates stress on the tile and can shatter the surface.
5. Skipping Water Cooling
Drilling produces friction, and friction generates heat. Overheated tile becomes weak and more likely to crack. This is the reason why water cooling is essential. Keep the surface wet throughout the process to protect both the tile and drill bit.
6. Not taping the surface
A piece of masking tape over the drilling area provides extra grip and prevents the drill bit from slipping. Tape also protects the tile’s glaze from scratches and helps you start drilling with better accuracy.
How to Patch or Repair Tile If You Make a Mistake

Mistakes can happen when drilling through tile, even for an experienced pro. The good news? Most errors are easy to fix if you use the right method. Here is how to repair the most common damage to drilled tile.
1. Small Chips or Hairline Cracks
This is the easiest issue to correct. If the tile surface has a tiny chip or a thin crack around the hole:
-
Use tile repair epoxy to fill the area that has been damaged.
-
You can use paintable tile filler to smooth the surface.
-
For minor scratches, a color-matched tile repair pen works perfectly.
These products blend in with the tile and prevent the crack from spreading. Once the surface is dry, the repair becomes almost invisible.
2. Oversize Holes
Sometimes the drill slips and removes slightly more material than planned. Don’t worry, this is still fixable. If the hole is a bit too large:
-
Insert a wall anchor designed for oversized holes.
-
Fill the extra space around the hole with epoxy.
-
Allow it to fully cure before installing the screw.
-
Once the epoxy hardens, the anchor stays secure, and your screw will hold strong without damaging the surrounding tile.
3. Entirely Cracked or Broken Tiles
If the tile is badly cracked, shattered, or has a large broken section, patching won’t be enough. In this case, it is best to replace the entire tile. Here is a way to fix it:
-
Gently break and remove the damaged tile.
-
Scrape the old adhesive off the backing surface.
-
Apply a fresh coat of tile adhesive on a clean surface.
-
Set the replacement tile in place and ensure it sits level with the surrounding tiles.
-
Once it dries out, grout its joints so that it blends in perfectly.
Though this repair takes more time, it restores the wall or floor to a flawless, like-new look.
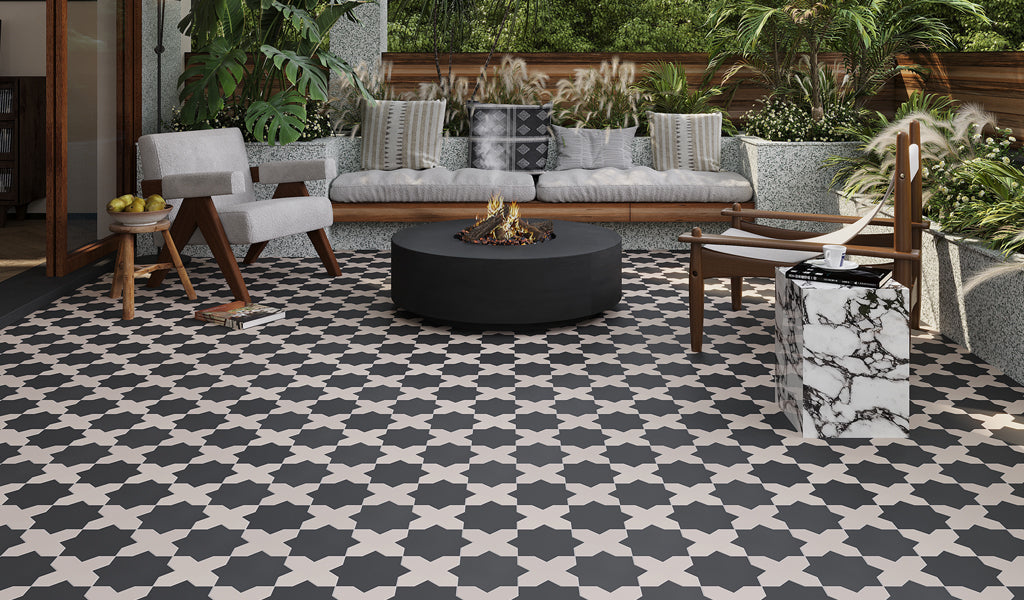
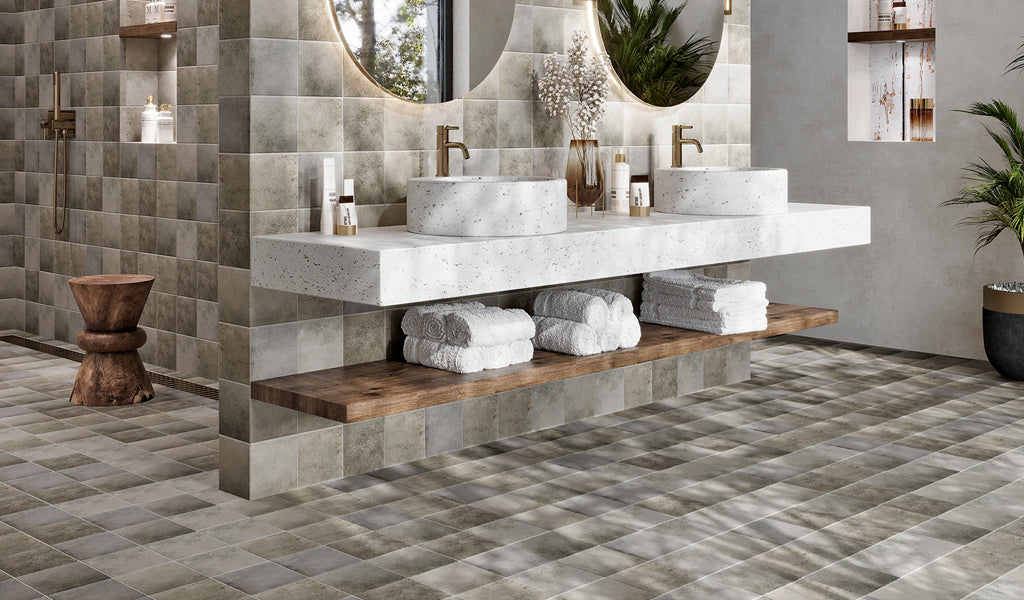
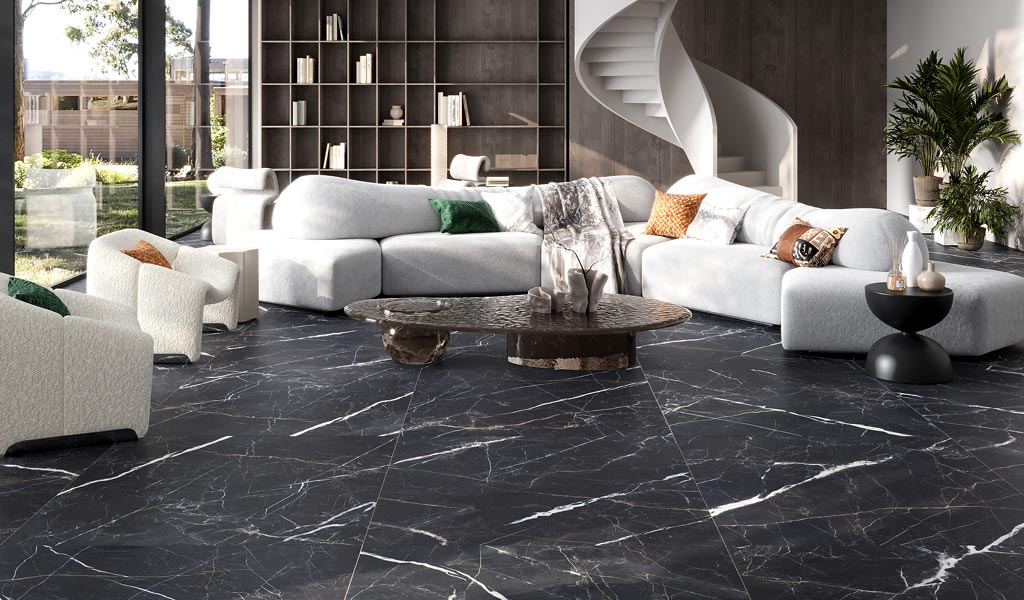
Best Applications for Drilling Through Tile
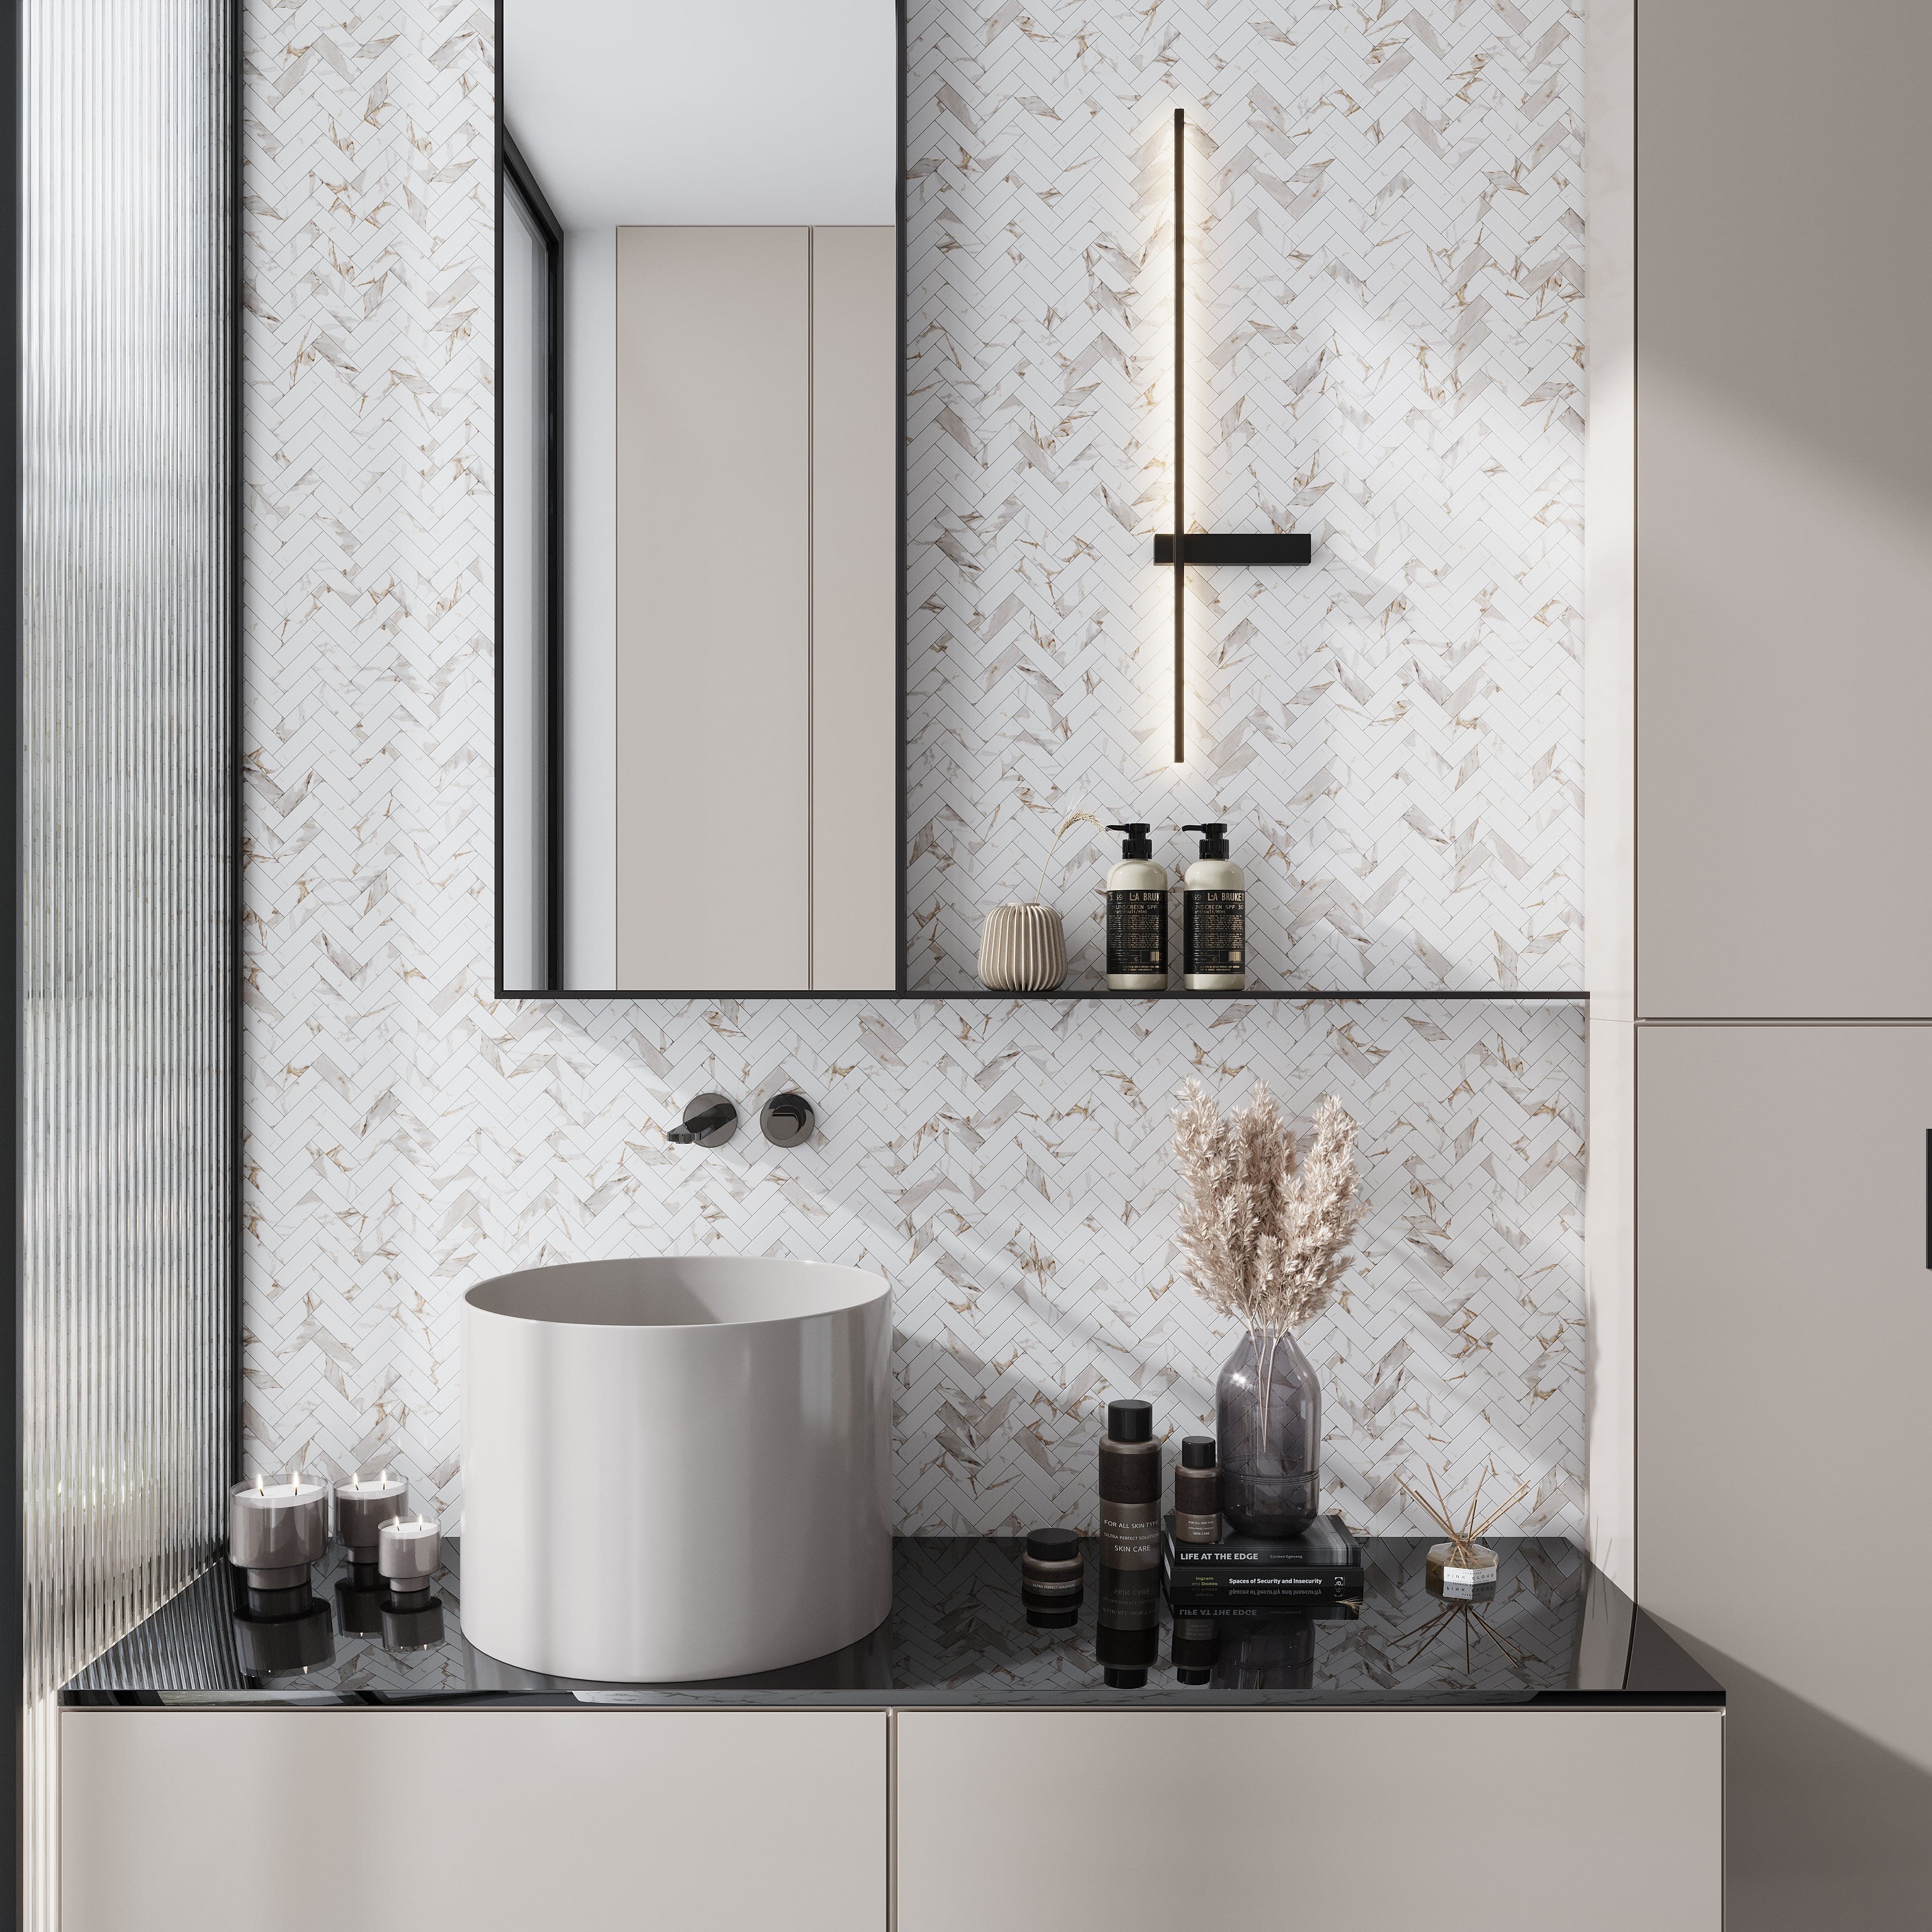
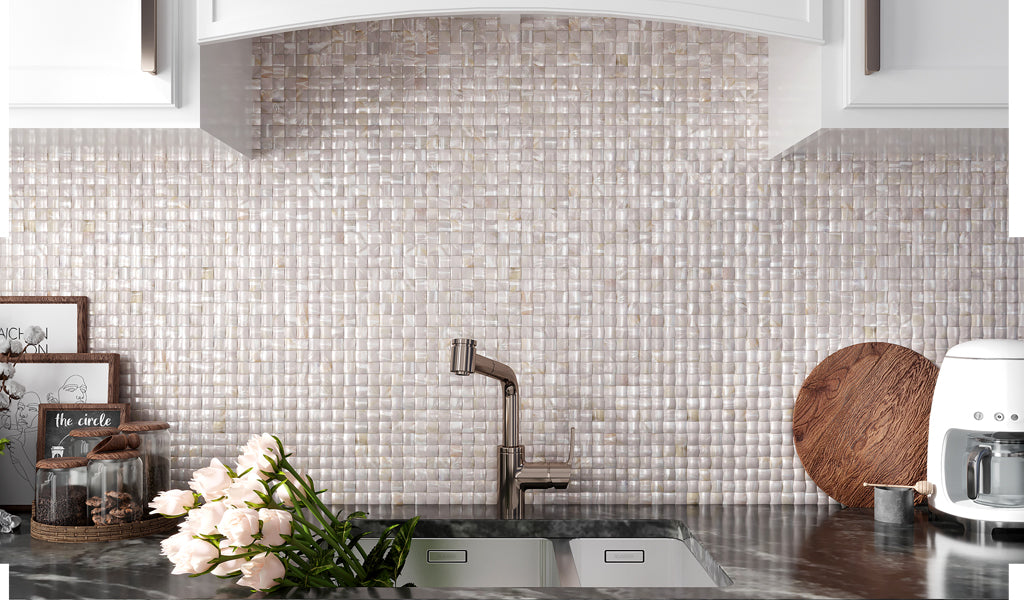
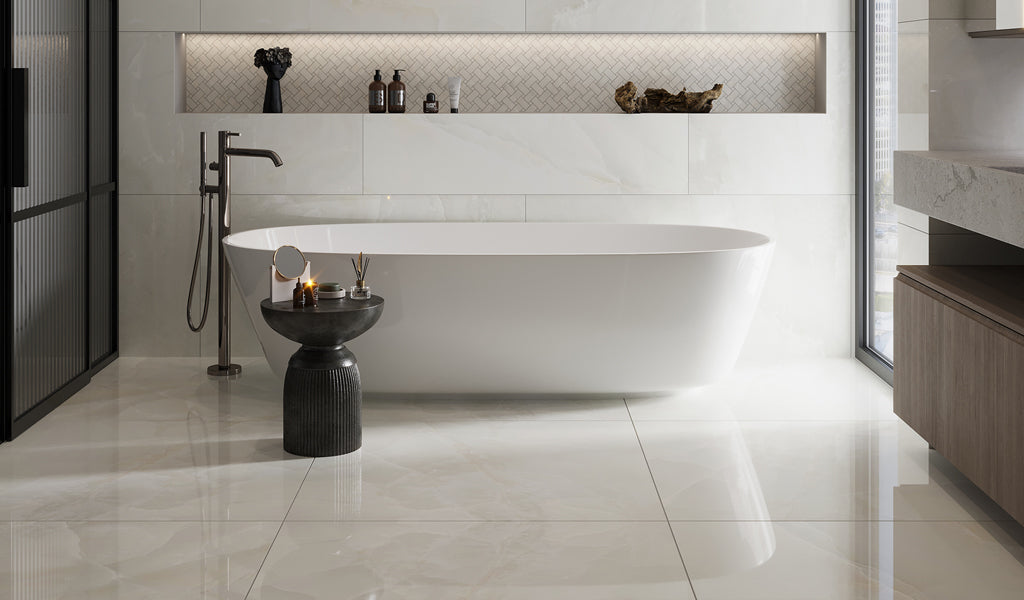
Learning how to drill through tile opens the door to many home improvement projects. Whether you are updating the bathroom with stylish options like our White with Gray-Gold 11x12 Polished Herringbone Porcelain Mosaic Tile or enhancing the backsplash kitchen with Pearl White 18x48 Textured Ceramic Large Format Tile, knowing the correct method lets you work confidently without damaging the tile surface. Here are the most common situations where drilling into tile becomes useful:
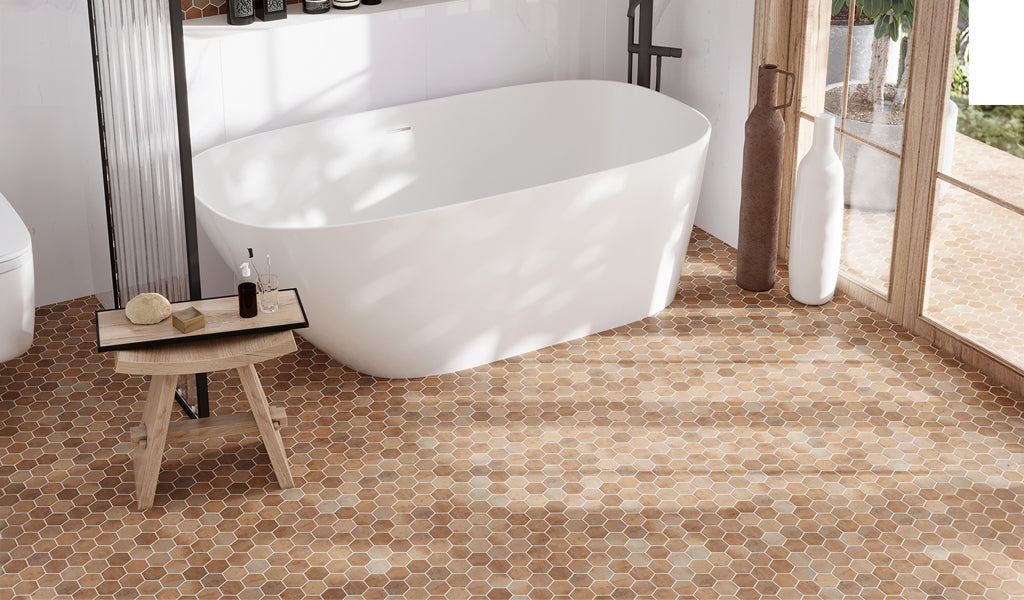
1. Bathroom Fixtures
Tiles are a staple in bathroom design, so drilling is essential when adding practical or decorative features. You may need to drill through bathroom wall tile to install fixtures that require strong, stable anchoring, such as a towel bar, soap holder, open shelves, or safety bar.
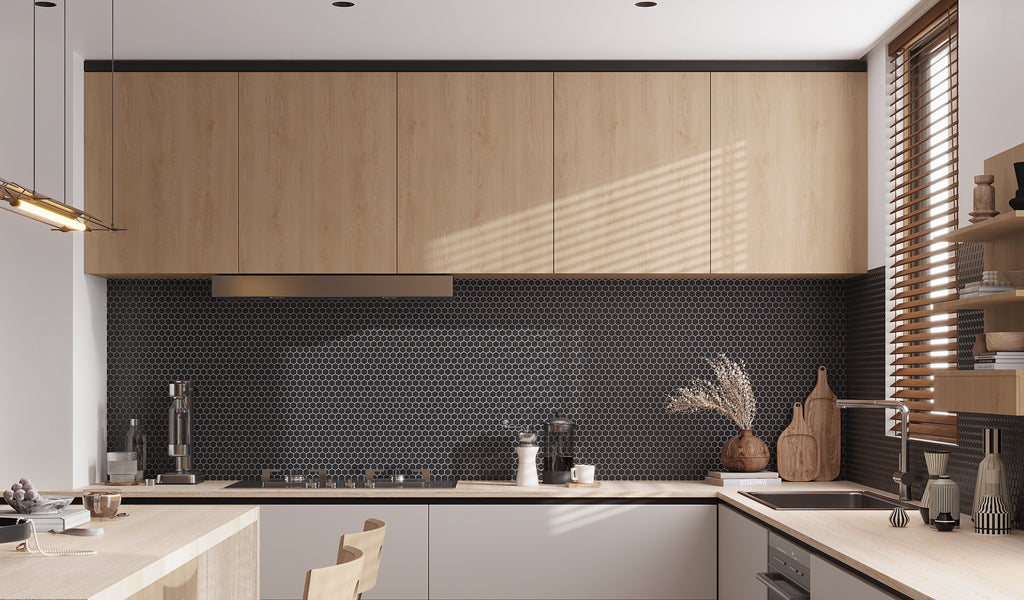
2. Kitchen Projects
Kitchens are a common place for stunning backsplash designs. Knowing how to drill through tile allows you to make practical upgrades, such as hanging storage racks or installing floating shelves.
3. Home Decor Updates
Knowing how to drill into tile also helps you personalize your space with decor items, including artwork, decorative ornaments, or mirrors in the entryway, living room, or powder room.
4. Plumbing and Electrical Work
For the more skill-specific tasks, it’s advised to contact a skilled contractor, as they are more qualified to drill through tile to access:
-
Pipings and plumbing lines
-
Water valves
-
Electrical wiring
-
Appliance connections
Conclusion
Once you have learned how to drill through tile, the task doesn't have to be intimidating. With the right tools, understanding of proper techniques, and knowing the common mistakes to avoid, the entire process becomes simple, safe, and stress-free. With slow, steady drilling, the right drill bit, and plenty of cooling water, you are able to create clean, precise holes without cracks or chips. Whether hanging shelves, installing bathroom fixtures, or upgrading your home decor, the steps discussed above will give you the confidence to work like a professional and transform your space without fear.
Frequently Asked Questions:
1. What is the best drill bit for drilling through tile?
Use a carbide-tipped drill bit for ceramic tile, such as our Bronze 2.5x10 Matte Ceramic Subway Tile. For porcelain, glass, or stone tile, a diamond-tipped drill bit is your best bet, since it will handle the much denser material with ease.
2. What drill speed is best for tile?
Start at a slow speed. Once the top surface area is penetrated, you can increase speed slightly. Drilling at a steady pace helps to prevent cracks.
3. How long does it take to drill through porcelain tile?
It usually takes 2–5 minutes per hole, depending on the tile hardness, the drill bit, and whether you keep the surface cool with water.
4. How can I tell if my tile is ceramic or porcelain?
Porcelain is heavier and denser, and it gives a sharper and clearer sound when tapped. Ceramic tile is typically lightweight and has a lower sound when tapped.
5. Should I use water when drilling into tile?
Water keeps the drill bit and tile cool, reducing friction and preventing heat buildup that may crack the surface.
6. Can I drill into grout instead of tile?
You can, but grout can crumble and won't hold screws well. It is advisable to drill into the tile itself for heavy items to ensure longevity.
7. Should I remove the tile before drilling?
You do not need to remove the tile before drilling, as this can cause damage and make the drilling process more difficult. Drill slowly and steadily into the tile following the instructions given above.