Shower Niche Sizes and Dimensions Guide: Standard Size, Height & Depth Explained
Nov 05, 2025 12 minute read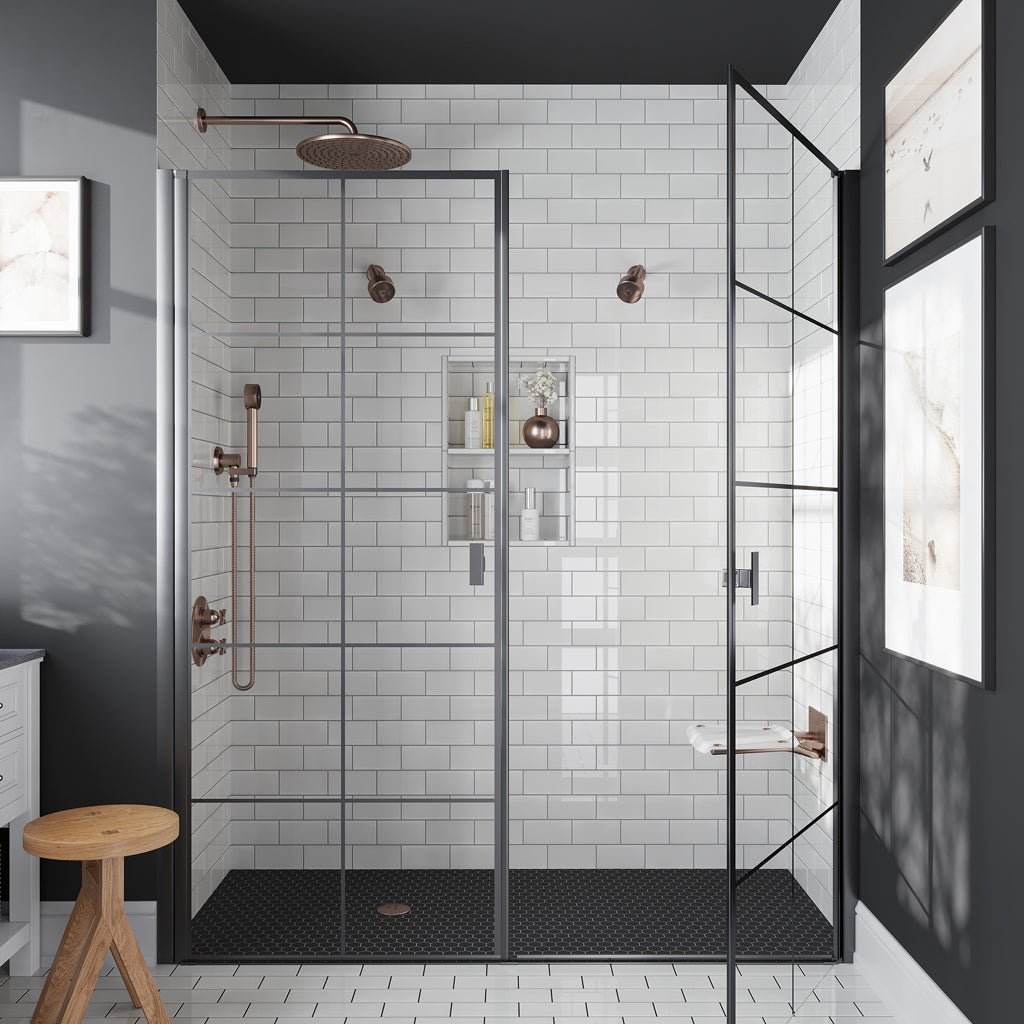
We often get asked, “What tiles are best for a shower niche?” Well, bathroom wall tile is versatile and works beautifully with just about any niche design, whether your taste leans bold and modern or classic and upscale. But beyond creative choices, what truly sets a space apart is how functional it is. When installing a storage nook, it’s crucial to understand the right shower niche dimensions. Getting the “behind-the-scenes” details right, that is, size, height, and depth, ensures your new tile layout fits seamlessly into the scheme of things.
Key Takeaways
- A niche is a recessed alcove built into the shower or bathtub wall to store product essentials and keep the bathroom uncluttered.
- Popular layouts include horizontal and vertical designs, each offering unique benefits.
- The standard shower niche size is 12x12, 12x24, or 16x20 inches, with a standard shower niche depth of 3 1/2 inches.
- A prefabricated shower niche offers a ready-to-tile alternative that simplifies installation.
- Proper niche placement is key, with a standard height of 48 inches from the floor for easy reach.
- Contrasting tile can be used to transform a custom shower niche into the room’s showpiece.
Gone are the days of cluttered corners and clunky caddies. A recessed niche is a convenient spot to corral bath-time essentials and keep things organized. But getting it right involves more than just an alcove built into the wall of a shower enclosure. From standard sizes to the ideal height and depth, this guide covers everything you need to know to plan a design that fits both your needs and style.
We’ll also explore ways to elevate your niche with stylish tiles. Think patterned mosaics, large modern formats, or dramatic contrasts that flow with the rest of the room. After all, the right tile choice can turn a simple storage spot into a striking design statement.
Shower Niche Types and Standard Sizes
A shower wall niche offers an opportunity to introduce decorative tile, accent lighting, or even coordinate with features like a built-in bench. This convenient space-saving insert comes in two types: prefabricated and custom-built. Both options offer the same handy storage, but they differ in flexibility, ease of installation, and how creative you can get with the design.
1. Prefabricated Shower Niche Dimensions
A prefabricated shower niche (sometimes called pre-formed or pre-made niche) is typically made of plastic, foam, or waterproof composite materials. It’s a convenient option if you prefer a ready-to-fit install that does away with extensive masonry work. Prefab niches are designed to fit standard stud spacing (usually 16 inches on center), and common standard shower niche sizes include:
- 12x12 inches: A minimalist design ideal for storing smaller items.
- 12x24 inches: Popular standard niche size offering enough room for most shower essentials.
- 16x20 or 16x24 inches: Great size for a shared bathroom where extra space is desired to store multiple essentials.
Prefab shower niches come pre-sealed and ready for tiling. They can be reused or relocated to other areas with relative ease to fit a new scope of design. These features make them a go-to for many DIYers and pros looking for a less complex addition without sacrificing quality.
2. Custom Shower Niche Dimensions
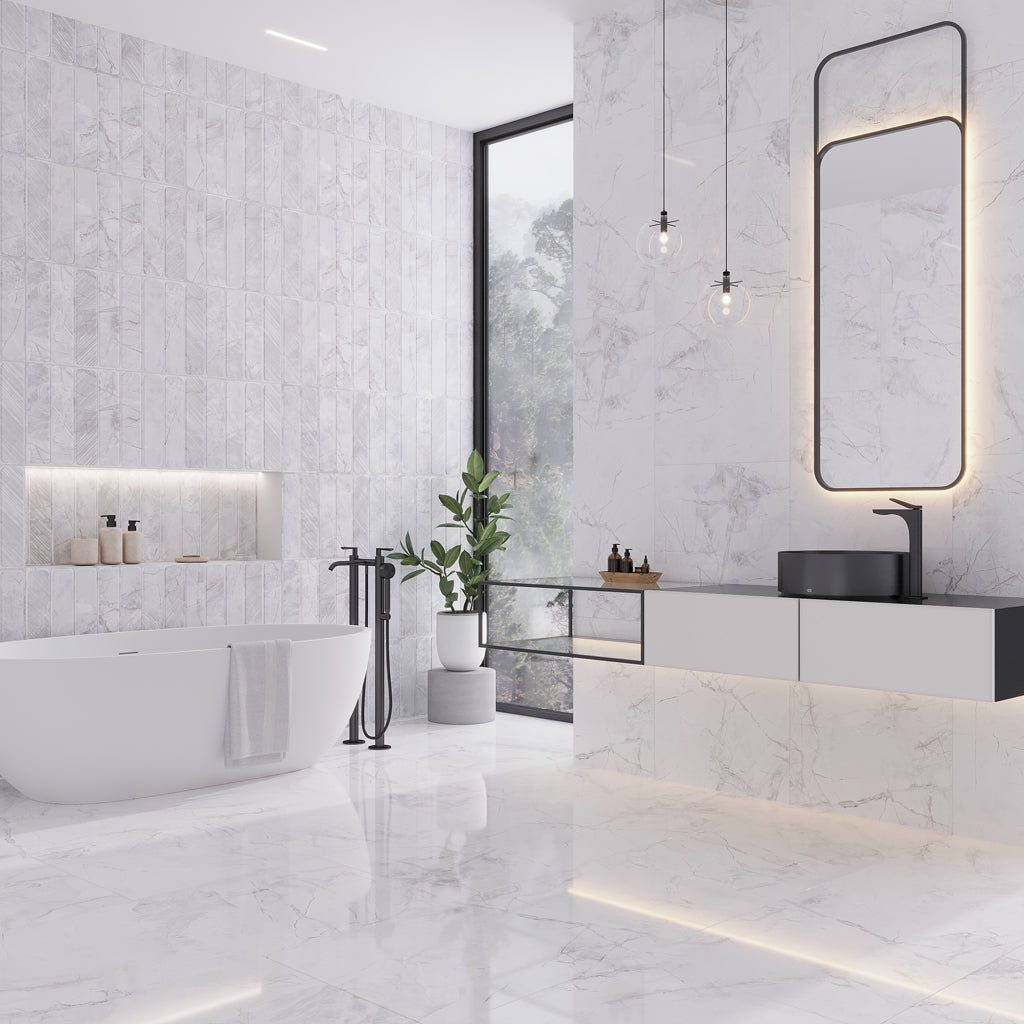
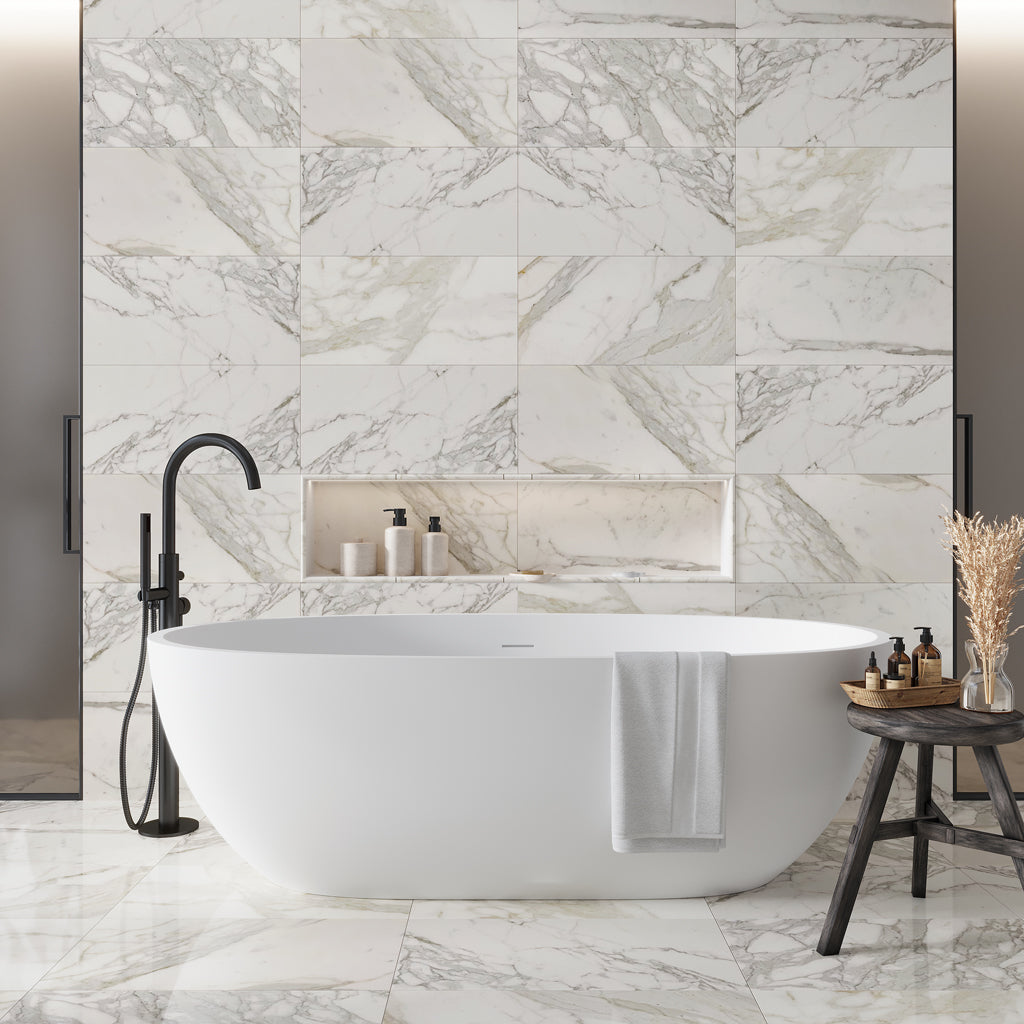
Have a specific vision or unique tile layout in mind? Want a built-in alcove that’s completely tailored to your space? A custom bathroom niche is built in situ during a renovation or new construction, framed, and waterproofed to prevent the accumulation of dirt and mold. This option comes into play when standard niche sizes don’t meet specific requirements, such as storage needs or aesthetic preferences.
Fully customizable designs offer the freedom to work with the exact width, height, depth, and layout you want. For example, a horizontal built-in nook that stretches the length of the wall and beautifully lines up stunning tiles, like our Soft Gray White 16x48 Matte Ceramic Large Format Tile. Or a set of small inserts placed vertically to organize different bath-time essentials. Popular custom-built niche sizes include:
- Width: Ranges from 12 to over 36 inches, depending on how much wall space is available.
- Height: Commonly falls between 12 to 16 inches, but can easily go taller for more storage.
- Depth: Typically 3.5 to 4 inches to align with standard wall framing, though it can be adjusted.
Vertical vs. Horizontal: Which Shower Niche Layout Works Best?
When it comes to designing a storage niche, the possibilities of creating a streamlined nook and adding a touch of flair are endless. One of the key design decisions is whether to go vertical or horizontal. With each layout offering a set of benefits, the choice between the two ultimately comes down to available space, practical needs, and style preference.
1. Horizontal Shower Niches

Horizontal niche is wider than it is tall; sought out for breaking up a shower or bathtub wall with accent tiles. This sleek, modern built-in ledge renders an easy way to house bath essentials.
It can span across the side or back wall for ample space and easy access to products. And when paired with modern, vintage, or rustic tile, the long horizontal alcove becomes a strong design feature. In terms of shower niche size and height, ideal dimensions include:
Width: 20 to 48 inches (or more, depending on your space)
Height: 10 to 14 inches
Depth: 3.5 to 4 inches
2. Vertical Shower Niches

For tight or awkward spaces, a vertical niche makes the best use of wall height and provides ample storage without taking up much room. Simply extend the built-in alcove up the wall and add shelving for functionality. Pairs well with stacked tile layouts to draw the eye upwards and create an illusion of a taller, more spacious bathroom. Just like the horizontal orientation, the edges of a tiled vertical niche can be finished with chair rail, pencil, or bullnose tile trim. Standard shower niche dimensions to consider for a vertical design include:
- Width: 6 to 12 inches
- Height: 24 to 36 inches
- Depth: 3.5 to 4 inches
It’s not uncommon to install both horizontal and vertical niches in the same bath space and on the same wall. In that case, the two layouts can be positioned in creative, interesting ways as long as the design complements the size of the shower without causing visual overwhelm.
Shower Niche Height and Depth: What Works Best?
So, what should be the height of the shower niche? The simple answer: make it practical. You’ll want enough room to place the biggest shampoo and body wash bottle with a hand space above it without feeling cramped. We'd say 300mm minimum for a comfortable fit.
- As a rule of thumb, the standard height to install a shower niche is 1200mm (48 inches) from the floor. This puts it at chest-to-eye level for most adults, perfect for grabbing products without awkward stretching or bending.
- For multi-user or family bathrooms, you may choose to adjust this measurement accordingly.
- If your bathroom has a tub-shower combo, install the niche lower down for easy reach while soaking.
As for the depth, it will be determined by stud depth that makes up the wall structure. Standard shower niche depth typically ranges from 70-80mm (approx. 3 inches). In most homes, the most common stud depth is 89mm (3 1/2 inches), which is why the niche depth of most prefabs is also 3 1/2 inches. To learn more about placement, read our blog on Where to Place a Shower Niche.
If you decide to install a custom niche, there’s an option to make the insert a couple of inches deeper. It’s crucial, though, to fill the wall cavity behind the niche with rigid foam insulation that prevents condensation. Lastly, slightly slope the bottom of the niche toward the shower to prevent water from pooling.
Tile Design, Layout, and Waterproofing Tips for Shower Niches
 Tile Design Tips for Shower Niches
Moving away from shower niche sizes and onto the fun part: design! A recessed nook is a great spot to get creative with tile layouts. Here are key styling considerations that work for different interior design themes:
1. Plan the Niche Around the Tile
Whenever possible, design the shower niche depth, width, and height to align with your selected tile. This way, you can avoid the need for small slivers at the edges and minimize grout lines. The results are a more balanced and refined appearance both inside and around the niche.
2. Match or Contrast the Wall Tile
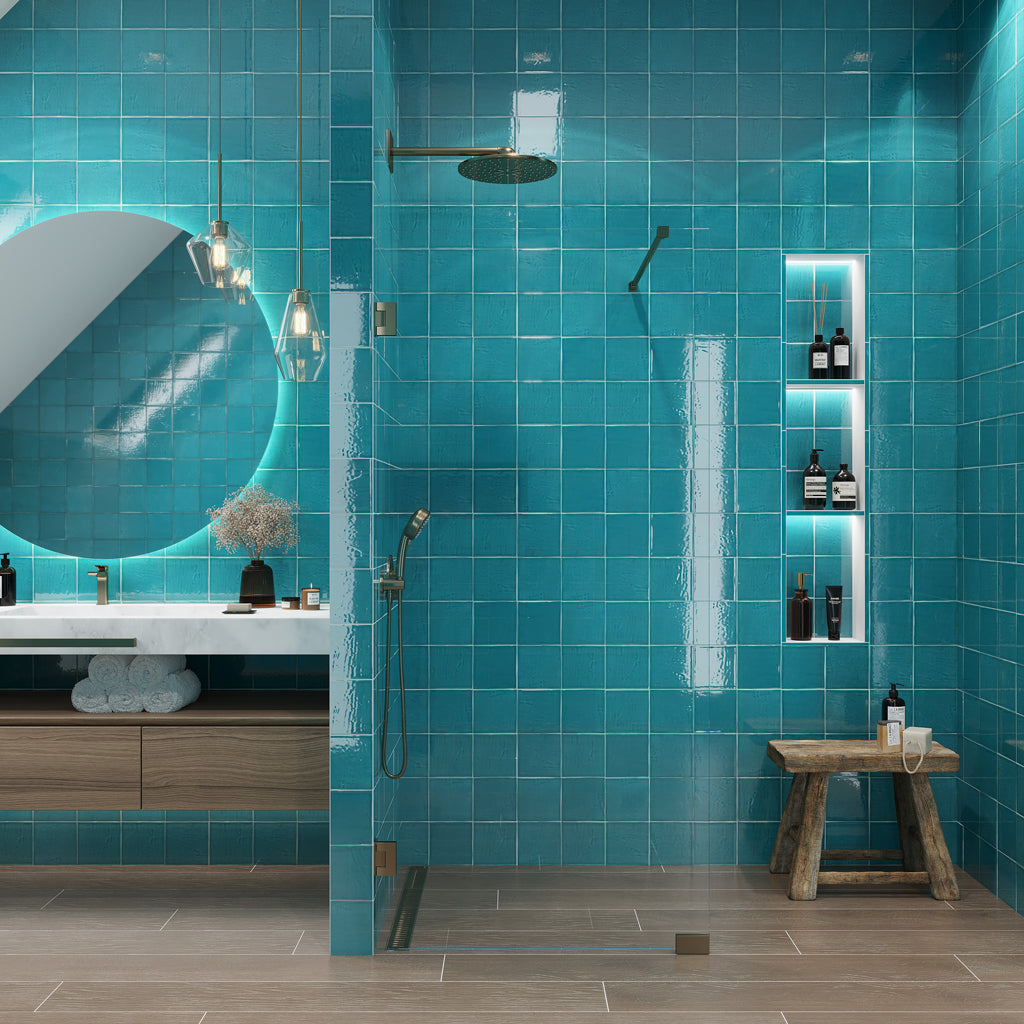
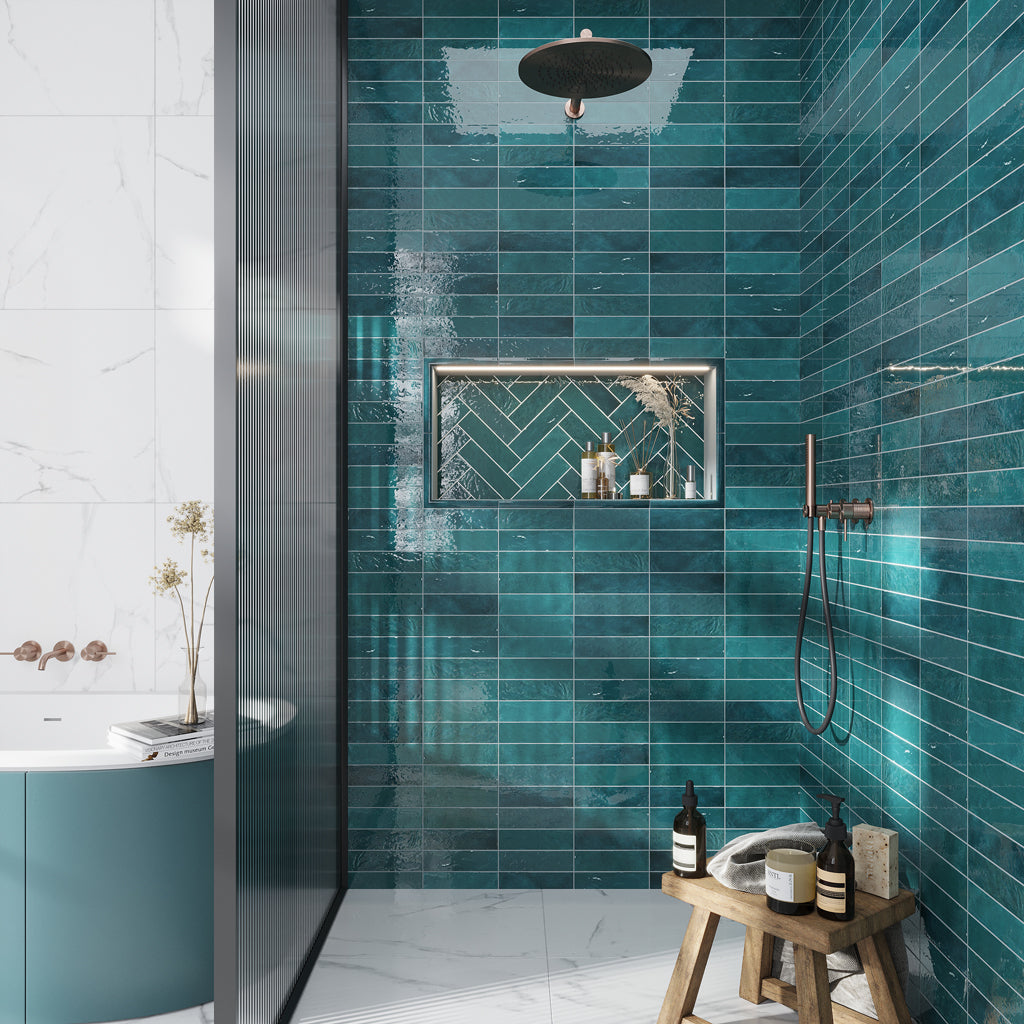
Matching niche tiles with the surrounds creates visual continuity and gives the impression that the built-in insert is integrated, not an afterthought. To prevent the walls from feeling flat, you can use the same tile in a different layout pattern. Varying orientation, such as switching our Green 2.58 in. x 8 in. Polished Ceramic Subway Tile from horizontal to herringbone, can create interest while maintaining a cohesive look.
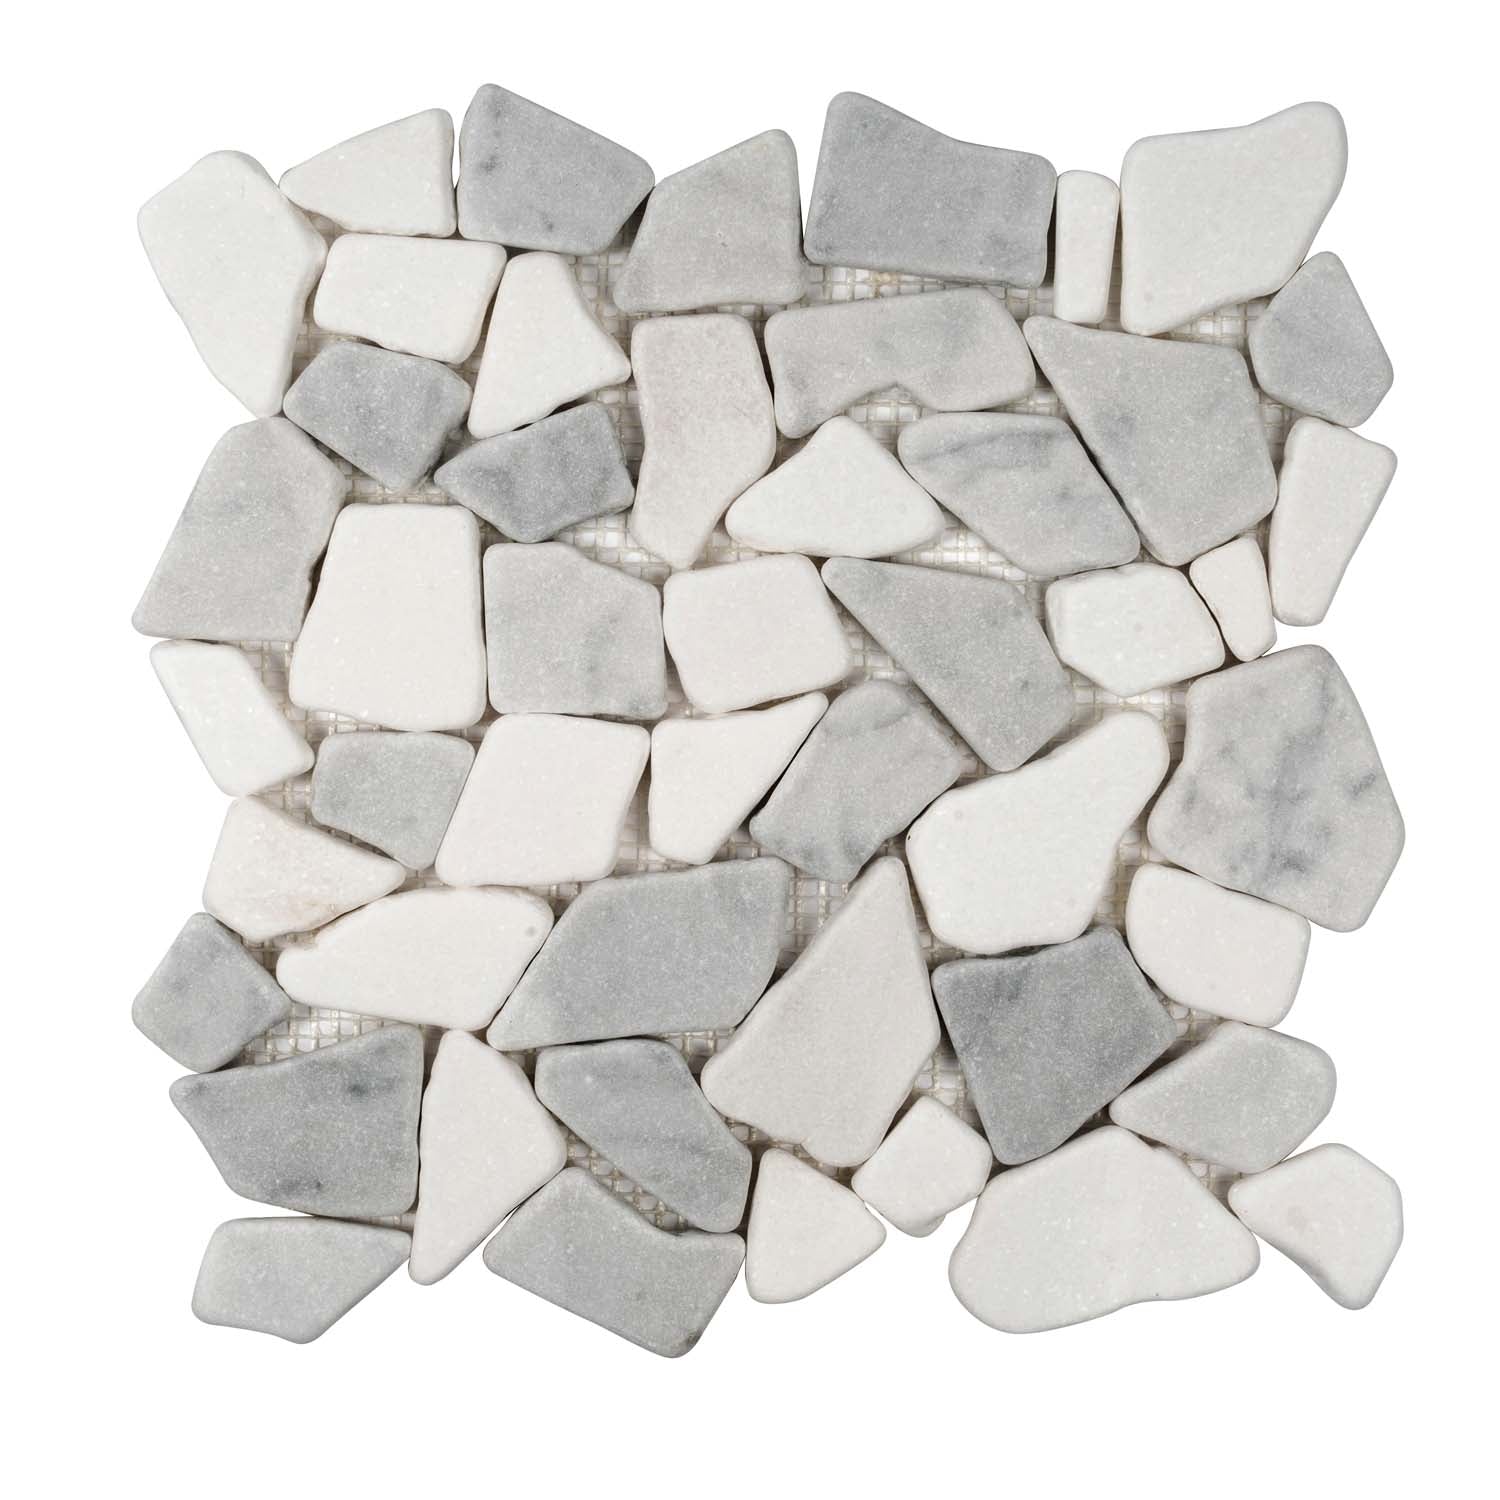
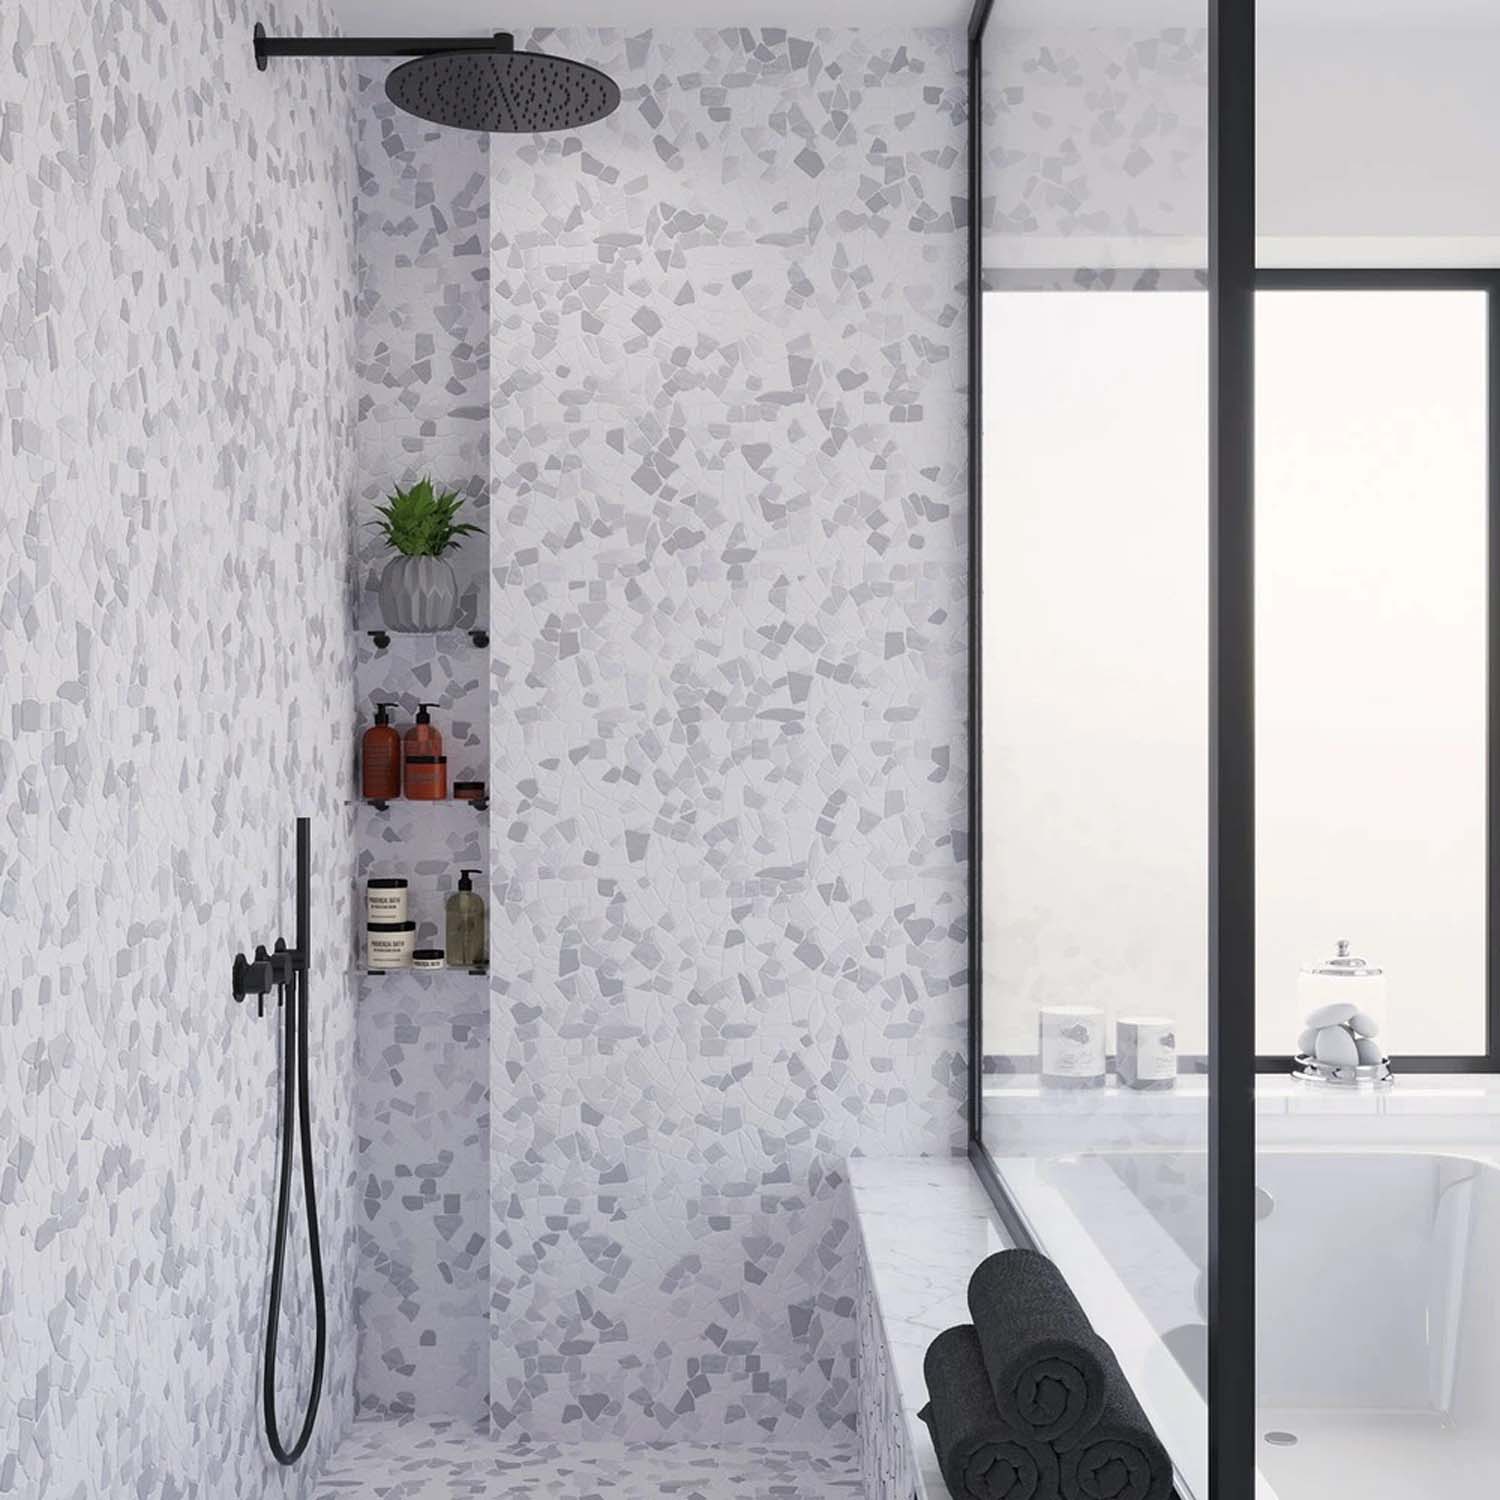
Contrasting niche tiles with the surrounds adds striking visual interest and allows the recessed alcove to pop. Consider small format tiles in a catchy color or unique pattern. Mosaics allow for more precise shaping on the back wall or inside corners thanks to the flexible mesh sheet and increased grout lines.
3. Frame the Edges of a Tiled Niche
Use a tile trim, such as pencil, bullnose, or chair rail molding, to frame the niche for a clean appearance. For instance, our Turquoise Blue 0.6x12 Glossy Porcelain Bullnose Tile Trim adds a closing detail to Turquoise Blue 6x6 Glossy Square Porcelain Tile, resulting in a polished finish.
Pro Tip: Before applying the adhesive, dry-fit the tiles inside and around the niche to check for proper alignment. A few adjustments at this stage can make a huge difference in the final result.
Waterproofing Tips for Shower Niches
How important is waterproofing your built-in niche? Absolutely crucial for long-lasting performance! Because a niche is a recessed feature built directly into the wall, even a small waterproofing failure can lead to hidden water damage, mold growth, weakened structural integrity, or costly repairs.
Here’s how to waterproof a shower niche to avoid problems related to leaks:
- Coat all surfaces of the niche with 2-3 layers of a liquid membrane or use a sheet membrane for more robust protection.
- Ensure the bottom part of the niche is angled downward (about 1/8 of an inch) to prevent standing water.
- Seal inside corners with high-quality, mold-resistant caulk. When applying a sealant to porous material like marble or grout, make sure surfaces are bone dry for proper adhesion.