How to tile a shower wall?
Oct 29, 2025
One of the most satisfying home improvement projects is tiling a shower wall. Although it could seem overwhelming, successful shower tile installation needs a lot of patience and attention to detail. With the right approach, you can achieve a professional look and avoid any damage to the shower wall tile. A beautiful, durable, and completely waterproof environment will be the result.
This blog discusses how to tile a shower wall, what materials are needed, and the steps to follow for a flawless appearance.
Why Tile a Shower Wall?
Before getting into practical details, it is important to understand why tile shower walls and it is the best decision for a shower enclosure. You get a number of benefits beyond just good looks.
1. Excellent Moisture Resistance:
Painted dry walls or panelling are subjected to direct water exposure, which results in flaking, chipping, and peeling. Paint can lose adhesion in this harsh environment. To avoid this and keep your shower for the long term, it is ideal to tile a shower wall. Properly installed tile backed by a robust cement board and waterproofing membrane system protects the walls from water, stains, and scratches. Tiling helps to keep your shower walls moisture-resistant.
2. Durability:
Choosing a ceramic or porcelain tile shower wall offers unmatched durability. It is highly resistant to scratches, fading, and everyday wear and lasts for decades. These two are the most popular choices for tiling shower walls and are aesthetically pleasing. For a truly distinct look, install this Green 24x48 Lappato Porcelain Large Format Tile offering long-lasting strength.
3. Simple Maintenance:
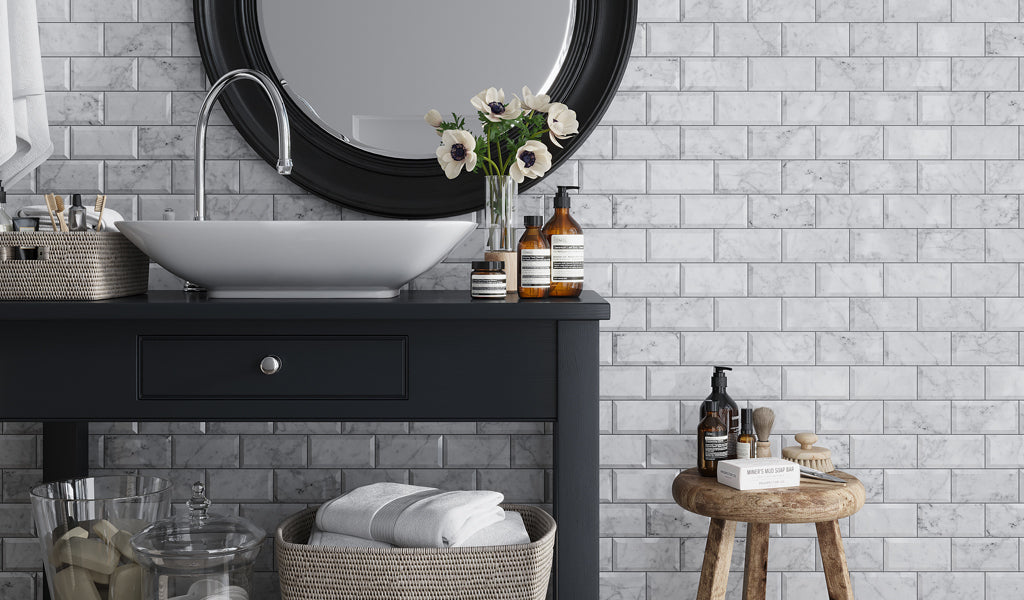
Tile surfaces are non-porous and easy to clean and maintain. While grout lines may need sealing and regular maintenance, using tiles is the best option to avoid mold and mildew growth, thus making cleaning a breeze. Consider our Cobalt Blue 3x12 Glossy Subway Glass Tile, offering the kind of look you desire with simple maintenance.
4. Design Flexibility:
The range of colors, patterns, textures, sizes, and finishes available in tile is countless. From timeless subway patterns to large-format porcelain tiles, you have complete creative freedom to customize your space and achieve a high-end professional look that is difficult to replicate with other materials.
Prepare the Shower Wall Surface for Tiling

Preparation is the key to setting up a successful shower wall. A "pro" job starts with the perfect substrate that is waterproof.
Demolition & Prep (Strip the Shower)
-
Start by removing the existing tiles, fixtures, and trims, and drywall (or backer board) down to the studs or substrate.
-
Clean your debris as you inspect the framing, plumbing, and subfloor.
-
Cover any surrounding surfaces (floor, tub, walls) to avoid damage and dust using tarps or plywood.
-
Always wear your safety gear: dust mask, goggles, and gloves.
Check of the Frame and Surface
Use a long level or straight edge to make sure the wall studs and surfaces are flat and even. If any studs stick out or are uneven, add shims or extra pieces of wood to make the wall smooth.
-
Check the wall studs and surfaces using a long level or straight edge to verify they are even. To smooth the wall, add shims or additional wood if any studs protrude or are uneven.
-
To ensure that the backer board rests flat against a bathtub, align the studs on the walls above the tub with the tub's edge.
-
Additionally, make sure that every plumbing rough-in, including shower fittings, valves, and pipes, is positioned correctly and extends the appropriate length.
Install the waterproofing and backer board
-
Since cement-based backer boards, such as fiber cement or cement board, offer better strength in damp environments than ordinary drywall, use them.
-
After cutting the backer board to size, use rust-resistant screws to fasten it to the wall studs. Allow a tiny space (roughly 1/8 inch) at the edges and in between boards.
-
Apply fiberglass mesh tape to the joints, then cover the tape with joint compound or thinset to seal the seams.
-
Next, cover the entire backer board with a waterproof layer, paying particular attention to damp areas. Sheet membranes, roll-on membranes, and liquid waterproofing are all options. Water cannot enter the wall structure, protecting it from damage.
-
A sealant or waterproof strip is a must at the bottom where the wall meets the tub or curb to ensure the joint is watertight.
Plan Your Tile Layout for Shower Walls
Measure the width of your walls and divide by the tile size plus the space for grout to see how many full tiles will fit. This helps you center the tiles and avoid very thin pieces at the edges.
-
Now measure the width of your walls and divide by the tile size, plus the space for grout, to find out how many tiles will fit the surface. By doing this, you can center the tiles and steer clear of the extremely thin edges.
-
Draw a straight vertical line down the center of the wall and a horizontal line for the starting row of complete tiles.
-
Before applying any mortar, lay out the tiles on the wall or floor to see how they fit and ensure cuts are even, and see how the pattern looks.
Mix and Apply Thin-Set Mortar for Wall Tile Installation
First Course & Setting Tiles:
-
Combine thinset (mortar) according to the manufacturer's instructions.
-
Start by tiling from the bottom or the first full row and work externally. Now, apply mortar to the wall using a notched trowel, or spread a thin layer on the back of each tile, pressing it into the mortar.
-
Utilize spacers to ensure consistent grout joints.
-
Frequently check with a level to ensure your tiles are straight and flat.
-
Work in small sections so the mortar doesn’t start to dry before you can set the tiles.
Cutting & Fitting Tiles
-
Utilize a wet saw or a tile cutter to trim the edges of tiles, create holes for plumbing fixtures, and cut tiles to shape in corners or niches.
-
For inside corners, you may want to bevel the tile edges or use bullnose pieces so that the joints meet cleanly.
-
Cover the edges with the tile trim or edging profiles for a clean finish.
Grout and Seal the Tiled Shower Walls

Wait and Clean:
Allow the thin-set to dry thoroughly (this takes approximately 24 hours) before grouting. Before grouting, be sure to remove all the spacers.
Choosing the Right Grout:
The type of grout depends on your tile material and surface. For glossy or smooth tiles, unsanded grout is usually recommended, while sanded grout is better for more matte or textured tiles. If you are trying to achieve a "high-end" quality finish, you might want to consider a polymer grout that is stain-resistant and pre-mixed.
Applying Grout:
Mix a small batch of the grout according to the instructions. Using a rubber grout float, firmly press the grout into the joints in a diagonal motion. This will push the material down deep into the joints and eliminate the risk of voids.
Sponging and Cleaning:
After the grout has “set up” (usually 10-20 minutes, depending on type), gently wipe away the excess with a damp sponge (not soaking wet) using a circular motion, rinsing the sponge regularly. Take care not to pull the grout out of the joints.
Grout Haze Cure:
After the grout is completely dry (24-48 hours), you will likely see a fine haze on the face of the tile. Use a commercial grout haze remover and a soft cloth to buff the tiles until they gleam.
Seal All Grout and Corners with Silicone:
Once the grout is cured (see instructions, typically several days), apply a grout sealant of the highest quality. Importantly, do not grout the change-of-plane joints (inside corners, where walls meet the tub or pan, or around niches). These areas are subject to movement and thermal expansion. Use 100% silicone that matches your grout color. Silicone is flexible and will resist cracking and leaking.
Final Cleanup
Install Fixtures:
Once the grout is completely sealed and the silicone is fully cured, you can install all plumbing fixtures: showerhead, handle, decorative trim plates (escutcheons). When caulking the decorative trim plates, apply a thin, neat bead of clear caulk to create a tight seal and prevent water from penetrating around the fixtures.
Final Polish:
Clean the entire tiled surface, ensuring no dust and debris or mortar residue is left.
Cure Time:
This is the most difficult but the most important thing: Do not take a shower right away. The project requires strictly following the full curing time recommended by the manufacturers for both the grout and the silicone caulk. This is frequently between 3 and 7 days. Patience is a must at these steps for a waterproof finish.
These professional tips—especially those regarding substrate preparation, layout planning with a ledger board, back-buttering for full mortar coverage, and sealing all corners with flexible silicone—will successfully tile your shower wall, achieving a result that is stunning and offers unmatched practicality for the long term. You can also read our blog on how to tile a shower for designing the whole space.
Final Thoughts
Tiling a shower demands proper planning, correct materials, and a lot of patience. Whether you install the tile yourself or opt for a professional installation, tiling a shower wall is sure to transform your space into an impactful experience. Tiles offer both style and strength, simple upkeep, and design varieties. Make your dream shower with the right tools, materials, and equipment, and follow the best practices listed in the blog for a rewarding result.
Frequently Asked Questions:
How often should shower grout be sealed?
It's suggested to seal shower grout at least every year, and the sealing frequency also varies based on the type of grout you have. For example, epoxy grout is super water-resistant, so it often doesn't need sealing.
What do you put behind tile in a shower wall?
A cement board (backer board) is one of the reliable materials used behind tiling a shower wall. A layer of waterproofing membrane is added to install over the backer board to protect water from seeping the wall structure.
Where to place the first tile on a wall?
For the most part, the best location for the first tile installation is at the intersection of a vertical and horizontal centerline you have marked for a balanced look, and the tile cuts are equal on the edges. However, many tilers install the first full row of tile, or start at the bottom, or even the second full row of tile above the shower floor.
Should you start tiling a shower wall from the top or bottom?
You should generally start tiling a shower wall from the bottom, beginning with the first full row of tile. Some professionals suggest starting with the second full row to ensure a full tile at a noticeable height, leaving the cut tiles for the bottom row, which will be partially concealed by the shower floor.
How high should tile go up a shower wall?
Tile usually should be installed a minimum of 4-6 inches up the wall above the showerhead to avoid wall damage from water spray. The more typical and practical option is to install from floor to ceiling for maximum protection from water exposure, providing a more modern, finished look.
Should I grout the shower floor before tiling the shower walls?
The standard process is to tile the wall first, then the floor, and grout all the tiles and caulk the joints after. Wait until all the adhesive has fully cured before using it.
Do you need to waterproof behind the shower tile?
Yes. It is necessary to waterproof behind the shower tile since tile and grout are not completely waterproof and allow moisture to move through. A waterproof membrane (liquid or sheet) will prevent water damage to the substrate (such as cement board) and framing, as well as mold and mildew.

