How To Paint A Tile? Step-By-Step Guide For Lasting Results
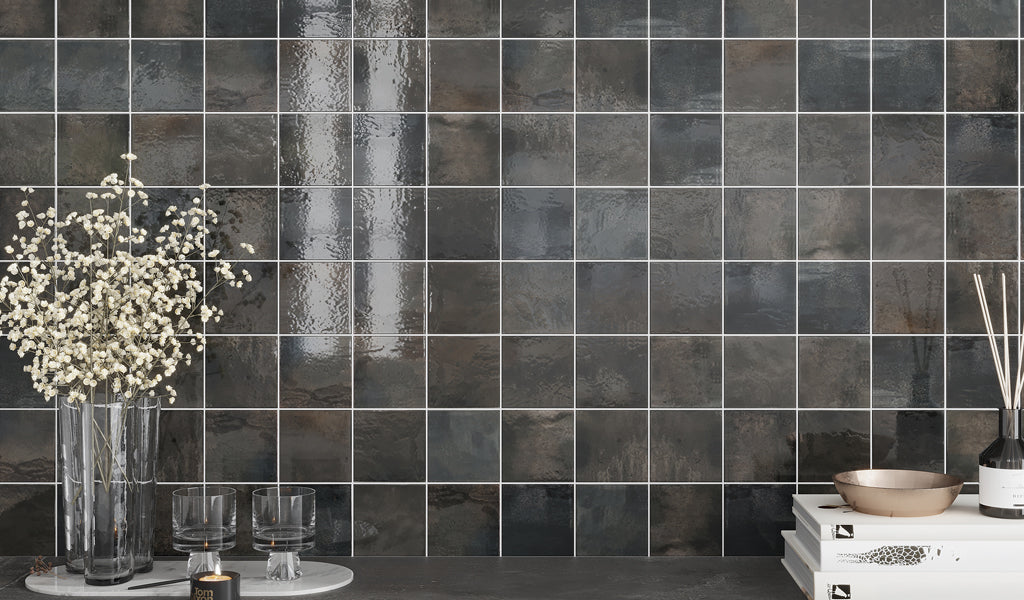
Feb 26, 2026 10 minute readIn an ideal world, renovating a space would mean changing the old tiles with brand new ones. However, a full overhaul isn’t always necessary to achieve a fresh look. Learning how to paint tile is a design-savvy solution to renovate a space with minimal disruption and costs. When done properly, it can instantly liven the space, change the color palette, and give the tiles a new, modern feel.
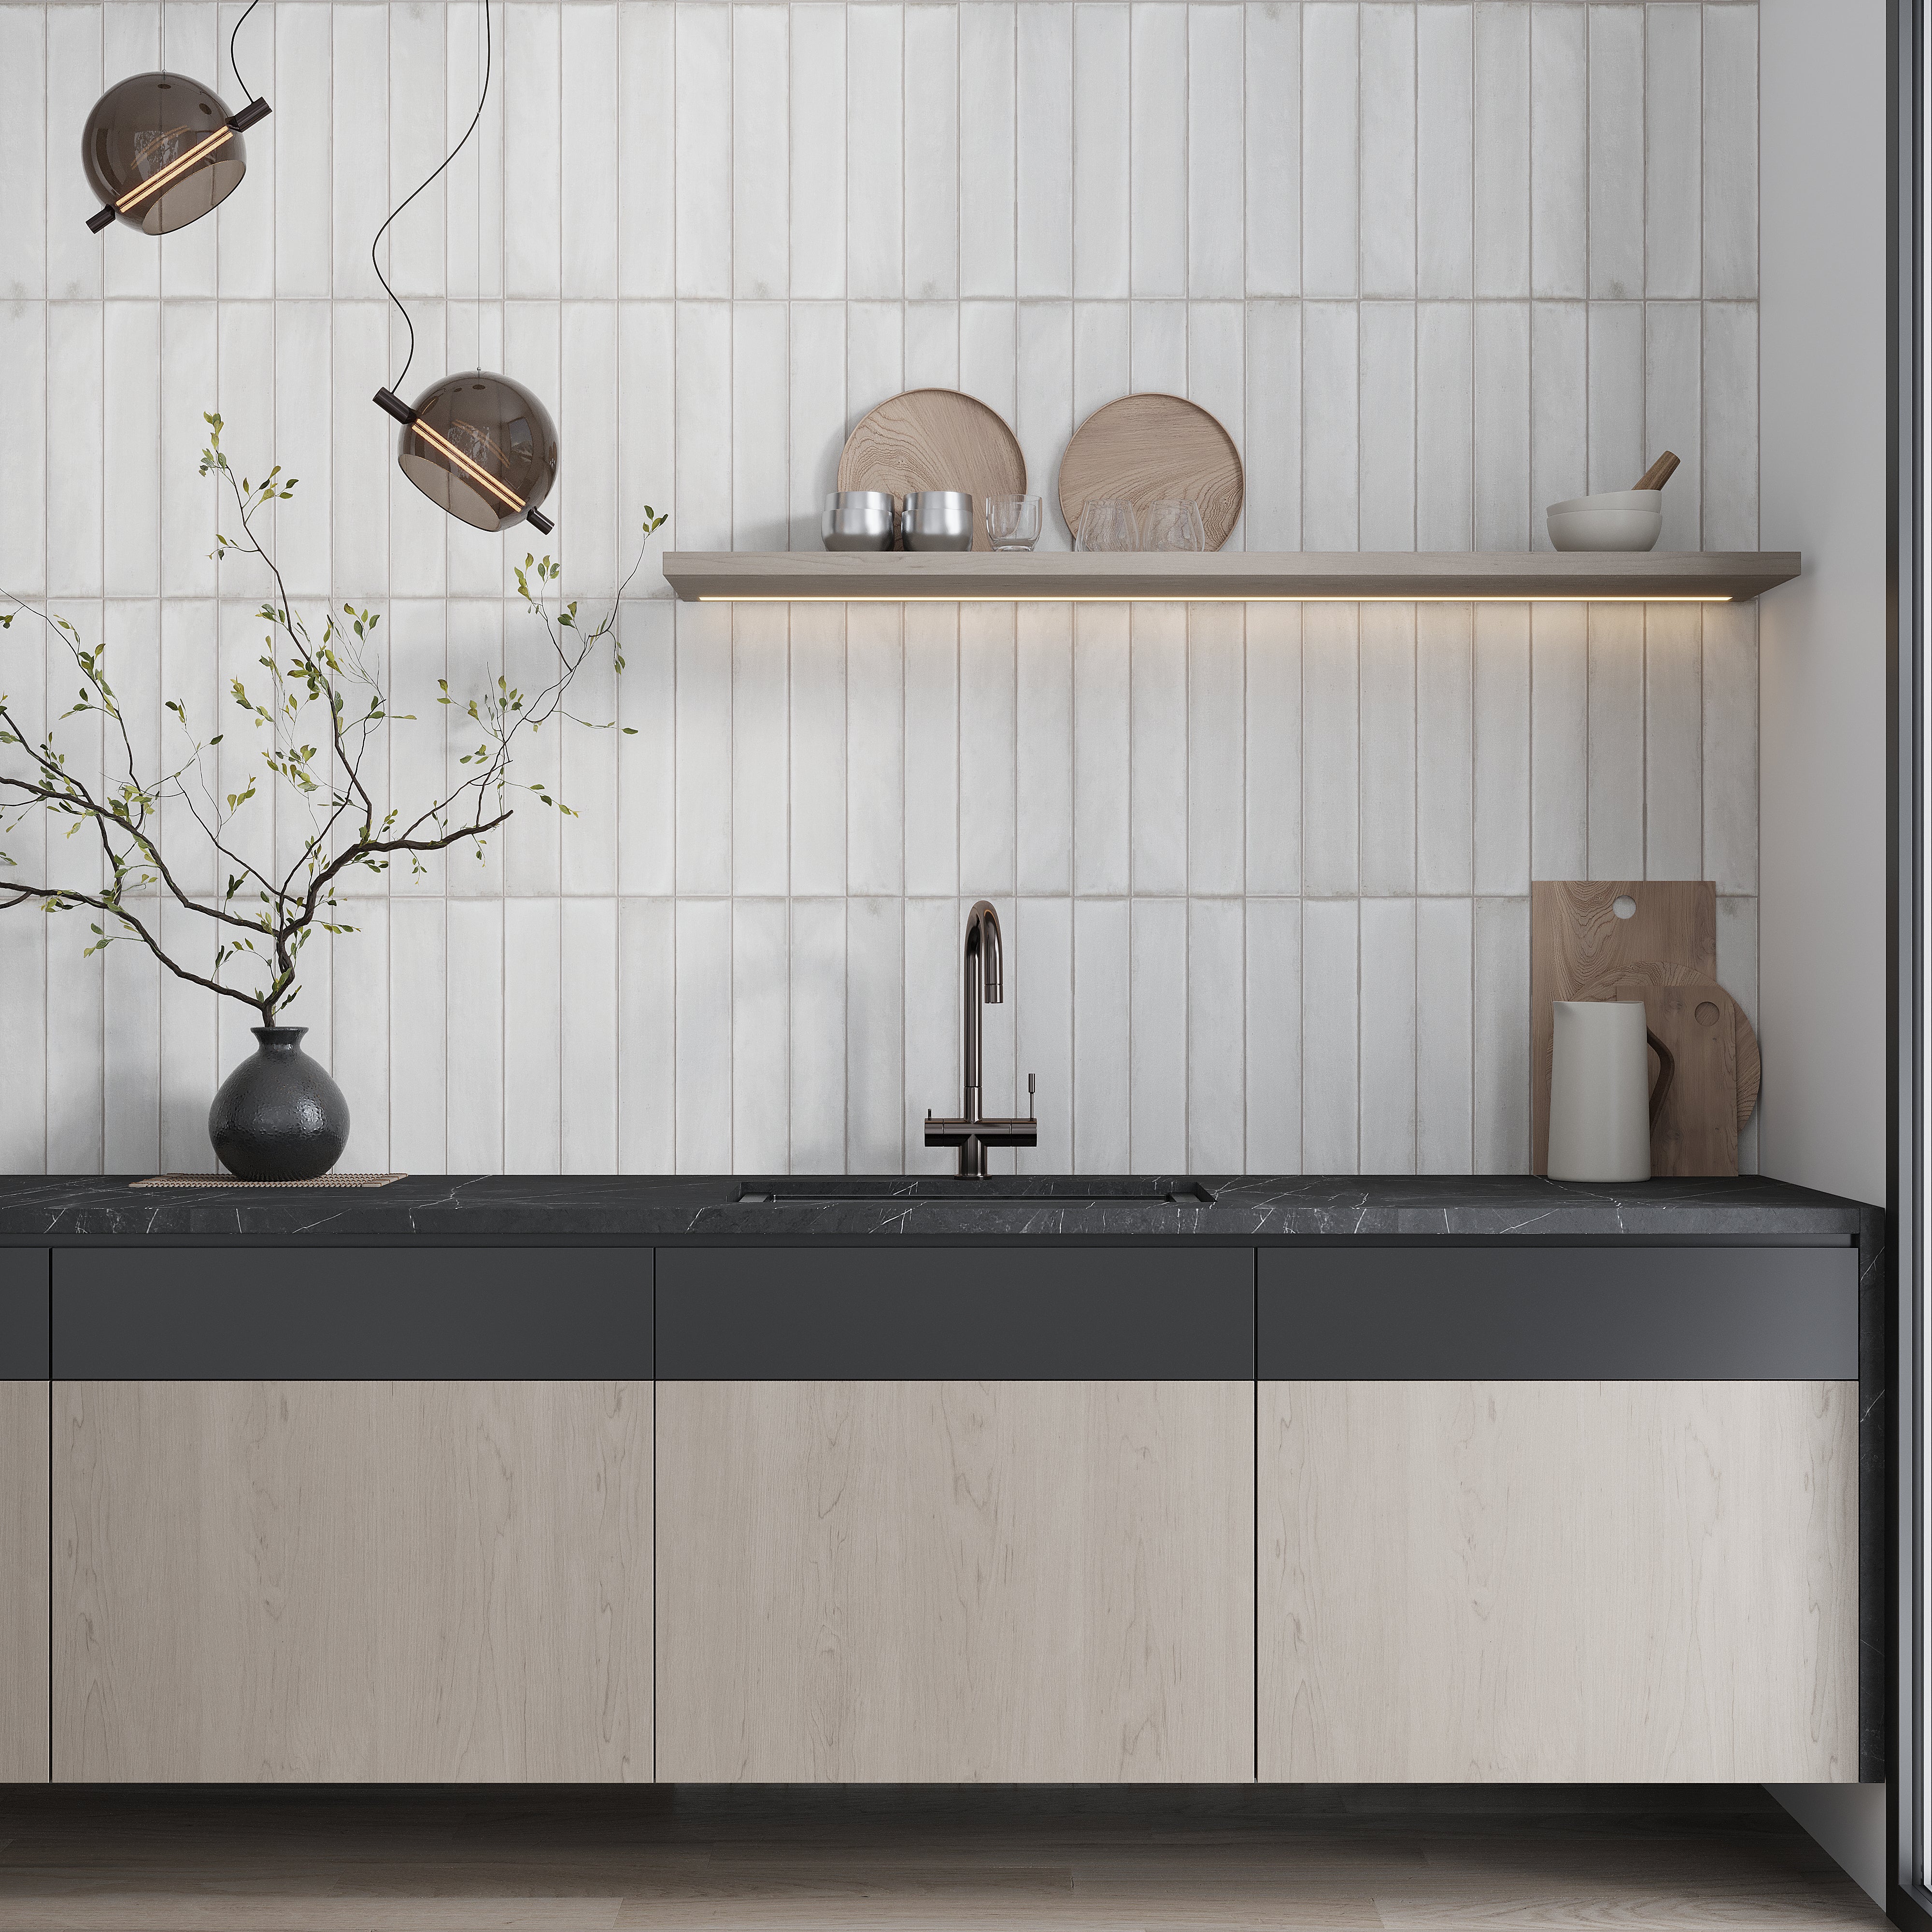
Painting tiles can change the mood of the space, make the tiles blend with your cabinetry, walls, and decor. It is a small change with a big visual effect, especially in the kitchen and bathroom. With that said, paint is best used as a way to refresh, not replace. High-quality tiles with excellent finishes will always be the best starting point for any design decision. Investing in durable tiles from Apollo Tile ensures a timeless aesthetic and long-lasting performance. They provide a versatile design foundation that can stand beautifully on its own and can also be painted when you wish to refresh your space, allowing you to enjoy both enduring quality and creative flexibility.
In this blog, we’ll explain how to paint tiles, which type of tiling material is suitable for painting, and the best surfaces to paint for long-lasting results.
Key Takeaways
- Painted tiles are best suited for walls, backsplashes, and low-traffic areas, providing a cost-effective solution to give your space an upgraded look.
- For the best results, prepare the tiled surface properly using a high-adhesion primer and select paint that is tile-specific.
Step-by-Step Guide To Paint Tile

Preparing tiles for painting is what determines how well the final finish will look and how long it will last. Every step leads to the final result of a surface ready to receive paint. When done the right way, the tile is fully prepped and set up for a successful transformation. Follow the steps below for a professional finish:
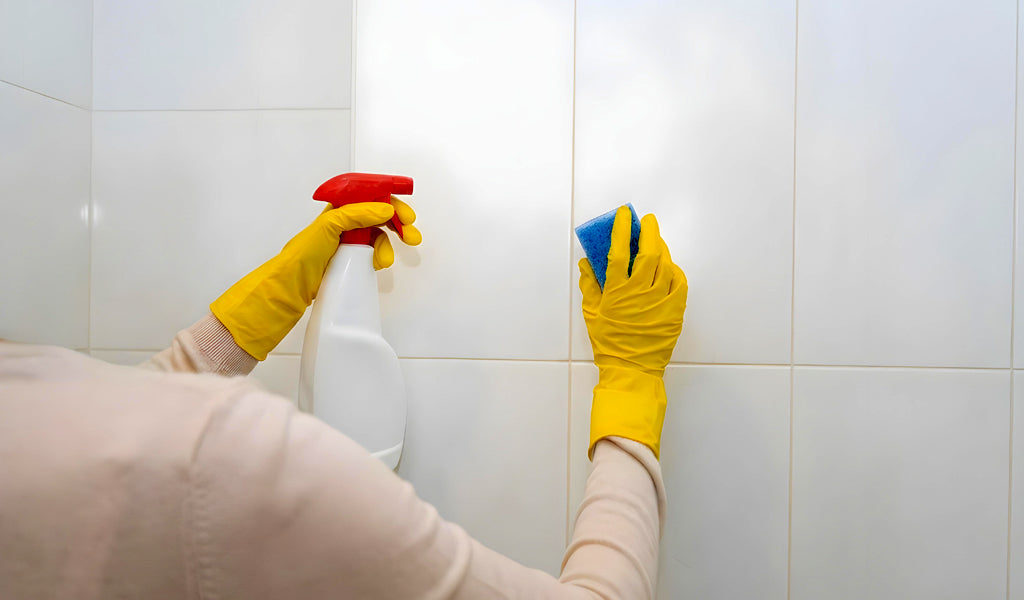
1. Surface Cleaning
Surface preparation is the first step to a successful paint job. If dust, grease, soap residue, or grime is left on the tile or grout, it will not allow the paint to adhere properly. Begin by cleaning the tiles with a mild tile cleaner and water, scrubbing well to remove any surface and grout residue.
For tough dirt, TSP (trisodium phosphate) can be used to remove grease and other contaminants. When using TSP, it is imperative to wear protective gloves and eyewear. Rinse the surface well before proceeding to the next step.
2. Sanding the Tile
When done with cleaning, you'll want to scuff the surface with sandpaper to create a rough texture and remove the shine. Then, clean up the sanding dust with a damp rag and let the surface dry. Place painter's tape around the electrical fixtures and edges you want to protect from paint. You can also place plastic sheeting on the floor or counter to protect these surfaces from paint drips and spills. Sanding is required to remove the shine from tiles, as a chemical deglosser will not do the trick on tile surfaces.
3. Prime
For this step, apply a top quality specific primer. A primer creates a layer on the tile that allows the paint to stick to the surface more easily. This technique also extends the lifespan of the paint. If you're painting larger tiles, a roller works best for covering more area. For smaller tiles and more detailed designs, a brush will work better. Ensure to let the primer cure for at least 24-48 hours before moving to the next step. We recommend using two full coats to attain a full depth of color and protect your tiles with a robust, washable coating. Before fully priming, test a small area to confirm proper adhesion.
4. Paint the Tile
After priming your tiles, it's time to paint! Use a tile-specific paint due to its remarkable adhesion and rock-solid finish. Start with painting around the edges with your first coat. The first coat should be slightly thinner than your second coat, as this helps to create a solid base for the topcoat to be applied to. Allow it to dry completely and then repeat the process with your second coat, this time slightly thicker. It is essential to allow the paint to dry completely between coats of paint. The surface will be touch-dry after 1 hour. However, we would recommend waiting up to 4 hours before applying the next coat of paint. Once the final coat dries, the transformation will be complete, leaving the tile and grout with a refreshed, polished look that feels intentional and renewed.
Types of Tile That Can Be Painted
Knowing which tile can be painted is the first step to achieve a clean finish. Some tiles are easily painted, while others can lead to peeling, uneven coverage, and wear if not handled properly.
It is essential that when planning a tile makeover, you begin with a surface that is best suited for painting. Porcelain tile is best suited for painting due to its density and moisture absorption, making it a durable surface that allows paint to stick evenly. This is essential in regularly used areas. Ceramic tile can also be painted. While it is more porous and has slightly higher moisture absorption than porcelain tile, it can be successfully refinished when properly cleaned, primed, and sealed.
Marble is a porous natural stone, and paint may absorb unevenly or even at times fail to adhere properly without proper surface preparation. While it is possible to paint marble using specialized primers and sealers, the finish may peel or wear down over time, especially in high-traffic or high-moisture areas. For durable results, refinishing or restoring the stone is usually a better option than painting. Glass tile has a smooth surface, requiring care when painting over tile so the products adhere better.
Best Areas and Surfaces for Painted Tile
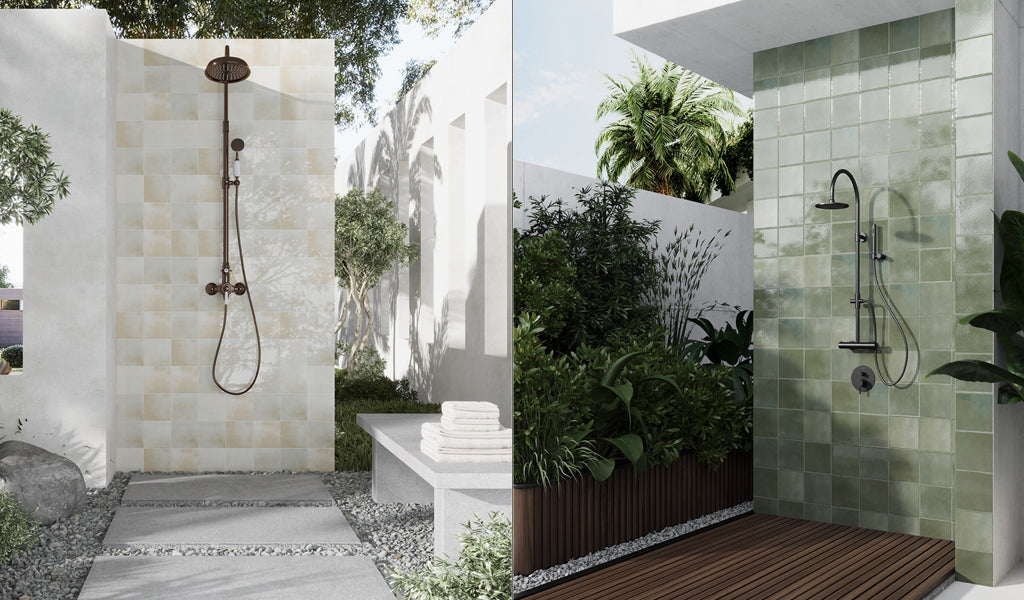
Painted tiles will last the longest and look their best when they are installed in areas that are not subject to heavy wear and tear or moisture. High foot traffic floors or wet areas are not the best places to paint over tile, as the friction and moisture can cause the paint to flake or wear off.
The best results can be achieved by painting over tile that isn’t subjected to bustling footsteps or moisture, such as vertical surfaces in the kitchen, living areas, or powder room. It’s completely acceptable to spruce up fireplace tile or an accent wall in an area away from water or foot traffic.
Essential Tools and Materials for Painting Tile

Using the right tools makes painting tile easier and more effective. You only need painting products designed for tile surfaces, which include:
Methylated spirit
Mild tile cleaner/ degreaser
A rag (an old t-shirt or dish cloth)
Sandpaper and painter’s tape
Durable paint & painting brush
A suitable primer
Protective gloves & face mask
Microfiber paint roller and container
Choosing the Best Paint and Finishes for Tile Surfaces

Selecting the best paint for tile and finish surfaces is crucial for a tile renovation. Not all paints are designed to adhere well to tile surfaces. Remember to select a paint that is specifically designed for tile surfaces. Epoxy and tile-specific paints are some of the most popular paints due to the durable finish they produce.
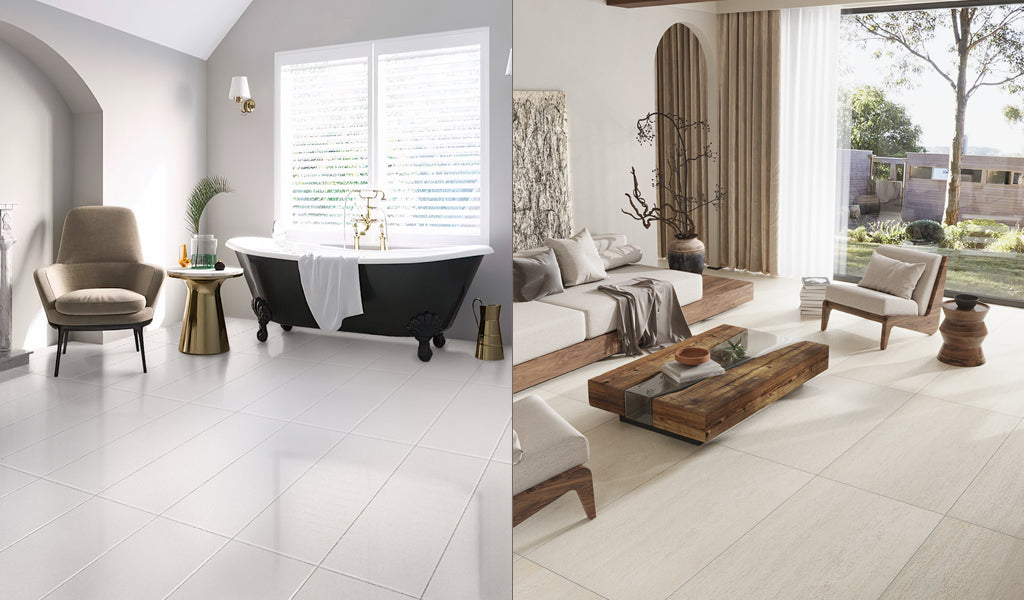
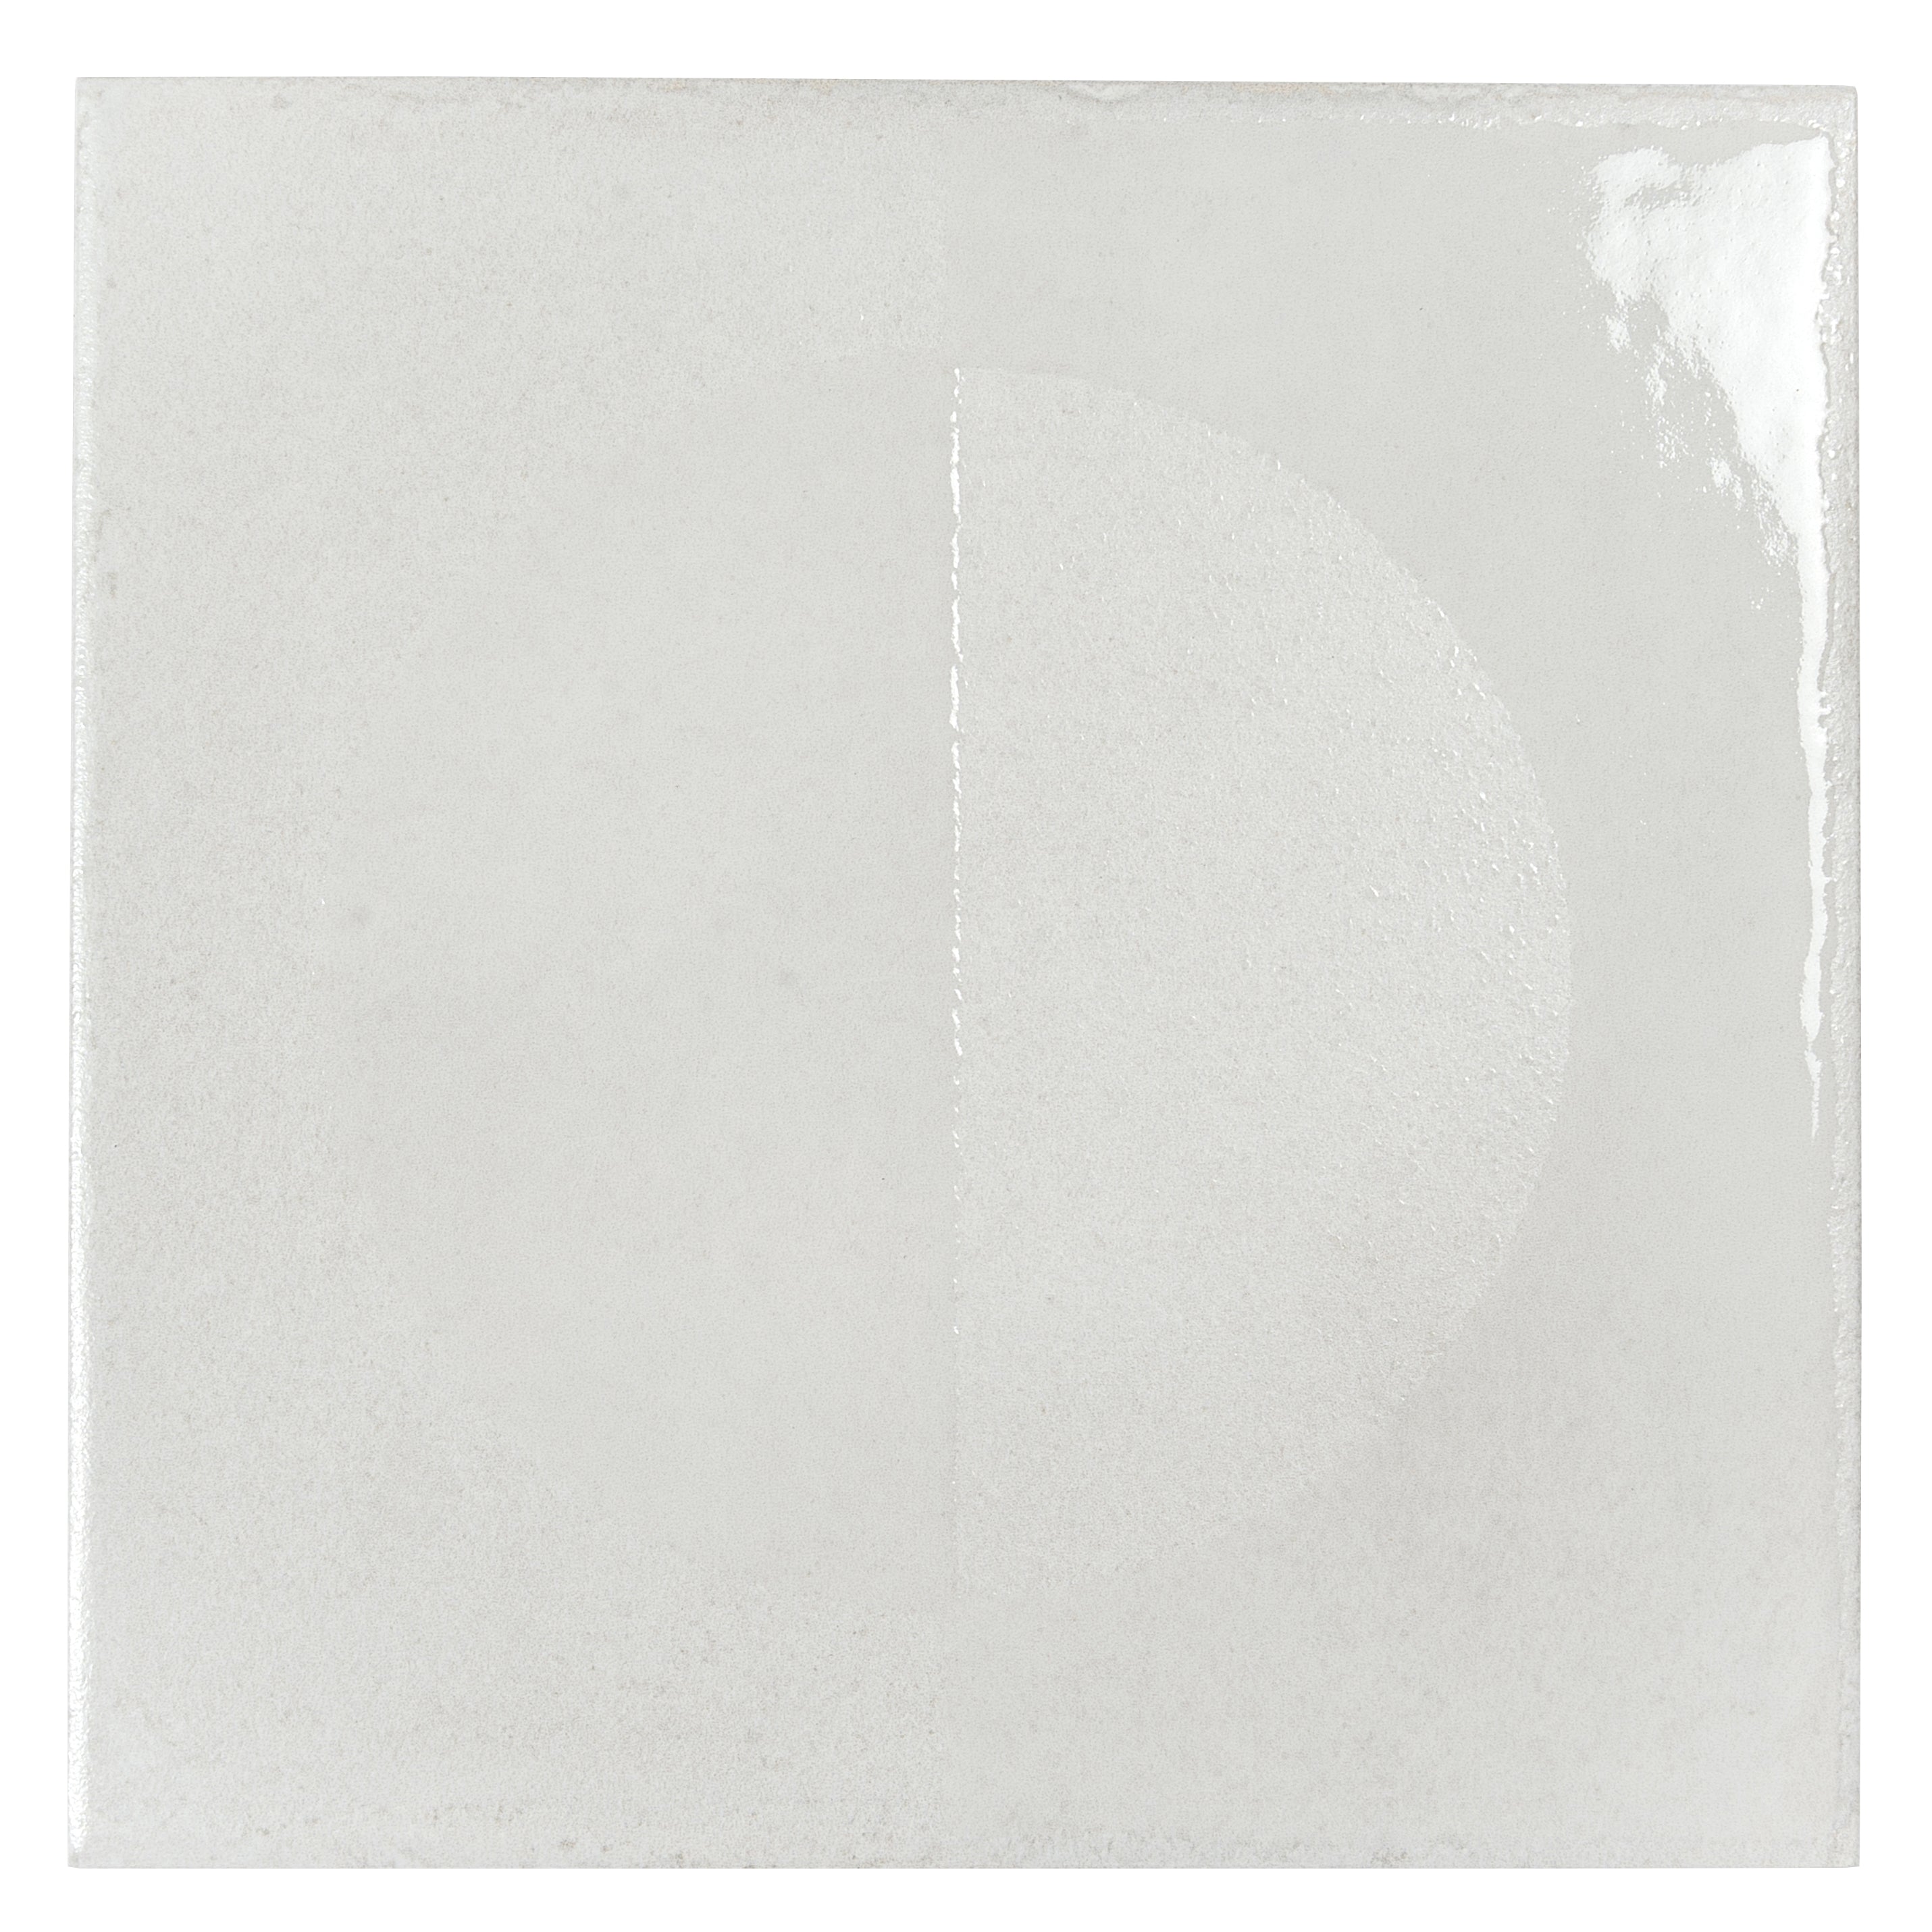
The finish that you choose can also affect the appearance and durability of your tile makeover. For example, our Cadence 8 x 8 Crisp White Porcelain Square Motif Wall and Floor Tile is a versatile option for both walls and floors. Satin and semi-gloss finishes are usually the best choices for refreshed tiles because they provide a subtle shine that is easy to clean and hides small imperfections.
Matte and textured finishes can be used to add a natural, design-driven look to painted tile, making them perfect for accent walls or low-touch areas where visual interest is paramount. These tile finishes are perfect for adhesion allowing the primer and paint to bond more effectively.
A high-gloss finish looks best on wall surfaces, where its reflective properties will enhance light and create a clean, polished appearance. Because of their sleek surface, high gloss tiles require aggressive sanding and a high-bond primer to prevent peeling. Once properly prepared, their smooth, easy-to-clean surface makes them a great choice for tiled walls where ease of maintenance is key.
How Long Painted Tiles Last and How to Extend Their Life
Painted tiles work very well in areas where cleaning is gentle and less frequent. Finishes will last longer if they are not cleaned regularly or exposed to harsh chemical cleaners. Selecting less active areas will ensure that painted tiles last longer, with their finish still looking fresh.
Paint for tile is formulated to handle the higher humidity found in bathrooms, making it an excellent choice for revamping most tile surfaces. For maximum durability, they work best in areas with good ventilation and less direct water contact.
Maintaining Painted Tiles and Avoiding Common Problems
Proper maintenance helps painted tiles stay attractive, but placement is just as important. Tiles installed in wet or high-traffic areas experience more stress and require extra attention to prevent damage.
Many of the problems associated with painted tiles can be prevented if the proper preparation and patience are used. Thorough cleaning, priming, using tile-specific paint, and allowing sufficient drying time ensure that the paint lasts longer.
Another aspect of maintaining these tiles is taking good care of them. Using non-abrasive cleaners on painted tiles extends their lifespan. Small areas of chipped paint should be touched up as soon as they appear to prevent further damage.
Conclusion
Applying paint over tile is a budget-friendly, functional, and artistic solution for revamping your space. This method brightens up a room, gives it a modern touch, and a professional finish without having to do a complete overhaul. With the right tiles, equipment, paint, and attention to detail, painted tiles can be a stunning and long-lasting solution for your walls, splashbacks, and feature areas.
However, for those who prefer a faster or low-commitment option, the use of peel-and-stick tiles can offer a removable upgrade that can be installed with minimal surface damage, depending on wall conditions. Whether one chooses to paint the walls or use the peel-and-stick tiles, both methods provide the opportunity to transform your space without the inconvenience of replacing existing tiles.
Frequently Asked Questions
1. Can painted tiles be used outdoors or on patios?
Painted tiles are ideal for indoor spaces. Outdoor areas are prone to sunlight, rain, and temperature fluctuations, which can lead to paint peeling or fading. For patios or outdoor spaces, it is best to opt for durable outdoor tile, which is specifically designed to withstand the elements while looking new!