Can You Really Put Peel‑and‑Stick Tile Over Existing Tile? The Surprising Truth
Feb 14, 2026 12 minute readIs your kitchen or bathroom feeling a bit drab? Itching for a fresh, quick decor upgrade? We get it! Committing to a single style can feel like a feat, and if you live for change like most interior aficionados, peel and stick tile offers an easy way to add flair to your space without a full investment of time or money. Just peel, stick, and admire… right? But what if the surface underneath is existing tile?
Some homeowners swear peel-and-stick tile works perfectly over old tile. Others tell a different story of tiles popping loose and the entire wall design failing within months. So what’s actually true? Can you put peel and stick tile over existing tile? The simple answer: YES! You can install easy-to-apply, easy-to-remove self-adhesive tiles atop ceramic, porcelain, or marble tiles, as long as the surface is in good shape. In fact, we’ve heard plenty of success stories from our customers, proving that with the right prep, it really does work.
If this approach has caught your interest, this guide breaks down how to nail this simple shortcut: revealing everything from when peel and stick tile over tile works, when it’s best avoided, and how to maximize your chances of success.
Key Takeaways
- As long as wall tiles are in good condition and the surface is prepped well, you can install peel and stick tile over existing tile.
- Preparation involves cleaning existing tile thoroughly, degreasing it if necessary, and taking any steps needed to ensure a smooth, level tiled surface.
What Types of Existing Tile Are Best for Peel-and-Stick Installation?


When the question “Can you put peel and stick tile over existing tile?” arises, it’s important to know which surfaces are acceptable for tile-over-tile installation. These decorative, stick-on accents adhere best to most firmly bonded and smooth tiles, including ceramic, porcelain, and glass, provided the surface is flat, clean, and structurally sound.
Ceramic Tile: Smooth, glazed ceramic tile is among the best surfaces for peel-and-stick tiles. Its flat, non-porous base allows the adhesive backing to bond securely. As long as there are no cracks, loose pieces, or severe unevenness, peel and stick tile over tile is a reliable option.
Porcelain Tile: Porcelain, such as our Ivory white with Green Vein 24x48 Polished Porcelain Large Format Tile, is another excellent base because its dense and impervious surface improves adhesive grip. Whether it's a pre-installed stone-look, wood-look, or terrazzo-look, just ensure that the existing bathroom or kitchen tile is firmly attached to the wall and properly cleaned and dried before application.
Marble Tile: Unsealed, porous marble, be it Carrara, Thassos, or Calacatta tile, can interfere with adhesion. For a successful peel and stick tile over existing tile installation, the surface must be properly sealed and fully cured before proceeding.
Glass Tile: The smooth, watertight finish of glass tile can be a suitable surface that allows the adhesive backing of stick-on tile to achieve full contact. However, mosaic designs with deep grout lines require extra preparation for optimal results. Applying a skim coat to level the grout lines creates a smooth, continuous base that supports a strong, even, and secure adhesion over existing tile.
How Grout Line Depth and Spacing Impact Peel-and-Stick Tile Adhesion
While the answer to the question “Can you put peel and stick tile over tile?” is a clear yes, there are other factors to take into consideration before getting started: grout line depth and spacing. Grout lines play a critical role and directly impact adhesion strength, longevity, and the finished appearance of the new design. Once you have the width and spacing in check, it’s easier to prevent newly installed self-adhesive wall tiles from lifting, bubbling, or premature failure.
So why do grout lines matter? An important thing to note is peel and stick tiles rely on consistent, full-surface contact to bond properly. Deep or widely spaced grout lines may create recessed areas that interrupt this contact, potentially reducing adhesive grip and overall stability.
1. Impact of Grout Line Depth
If tiling straight on top of existing tiles with grout lines that are deep, the new peel-and-stick tiles can ‘telegraph’ or mirror those seams, causing the new surface to look uneven and bumpy. To combat this, deep or uneven grout lines can be skim-coated until they sit flush. Doing so will create a perfectly flat, smooth surface before installing peel and stick tile over tile.
2. Impact of Grout Line Spacing
Existing grout spacing also affects adhesion. Large format tile with fewer, tighter grout lines tends to perform better, while the increased grout joints of mosaics create an uneven surface that may struggle to maintain uniform contact with peel and stick wall tile. In certain instances, the wider width of the underlying grout may show through the new tile as a visible impression.
If the existing tiles are flat and only the grout lines are wide, a thin underlayment (rigid PVC or foam backer panels for peel-and-stick tile) over the entire tile field is a reliable fix to create a continuous surface across.
Surface Conditions Required for Successful Peel-and-Stick Tile Installation
Like with any installation, starting with a proper substrate is absolutely key. When it comes to stick-on tiles over existing tiles, it’s not enough to know you have an acceptable surface. You also need to ensure the tiles beneath are in excellent condition for strong bonding and robust durability. Tiling over damaged tiles is always a mistake and will inevitably cause your peel-and-stick application to lift off.
So what’s required for a successful installation? First, the existing tiles should not be cracked, loose, or sound hollow or drummy when tapped. Some slight gaps, cracks, and divots can be filled with adhesive to create a smooth surface. As for checking for “drumminess”, gently tap each piece with the back of a hammer and listen for a hollow sound. If the tiled area is 95% free from hollow sounds, it is good for tiling over. If the tiles are loose and hollow-sounding, that’s a clue that they are not stable and need to be replaced. Next, use a long spirit level to confirm that the existing surface is entirely flat and level.
As mentioned earlier, porous materials, including natural stone or cementitious grout, must be properly sealed to prevent the adhesive from being absorbed into the surface. Lastly, check for moisture issues. Applying a layer of peel and stick tile over tile won't fix any ongoing moisture problems and will only lead to failure. If you’re set on stick-on tile-over-tile, take time to make necessary repairs before proceeding.

How to Prepare Existing Tile for Peel-and-Stick Tile Installation
As well as being flat, level, and undamaged, peel and stick tile over existing tile requires a clean surface for improved long-term performance. This means removing dirt, dust, or grease that may prevent solid adhesion. For tough buildup, use a soft-bristle brush and a solution of warm water and mild soap to clean the tiles thoroughly. Thereafter, rinse with clean water and let the surface dry completely. This step is important because the new self-adhesive tiles need a spotless base to bond effectively.
Step-by-Step: How to Install Peel-and-Stick Tile Over Existing Tile
If you’ve ever spread adhesive on the wall, cut tiles with a wet saw, and filled the seams with grout, then you know the process of laying traditional tiles isn’t everyone’s cup of tea. For the simple reason that it takes too much time and effort. On the contrary, sticking new accent wall tile over ceramic or porcelain isn’t the hardest of DIYs and can be done quite fast with a lot less mess. But to make your tilework have lasting power, you may want to take note of the following steps.


For tools, you’ll only need a hand-held tile cutter or utility knife, ruler, and level. For time, a few hours but probably not more than a day are needed to complete the job.
Once you’ve cleaned existing tilework, allow 24 hours for the area to dry completely.
Dry-lay the tiles by sticking them on the wall without removing the backing. This step is to make sure they look the way you want them to and adjust your design as needed to make use of full pieces before committing.
Just as you would when tiling any surface, it is usually best to start from the center or a straight edge to ensure even placement. Measure and mark a guideline with a pencil to keep your tiles straight.
Next, test the new self-adhesive tile application in an inconspicuous spot. Once you’re sure of proper adhesion, the process is exactly what you’d expect: remove the backing and press the tile firmly into position. Apply even pressure outward so no air bubbles form beneath.
Repeat the peel-and-stick process for each tile. Measure carefully and use a utility knife to cut tiles as needed for edges or corners.
When working around obstacles, create a template of the shape on a sheet of paper. Transfer the template to the stick-on tile, and use the utility knife to cut the required curve or notch.
While not necessary, you may choose to add a clear sealer around the edges for extra protection against moisture.
 Pro Tip:
The adhesive on peel-and-stick tile has a strong hold when placed over a clean, smooth tiled surface. However, should the tiles begin to lift at the edges, consider a wall-approved adhesive and apply it directly under the lifted area. Alternatively, you can use an adhesive recommended by the tile manufacturer to ensure that the surface beneath is not affected in any way. Use a narrow applicator tip for easy access at the edges, then press firmly to ensure solid adhesion.
Where Peel-and-Stick Tile Over Tile Works Best and Where It Doesn’t
A range of issues can occur when placing stick-on tile over tile. For this reason, it is imperative to understand where a tiling-over-tile shortcut works the best and where it tends to fail if you’re planning for a successful, enduring application.
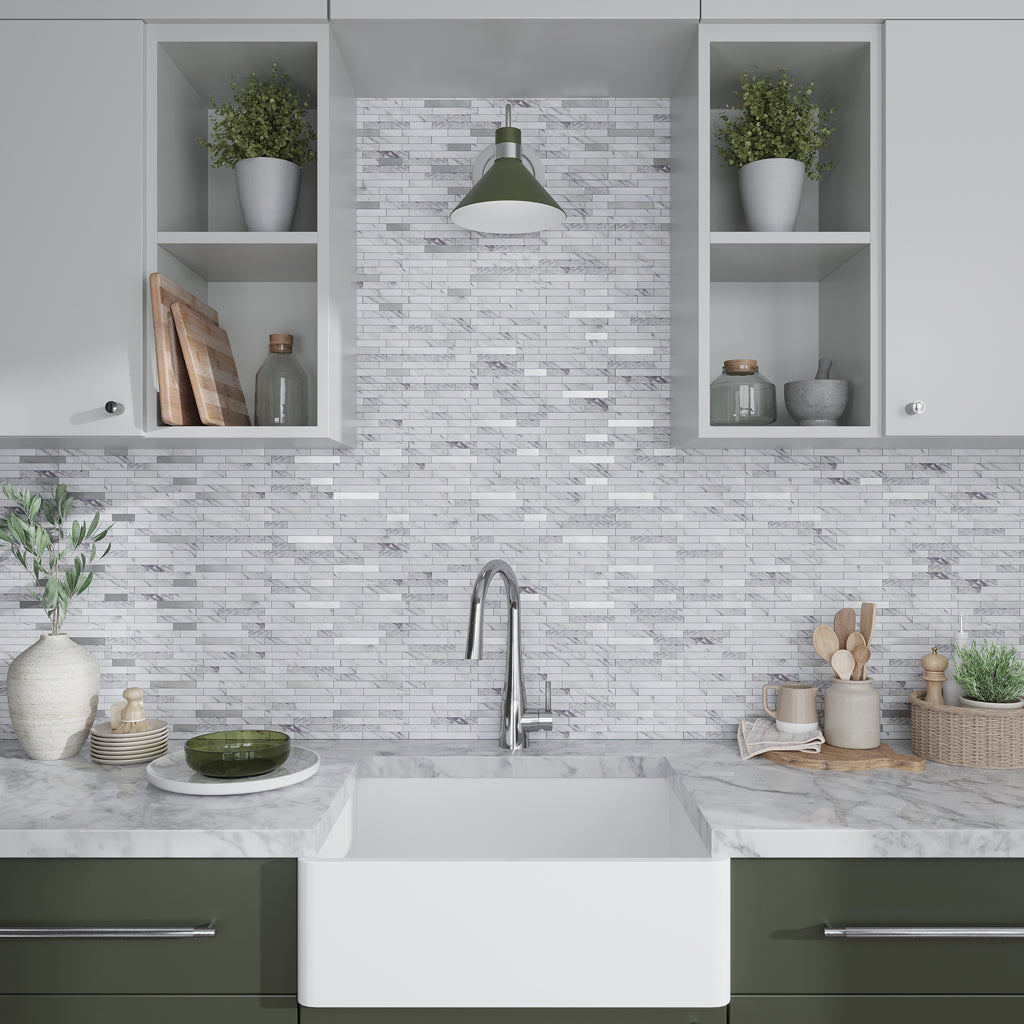
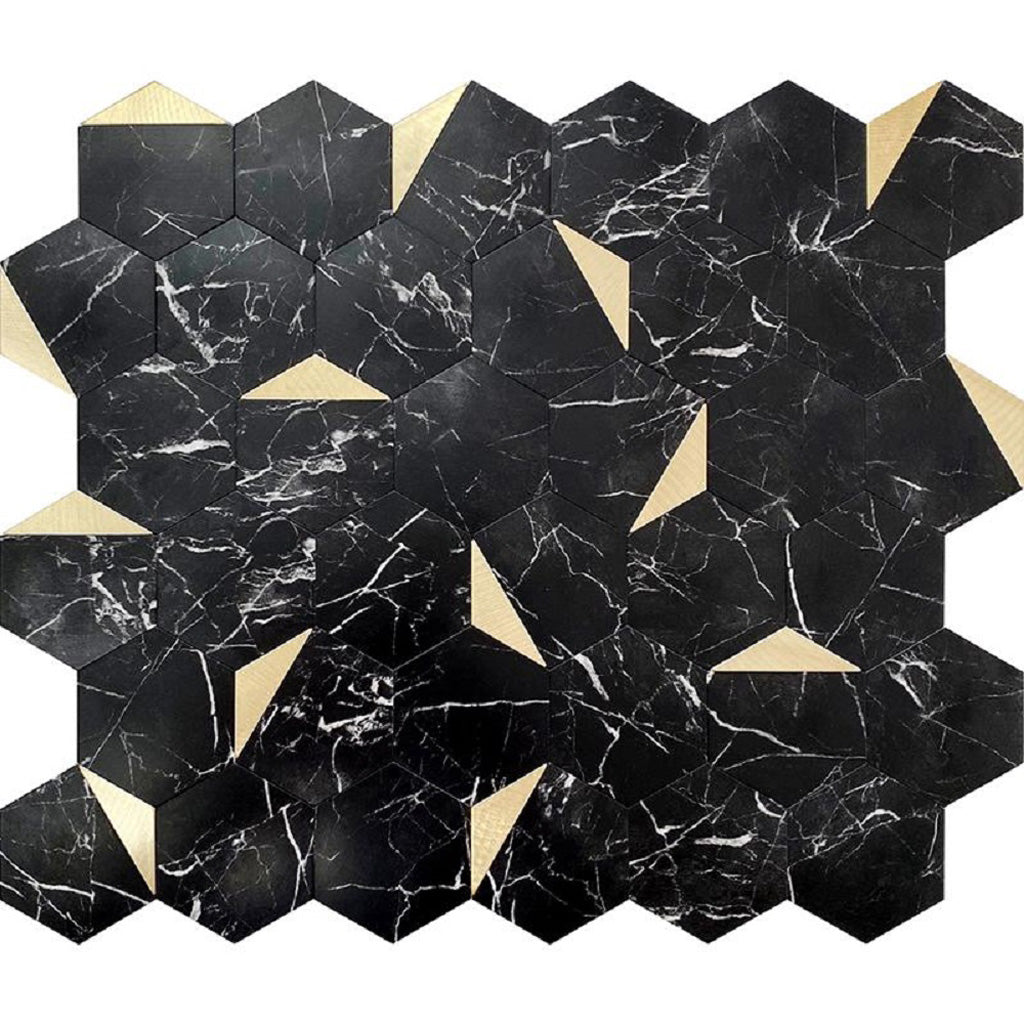
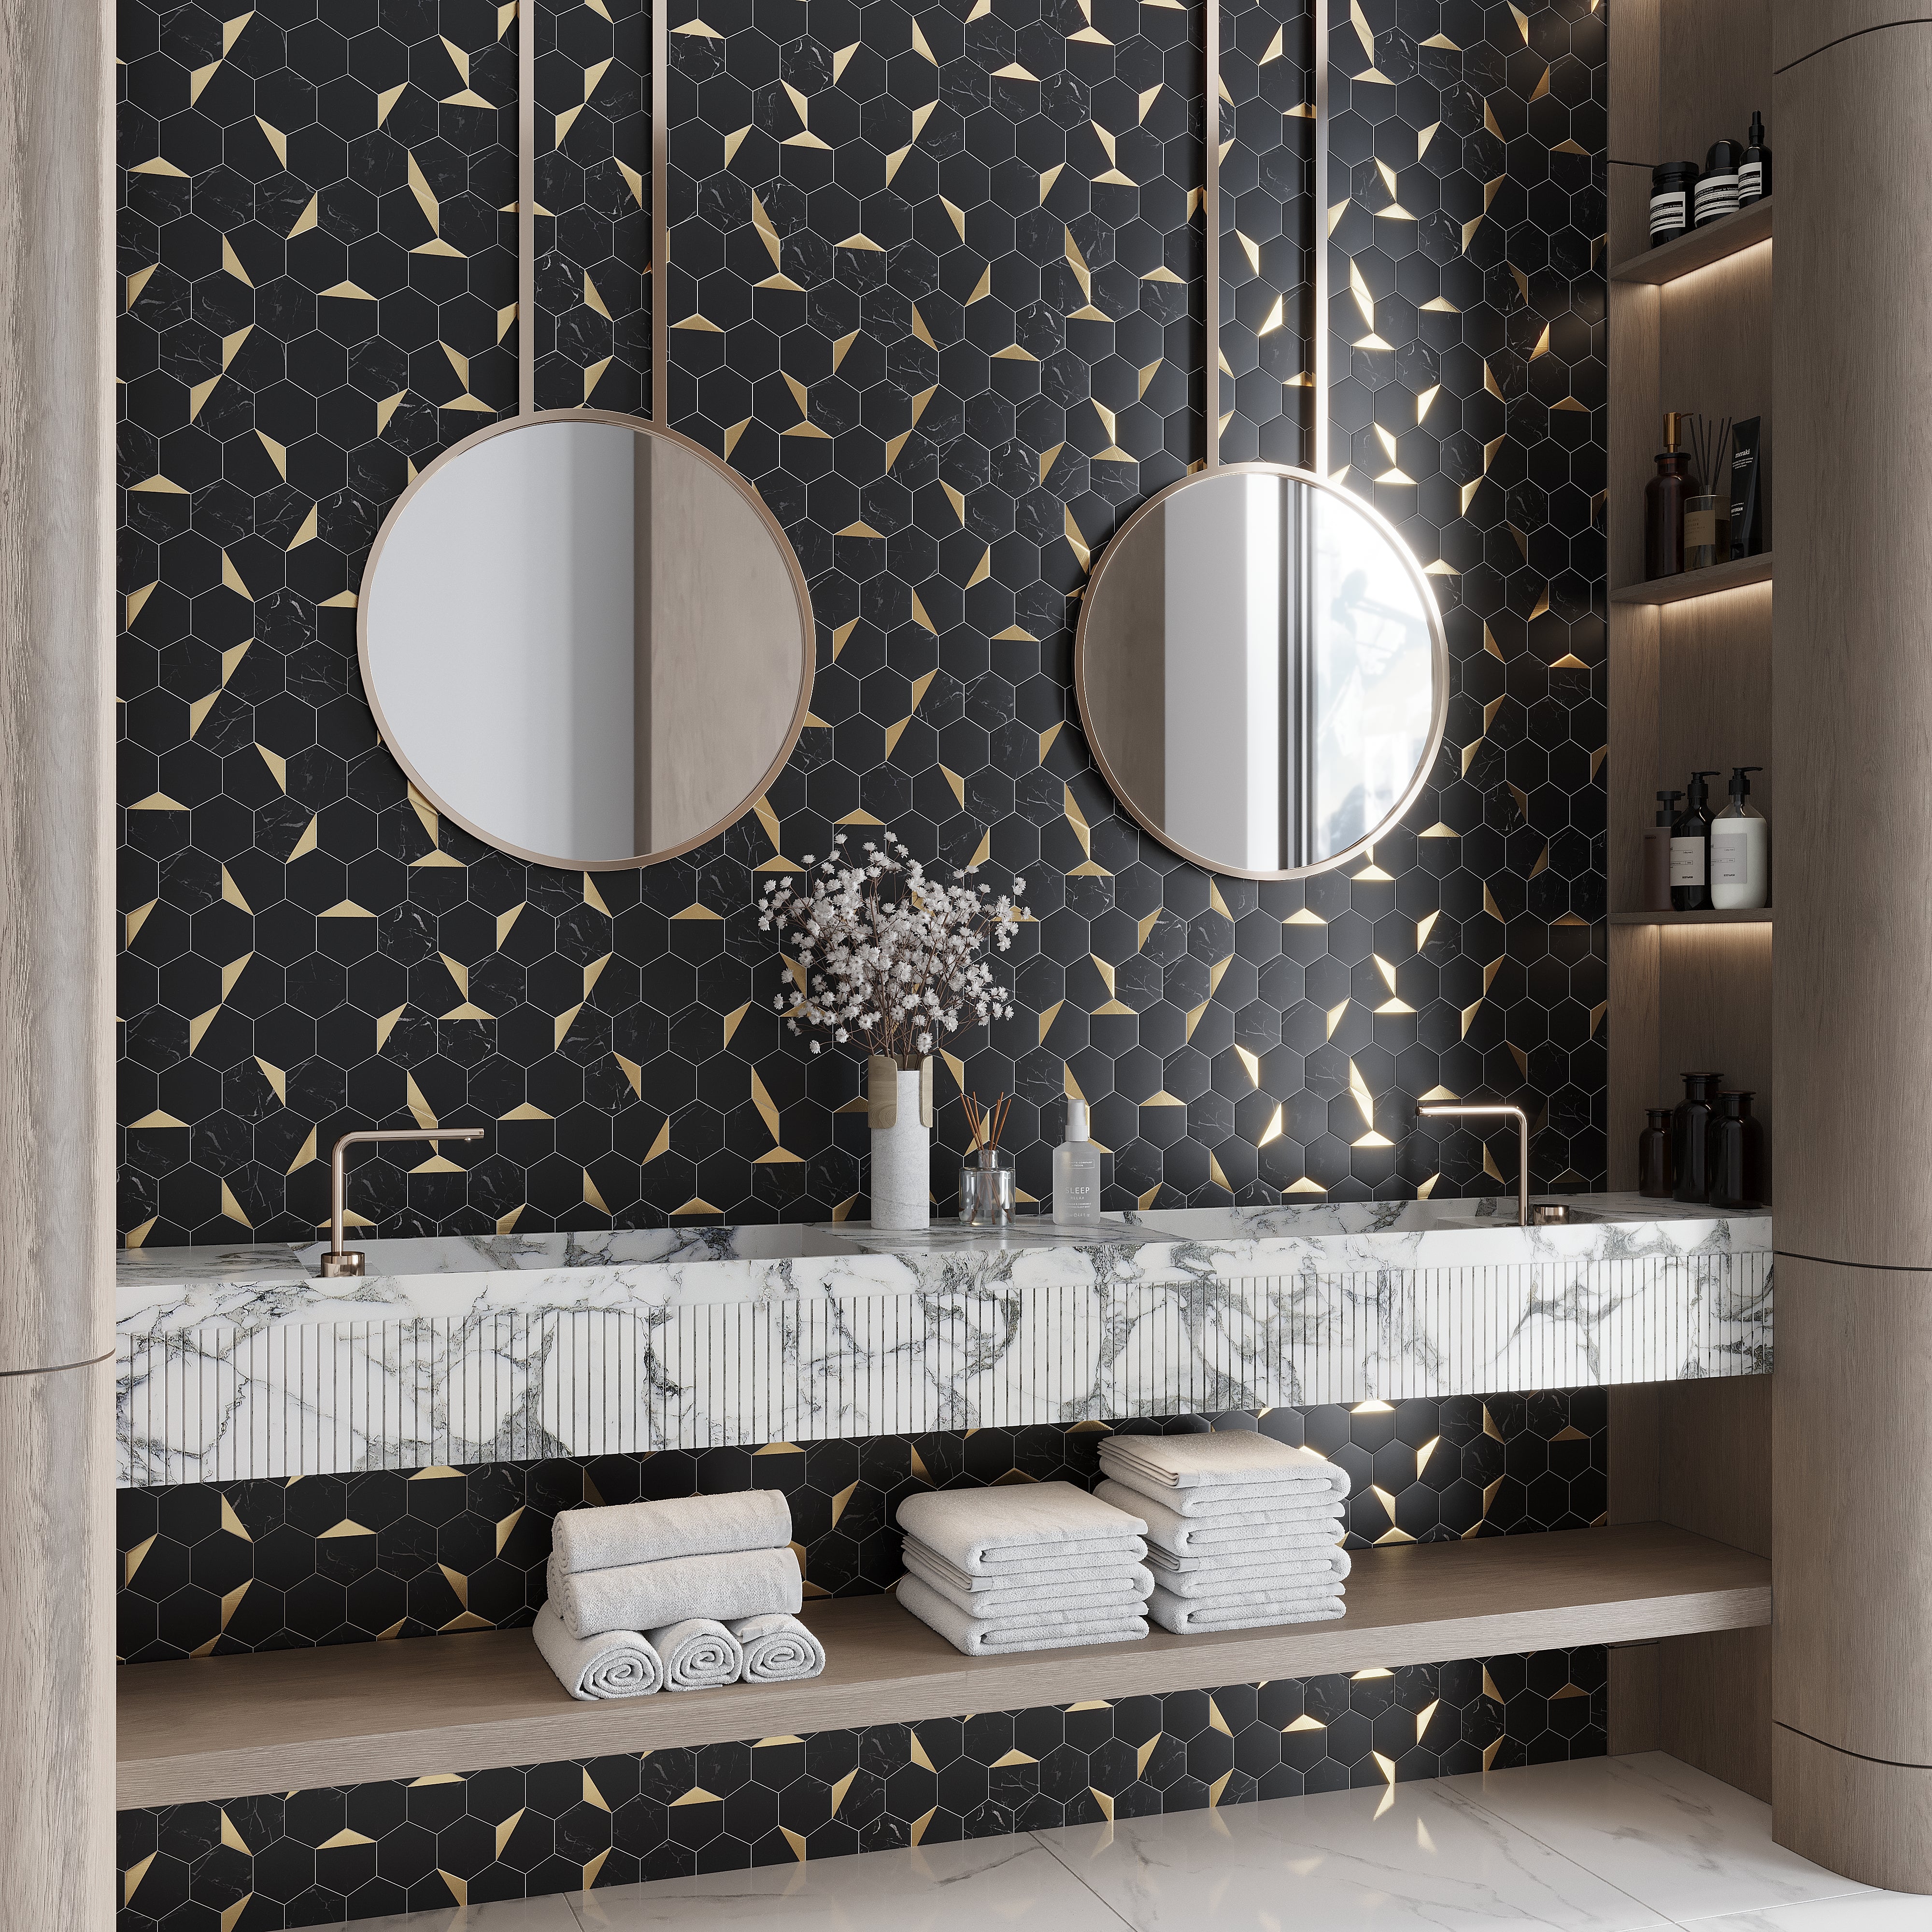
Interior areas that experience minimal wear, such as the kitchen backsplash, bathroom wall, or accent wall in the entryway, living room, or bedroom, support strong adhesion. These vertical surfaces are low-impact, stable, and not exposed to constant water, allowing self-adhesive tiles, including our Black Gold 12x12 Honed Hexagon PVC Peel & Stick Tile, to perform as intended.
Tiled indoor and outdoor floors, shower walls, and fireplace surrounds are not approved for peel-and-stick application. This is because constant water, steam, and heat, as well as impact from foot traffic, weaken the adhesive, leading to failure even if the tiled surface beneath appears in good condition and well-prepared. In addition, highly textured tiles may hinder the adhesive contact of peel-and-stick tiles, resulting in lifting or premature failure compared to a smooth base.
Common Mistakes That Cause Peel-and-Stick Tile to Fail Over Tile
Most issues that occur with peel and stick tile over existing tile, such as lifting or shifting, can be traced back to a few common errors before and during application. These include:
- Skipping proper surface cleaning and preparation
- Installing stick-on tile over deep or widely spaced grout lines
- Sticking new tile over loose, hollow, and damaged existing tiles
- Installing on floors or areas in contact with water, such as the shower
- Not applying enough pressure during application and allowing air pockets to form
Conclusion
There you have it! Can you put peel and stick tile over tile? The answer is a solid Yes. The process may sound like cheating, but if the conditions are suitable, it is by far the quickest solution that saves so much effort. Leaving you more time to check out dreamy accent wall or backsplash tile ideas. For the best results, make sure the tile beneath is structurally sound and well-cleaned. And, once the new tiles are successfully laid, nobody needs to ever know!
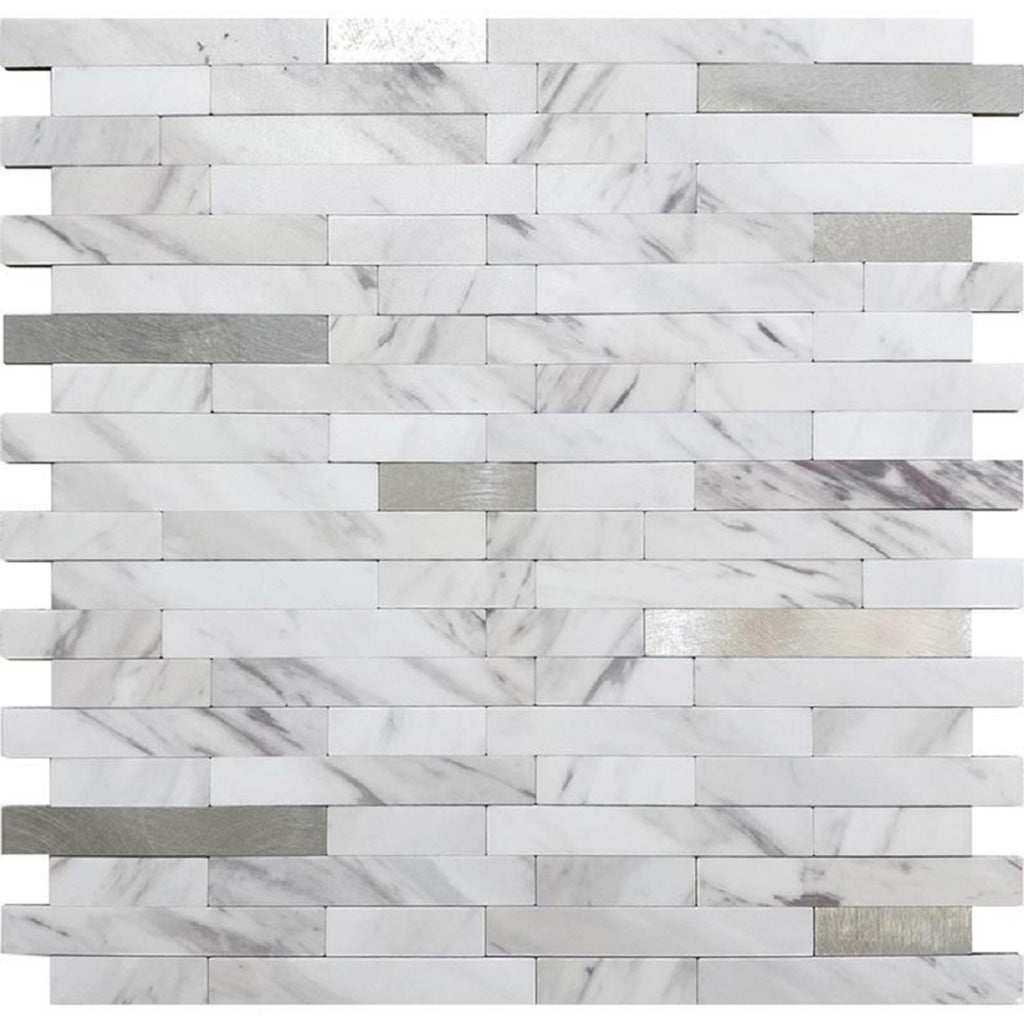
At Apollo Tile, our peel and stick tiles offer a temporary finish with a stylish sense of permanence. From designs that emulate marble’s flair to those that mimic the splendor of metal, there’s no better way to create the perfect ‘stop and stare’ moment. To get started with the right wall finish, feel free to order tile samples from our online tile shop.
You can also find more in-depth advice on how to regrout shower tile and how to measure and plan a kitchen backsplash, which will all help boost your tiling knowledge.
Frequently Asked Questions
1. Can peel-and-stick tiles be installed on uneven or damaged tile?
2. Do peel-and-stick tiles work in high-moisture areas like bathrooms or kitchens?
Apollo Tile stick-on tiles, such as Carrara White 9x10 Hexagon Honed Marble Peel & Stick Tile, are approved for bathrooms and kitchen walls, including the backsplash. The tiles should not be installed on shower walls or floors, as contact with water or steam can weaken adhesion.