How To Cut Porcelain Tile: Best Tools and Common Mistakes to Avoid
Oct 15, 2025 14 minute read
Porcelain is an adaptable and resilient material for home improvement projects of all scales. Its performance in areas with high moisture and high footfall is second to none, thanks to the vitrification process. But it’s also this rock-hard quality that may make it challenging to work with. Well aware of this, we have put together this definitive guide on how to cut porcelain tile accurately and tackle installation like a pro.
Key Takeaways
- With the right tools and a little patience, cutting porcelain is by no means a task too much to handle, even for beginner DIYers.
- Wet saws are ideal for precision and clean cuts, manual cutters for straight cuts on thinner tiles, and tile nippers for smaller or irregular cuts.
- Accurate measuring and marking ensure fewer mistakes, better-fitting tiles, and a polished installation.
- Wearing safety gear and working in a well-ventilated space are paramount to the tile cutting process.
There are several ways to cut porcelain tile. Whether it’s to fit an awkward area or a more complex laying pattern, clean and tidy cuts allow you the freedom to get the look you want. Plus, doing it yourself isn’t only rewarding, but it will also save you a few coins! Ahead, we’ll discuss the best tools and techniques so you can move forward with confidence and achieve great results.
Why Do Porcelain Tiles Need Cutting

Unless by some miracle your room’s dimensions are the exact size and shape of the tile you’ve ordered from our online tile shop, it’s almost a given that you’ll need to make exact cuts to fit around edges, corners, or obstacles. Tile cutting is also how you bring custom designs and eye-catching patterns to life. Without it, anyone installing new tile would be limited to straight, whole-tile layouts, which may look a bit... meh.
Before we jump into the how-to, there are two important pieces of advice to remember:
1. Always use appropriate PPE (personal protective equipment). Goggles and gloves will protect you from sharp shards and edges. A facemask is necessary to protect against dust, and considering the ruckus from power tools, make sure to pop on earplugs too.
2. Measure twice and cut once. This oldest DIY trick will ensure that your cuts are right the first time and the tiling material isn’t wasted.

Tools for Cutting Porcelain Tile
The best porcelain tile cutting tools are those that can handle the density and hardness of the material. Here are the commonly used and effective options:
Wet Tile Saw: Equipped with a diamond blade that draws water from the reservoir as it spins, a wet tile saw is best for large projects where straight cuts, L-cuts, and mitered edges are required. Before turning it on, check if the water level is topped up. This serves as lubrication to cool the blade, reduce friction, and keep dust at bay, resulting in smooth and consistent cuts. What sets an electrical wet saw apart? The most specific or complex cutting requirements are met efficiently within a shorter duration and with a cleaner finish.
When using an electrical saw cutter, resist the urge to force the tile through the blade. Instead, use gentle, consistent pressure and allow the blade to come up to speed and do the work for the cleanest results. Should the blade struggle to cut through the tile, it’s likely due to one of two reasons. One, the blade is incompatible with the material, or two, you’re pressing too hard.
The blade must be sharp when using a wet saw to eliminate the occasional chipping. To restore proper tile cutting performance, it’s advised to run the blade through a dressing stone after 40 or so cuts.
 Bonus Tip:
If you want to do all you can to keep those bucks in your pocket, you can rent an electrical wet saw by the hour or day. Check with your local hardware stores if they offer rentals.
Manual Tile Cutter: Many may assume that a manual tile cutter is no match for porcelain. We are here to tell you that’s not always the case. A manual or snap tile cutter is a mainstay in the arsenal of most skilled tilers and works just as well for straight cuts on thinner material (preferably no thicker than 8mm).
While it can take considerably longer for a big job than using a wet saw, there’s certainly an appeal in its affordability and ease of use. And with the right scoring wheel, heavy-duty manual cutters produce much higher pressure to pierce through denser porcelain. It scores and snaps the tile apart, and some options come equipped with a swiveling measurement bar that allows for easy diagonal cuts.
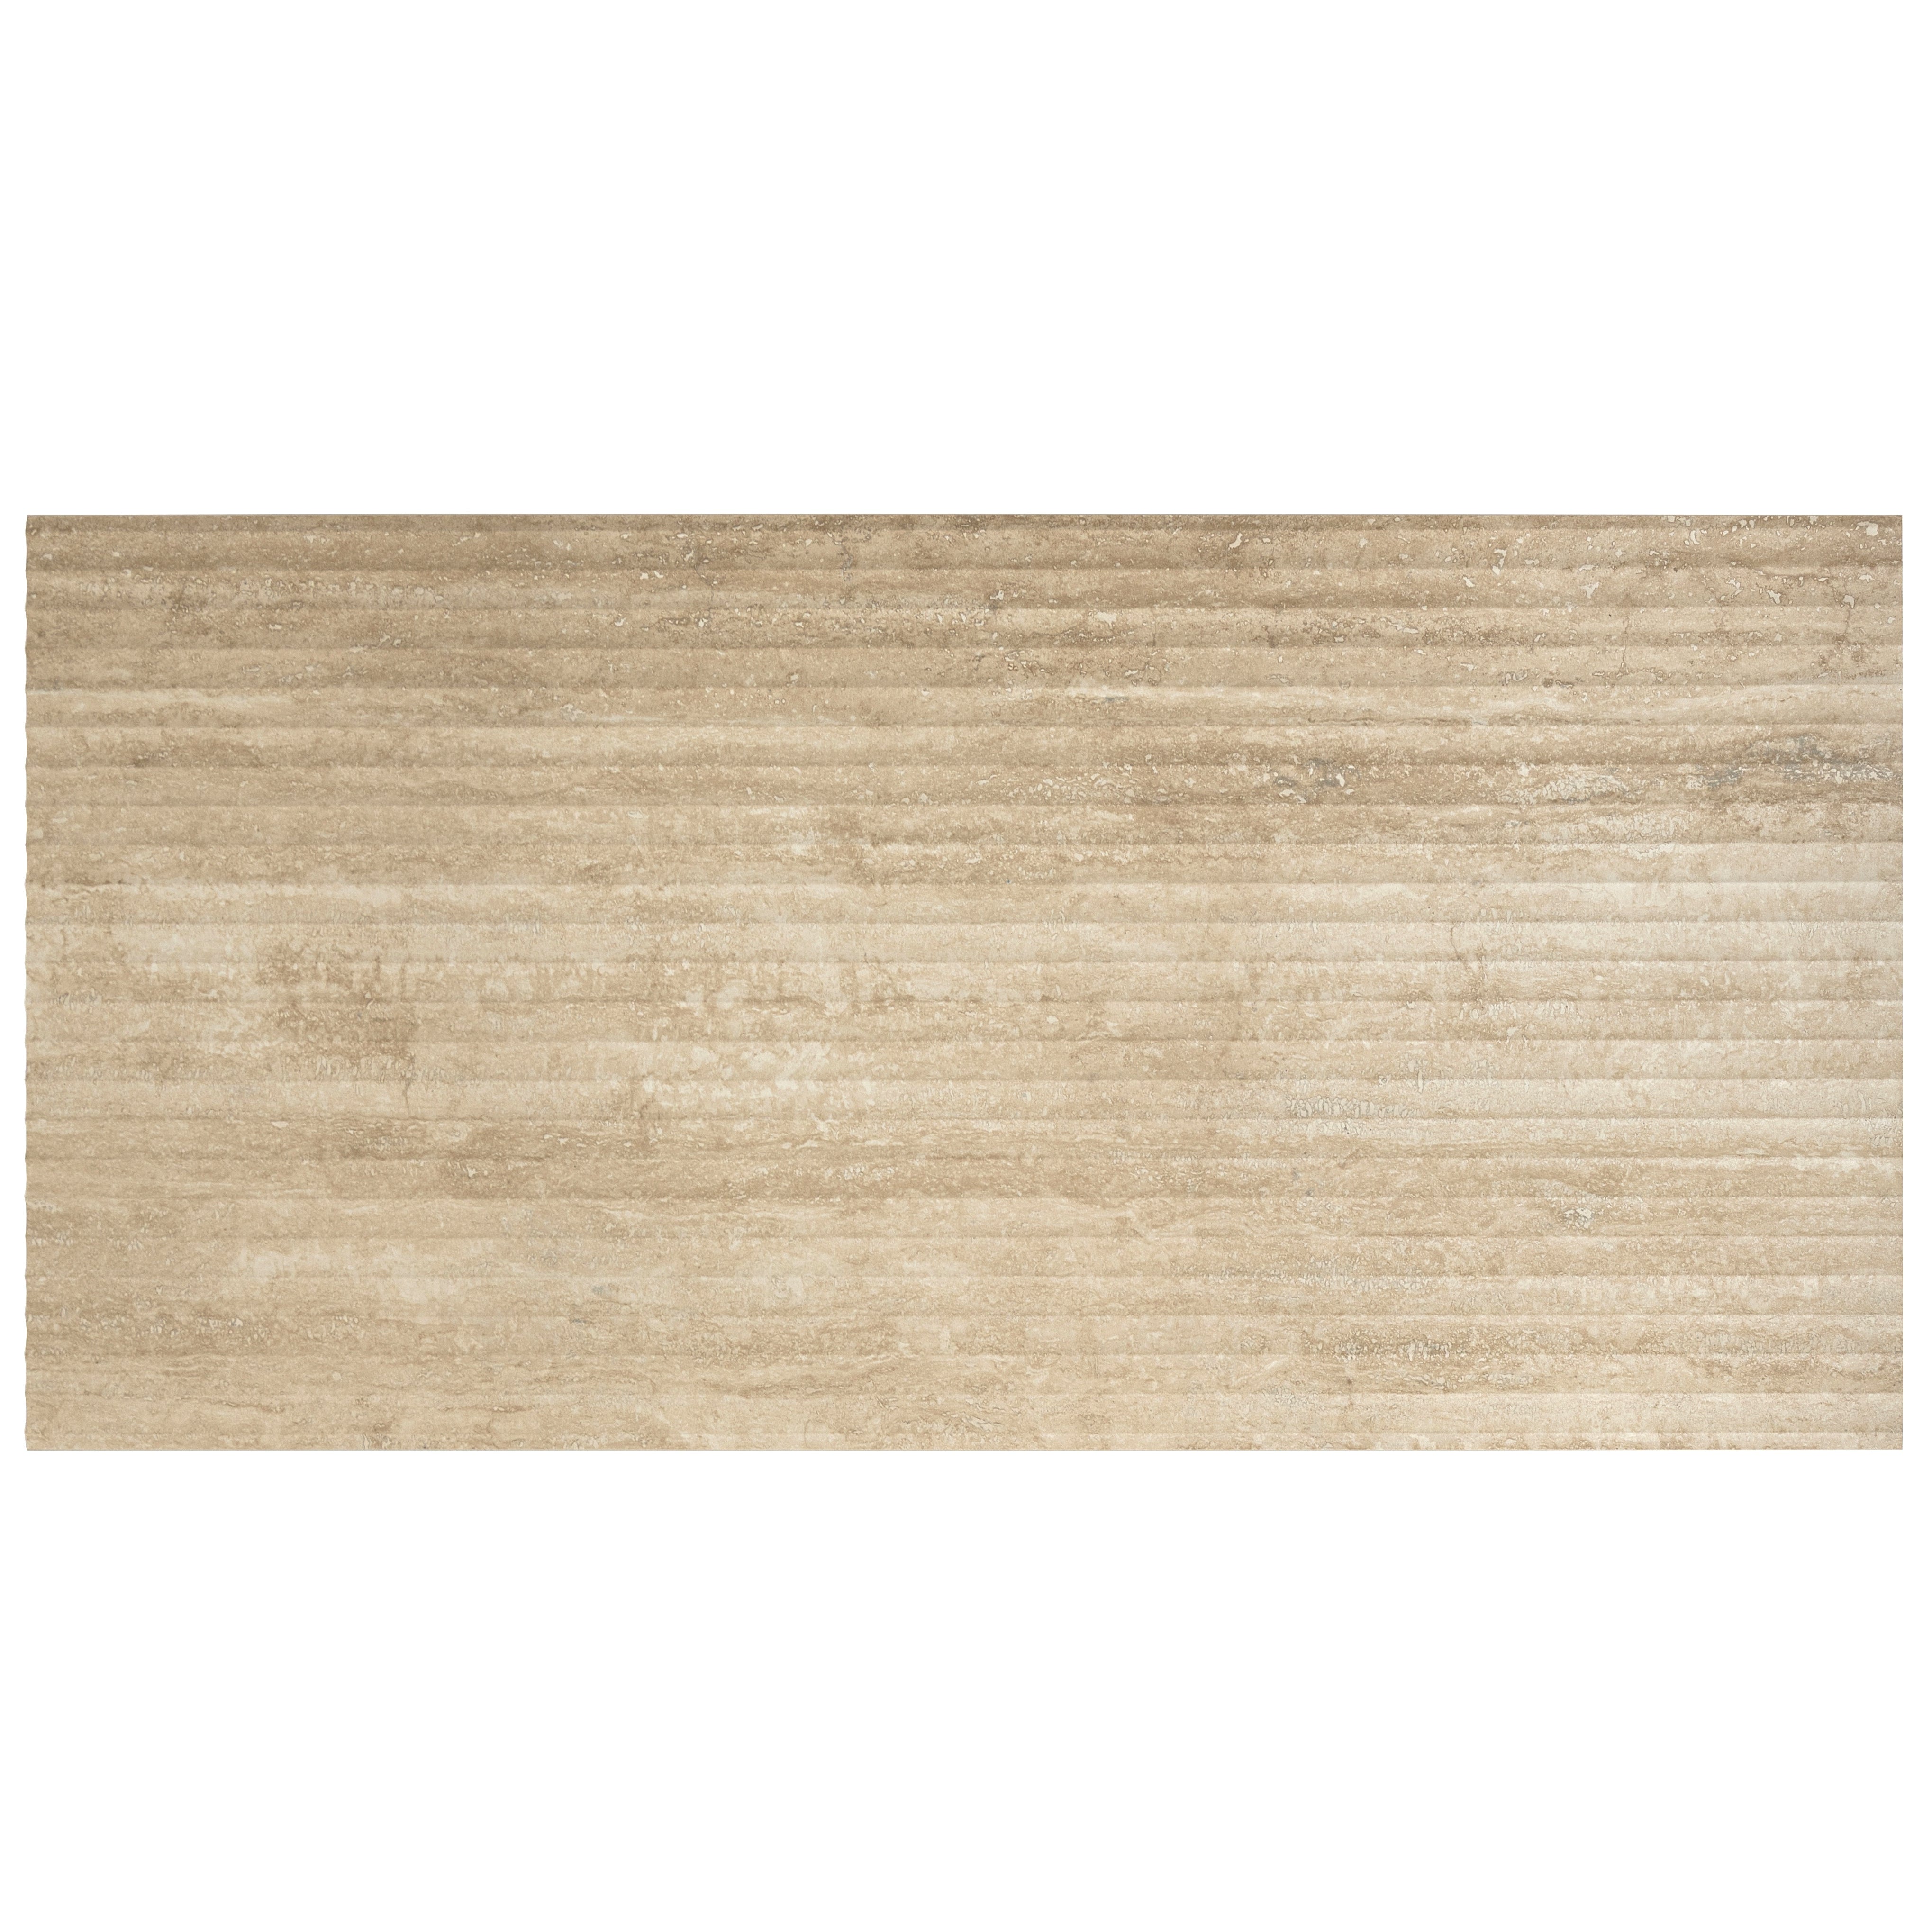
Angle Grinder: Equipped with a continuous rim diamond blade, an angle grinder is best for detailed or irregular cuts, notches, and small adjustments or cutting tiles that are already fixed in place. When learning how to cut porcelain tile with an angle grinder, it’s just as important to know which blade to use. A diamond-tipped blade is more suited for porcelain such as Apollo Tile’s White Gray 24x48 Matte Fluted grooved Porcelain Large Tile. Note that this tool spins much faster than a wet tile saw and therefore requires more precision and steady hands to prevent overcutting.
Tile Nippers: A trusty pair of nippers lets you chip away small pieces of tile to create curved or irregular shapes that larger tools simply aren’t suited to handle. This porcelain tile cutting tool is made of two tungsten carbides and scoring wheels treated with titanium nitride, great for shaping around tight spaces.
Scoring the cut line before using tile nippers is a good move and helps minimize the likelihood of those pesky chips. After using the tool, the tile edges will likely be sharp or rough. The good news here is that a 60-grit sandpaper or a rubbing stone can be used to smooth them out.
Diamond Hole Saw: While we’re sharing expert tips on how to cut porcelain tile, we figured this is the best time to explain how to drill through it for pipes, faucets, or fixtures. That’s where a diamond hole saw comes in. Equipped with a diamond-coated rim, this specialized tool grinds through porcelain without tearing it, making it ideal for plumbing or electrical cutouts. It attaches to a standard drill and is available in various sizes to match different project needs.
For the cleanest and safest results, keep the holes as close as possible to the center of the tile. The closer the mark is to the edge, the higher the chance of cracking. Another handy tip that professional tilers swear by is placing masking tape over the tile. Doing so provides a surface that’s less apt to send the drill bit sliding off the mark.
10 Easy Steps: How to Cut Porcelain Tile

Like any other tiling material, cutting porcelain tile can be completed by any homeowner with average DIY experience. These 10 easy steps prove that working with porcelain isn’t such a formidable challenge after all.
1. Measure the Area: To start, grab a measuring tape to calculate the exact dimensions needed for the cut tile to fit properly. Always double-check those numbers to save time, materials, and frustration later on.
2. Mark the Cut Line: Once you’ve measured, use a pencil or erasable marker and a straightedge to draw the line where you intend to cut the tile.
3. Choose the Right Tool: Pick a cutting tool based on the thickness of the tile and the type of cut you need. As outlined above, an electrical wet saw works best for straight cuts on thicker porcelain like our paver tiles, while detailed curves or notches are better done with an angle grinder.
4. Set Up Your Workspace: Choose a flat, stable surface to work on and use a drop cloth to catch debris so clean up is easier once the job is done. Make sure the area is well-lit and well-ventilated, especially when using power tools that generate harmful silica dust.
5. Wear Protective Gear: This step is crucial when working with any tile type. See our guide on how to cut marble tile. Wear protective eye glasses, gloves, earplugs, and a mask to prevent inhalation of dust.
6. Test Your Setup Before Cutting: Why not take a little practice run on a scrap tile or an extra piece? It’s a great way to get a feel for how the cutting tool handles the material, check measurements, and make any tweaks if needed before working on the final pieces.
7. Score the Tile Along the Cut Line (Manual Cutter): If using a manual cutter, apply firm, even pressure to score the tile along the marked line. One clean pass is enough to set up a smooth, accurate break.
8. Make Complex Cuts (Wet Saw or Angle Grinder): For L-cuts, notches, curves, or diagonal cuts, reach for a wet saw or an angle grinder fitted with a diamond blade and guide the tile slowly to prevent chipping or uneven cuts. A little patience when using power tools really pays off.
9. Smooth the Tile Edges: You’ve nailed the cut but are left with rough or unsightly edges? Fret not. Use a rubbing stone or file to smooth out the sharp edges. This will make the cut pieces safer to handle and install.
10. Give the Tile a Quick Clean: Wipe off any dust or markings with a damp cloth before setting the tile in place. Clean tiles ensure better adhesion to the surface beneath during installation.
Common Mistakes To Avoid While Cutting Porcelain Tile
Understanding how to cut porcelain tile also means knowing what pitfalls to avoid along the way. Even with good intentions, simple missteps can lead to a less-than-perfect finish. To help you get it right the first time, below are some common cutting mistakes to watch out for:
Using the Wrong Porcelain Tile Cutting Tools: Not all cutters can handle a robust material like porcelain. Using the correct tools is paramount in yielding good results. For straight cuts on thicker large format tile, it’s best to use a mounted diamond wet saw with a sharp blade.
Cutting Too Fast and Rushing The Process: Rushing the cutting process will only cause you to put the wrong pressure on the tiles, increasing the risk of cracks and chips.
Poor Measurement When Setting the Cut Line: Inaccurate markings lead to wasted materials, project delays from re-cutting, and uneven fitting, especially around corners, edges, or fixtures. Take a few extra minutes to double-check the measurements, then use a straightedge or square with a pencil or wax marker to mark a clean cutting line.
Skipping Water when Using a Wet Saw: While wet saws are a great ally when cutting porcelain tile, they have a reputation for generating a lot of heat and dust. Always ensure your reservoir is filled, as water keeps the blade cool as it works and combats the amount of airborne dust.
Failing to Secure and Support the Tile: Unsupported tiles are more apt to crack mid-cut. Use clamps or a guide to secure the material so it doesn’t move during cutting.
Tips for Smooth and Chip-Free Cuts
In addition to having a hard exterior, porcelain flooring tiles have a softer, more brittle core that may crack or chip when cut improperly or in a rush. Keep the following tips top of mind to get smooth, precise, and chip-free cuts:
- Use high-quality diamond blades designed to handle the tile’s hardness while minimizing chipping and wear.
- Cut wall or floor tile with the finished/glazed side facing up on a manual cutter or wet saw.
- Consider using blue painter’s tape along the cut line to provide a clearer guideline for accuracy and reduce the possibility of chipping.
- Go slow and steady to ensure a smoother finish. Just hold firm and allow the blade to do the work without forcing the tile to go through.
- Overheating spells disaster and can lead to stress fractures. If using a dry cutting method, allow the tile to cool off if it gets too hot. For wet saw tile cutting, keep the water reservoir full and flowing properly so everything is cool and dust-free.
Safety Tips for Cutting Porcelain Tile

With all that we’ve covered, it’s clear to see that learning how to cut porcelain tile involves handling power tools and dealing with fine dust and flying debris. This means safety should be a top priority. Following the precautions below will help maintain a safer, cleaner, and more efficient workspace:
- Safety gear is non-negotiable. Before grabbing your tools, suit up in protective goggles and cut-resistant gloves to prevent injuries from flying shards, fragments, and sharp edges.
- Porcelain tile produces fine silica dust when cut dry, so make sure to have a quality dust mask or respirator in hand.
- If working indoors, keep the workspace well-ventilated to maintain good air quality. Make sure windows are open or use fans or a dust extraction system to dissipate dust and fumes.
- In a scenario where a wet saw is used, ensure all electrical components are safely grounded and take care to keep cords and plugs away from water.
- Sweep or vacuum thoroughly after tile cutting so dust and fragments don’t spread to other areas of your home or job site.
Conclusion
While it may seem intimidating at first, understanding how to cut porcelain tile is a skill that improves with practice, so much so that even first-time DIYers can get professional-looking results. Whether using a wet saw for large cuts or a rotary tool for small details, mastering the correct techniques will ensure clean edges and minimal tile waste. By prioritizing safety, having the right tools in hand, and avoiding common mistakes outlined above, you'll save both time and money on installation.
For homeowners and design professionals on the search for high-quality porcelain tiles, Apollo Tile is your one-stop online store for stylish, high-performance options designed for indoor and outdoor applications. Enjoy 5% off your next order when you subscribe to our newsletter. Stay updated with expert tips and exclusive offers, delivered straight to your inbox!