I Tried Tiling a Shower Niche — Here’s My Experience
Jan 21, 2026 12 minute readDuring the renovation of my bathroom, I decided to have a shower niche installed and take on the tiling myself. The idea of a recessed nook was to improve organization and amp up the room’s style ante. Just a small box in the wall, a few tiles to match the surround, and some grout, right? Besides, I have written so many in-depth articles about tile installation and am quite familiar with the process - well, in theory. How hard can the physical work be? It isn’t, but it requires paying attention to the smallest details. Did I mention tons of prep work? That too!
Key Takeaways
- Proper preparation and waterproofing are critical to a water-resistant and long-lasting shower niche install.
- Planning the layout before applying adhesive helps minimize cuts and maintain consistent grout lines with the surrounding shower wall tile.
- The right installation tools are essential for handling tight corners and ensuring tiles stay level and secure.
- Framing a shower niche with a tile trim conceals rough edges, protects against moisture and wear, and creates an eye-pleasing finish.
- Grouting and sealing are key finishing steps that will keep the niche looking polished over time.
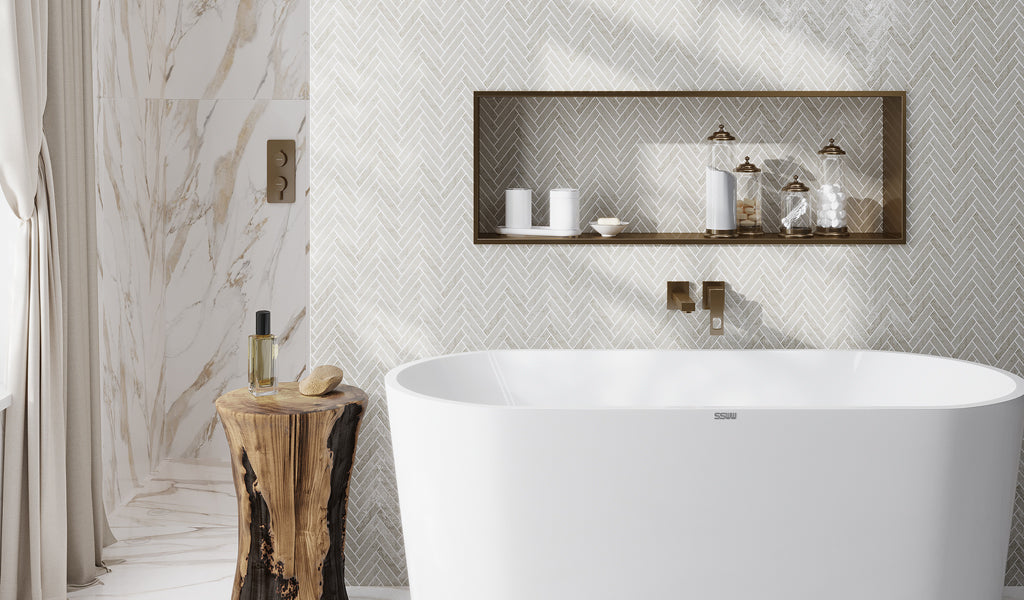
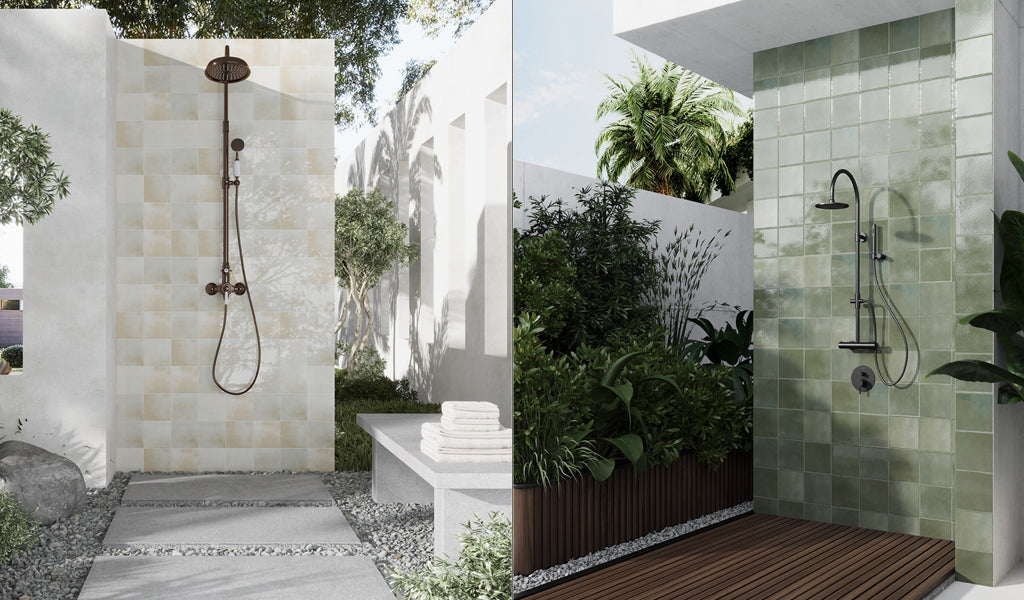
Though it’s such a compact space, a shower niche can be transformative. Adding tile creates an opportunity to introduce color, pattern, and texture. It can stand out or complement the surrounds, depending on the aesthetics you’re going for. But with tight corners and constant water exposure, tiling a niche leaves no room for shortcuts. If you are itching for a fresh new look and wondering how to tile a shower niche, this guide lets you in on what to expect. From surface preparation and layout planning to waterproofing, cutting tile, and sealing grout, this is my full experience!
How I Planned and Prepped My Shower Niche

I consider the prep work as an important step on my list of DIY tips for how to tile a shower niche. After all, for excellent adhesion, the surface on which the tiles will go must be in good condition. Luckily, my bathroom niche was newly designed, so I was working on a pretty solid surface. But that’s not always the case for everyone. If you’re replacing old tiles and find that the substrate is bumpy or has cracks, remedy the condition immediately before touching a single tile.
A clean, dry, flat, and level surface is key. Use an appropriate patching compound for cracks or sand away imperfections. Next, apply acrylic primer to stabilize and seal the surface.
Much like tiling a backsplash or floor, it helps to plan out the layout before applying the adhesive. This step helped a great deal to determine on which wall the tiles will go first and if I needed cuts. Ideally, you’d want to get the most out of full tiles and avoid as many silvers as possible.
For the shower niche install, I chose Apollo Tile’s Green 2.58 in. x 8 in. Polished Ceramic Subway Tile. Turns out, these were a fabulous pick to complete my Gray Beige 48x48 Matte Marble Look Vein Porcelain Large Tile bathroom floors. Aesthetics aside, they made sense for the niche design. Smaller tiles and mosaics are far easier to work with in a petite space, especially around corners and edges.
My Approach to Waterproofing the Shower Niche
Taking on this DIY project, I quickly learned there are no shortcuts or tiling methods that are quicker. If you want long-lasting results, it pays to take a bit of extra time to make this work. This is true with waterproofing the shower niche before setting new tiles. Done properly, you have a water-resistant installation that lasts for years if not decades. Cut corners, and a beautiful niche design means nothing when the results lead to expensive repairs that far exceed the cost of proper initial installation.
Being the most vulnerable spot for water intrusion, this was a step I refused to rush. So, how to waterproof a shower niche? I used a high-quality waterproof membrane (liquid-applied membrane together with fabric reinforcement) to cover the back, sides, top, bottom, and well into the surrounding wall area, paying careful attention to corners and seams where water naturally accumulates. Never tile over an un-waterproofed niche!
How I Applied Thin-Set Mortar in the Shower Niche

Tiling a shower niche isn’t hard, but it is detailed, and there’s no undo button once you have dry adhesive. Applying adhesive in a confined space like the niche is different from working on a flat wall. Control matters!
For this reason, choosing the correct trowel proves critical for optimal thin-set coverage. Its type and size will depend on the substrate flatness and tile dimensions, for instance:
- Standard wall tiles (up to 12"×12"): Use 1/4" x 1/4" square-notched trowel
- Larger-format tiles (12"×12" or larger): Use 3/8" x 3/8" square-notched trowel
- Mosaic tiles: Use 3/16" V-notched trowel or small square-notched trowel
I opted for a 1/4" x 1/4" square-notched trowel for full coverage. The adhesive, too, must be appropriate for vertical application and wet environment conditions. When applied, the ridges should stand up without sagging and tiles must resist gravity while curing. A modified thin-set mortar with polymer additives provides superior strength, flexibility, and moisture resistance, marking it suitable for tiling a shower niche.
Where I Began When Tiling the Shower Niche
Moving on to the question, “How to tile a shower niche”? I have to admit, laying tiles was the most time-consuming part that almost had me in tears. My horizontal built-in nook spans the length of the wall, and getting it right proved crucial.
I started adding tile to the back of the niche before moving on to the sill (bottom part of the niche). Why, you ask? Doing this allowed me to work outward, leaving silvers for the edges. Also, the side tiles will overlap the most visible edges cleanly. Because I had planned the layout from the get-go, I knew where each tile piece would go. Below are the steps you can follow to achieve the best results:
- Spread and comb the adhesive onto the back wall, ensuring full coverage without excess that could interfere with proper tile seating.
- Press the tile into place, making sure it is embedded into the adhesive at the correct level.
- Remove thin-set that oozes from joints with a utility knife and a damp sponge.
- Use spacers religiously. In such a small area, uneven grout lines stand out immediately.
- Depending on how wide the niche is, work in small sections that can be completed before the adhesive begins to skin over.
- Check the alignment of the tiles and adjust as needed to ensure consistent grout lines.
- When adding tile to the sill, create a 1/8" forward slope toward the shower for drainage.
- Add tiles until the entire niche is covered and, if needed, tape those at the top to hold them in place. Let the adhesive dry for at least 24 hours, or as recommended by the manufacturer.

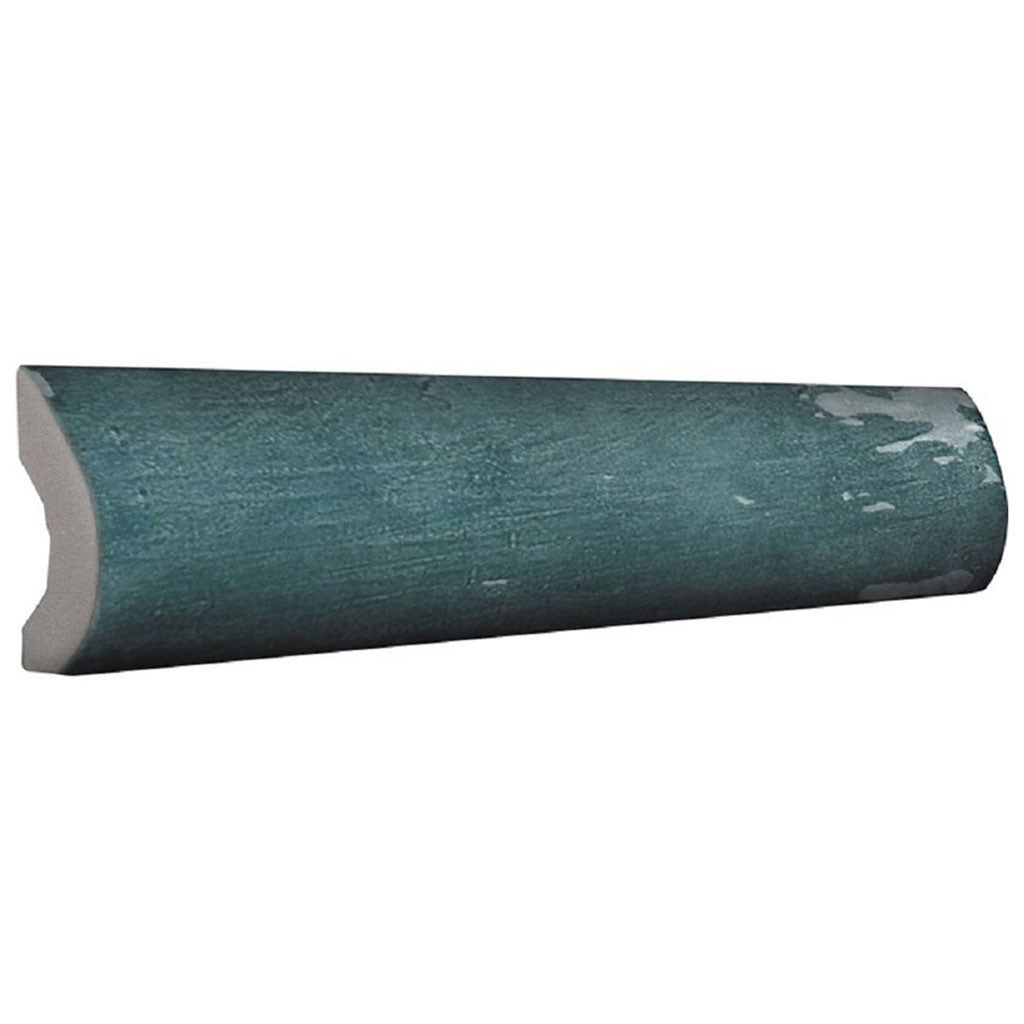
If you’re wondering how to frame a shower niche, there are a variety of tile trims available on the market. I chose Teal Green 1x8 Glossy Ceramic Bullnose Tile Trim, which complemented the niche tiles and gave a smooth, rounded picture-frame effect. These bullnose trims were added once I completed laying tiles on all five walls.
My Method for Cutting Tiles to Fit the Shower Niche

Compared to porcelain, glazed ceramic tile is lightweight. This was a plus when making straight cuts to fit the edges, which I did with a manual tile cutter. For more complex cuts, a wet tile cutter is a handy tool to use. Whatever tool you decide on, take safety precautions and always wear protective gear.
As a seasoned tile setter will tell you, “measure twice and cut once”. And that’s exactly what I did. Next, I dry-fitted each cut piece to ensure it sits perfectly in place before applying adhesive. Remember to smooth the cut edges with a rubbing stone so they look clean once the installation is complete.
 Tip: If this is your first DIY job and you have no experience cutting tile, practice cuts on spare tiles to perfect your technique.
How I Grouted and Sealed My Shower Niche

If there's one thing that can detract from the bathroom’s aesthetics, it's some grotty grout lines. Sure, grout isn’t the most glamorous part of tiling a shower niche, but it is often the detail that defines how polished the space feels. For my DIY project, I opted for a grout color that closely matches the tile. In my opinion, nothing beats a seamless finish that allows the tiles to take centre stage – and that was exactly the look I was going for.
Of course, there’s a broad palette of colors, and you can opt for a contrasting hue. This approach highlights the tiles’ contours and design, creating more depth and a dynamic finish.
Once the adhesive had set for a full 24 hours, it was time to grout. Between sanded vs unsanded grout, the latter was the best choice to fit into those narrow joints and avoid any possibility of scratching the glossy tile surface. Below are simple shower niche tiling tips to follow:
- To mix grout, add the powder to the water, not the other way around. Mix only what you can use within 20 minutes.
- Keep adding the grout powder and stirring until you get a thick, creamy texture.
- The tile joints should be clear of any dust, adhesive, or spacer pegs.
- Using a rubber float, scoop the grout and spread it over the tile surface in long, upward diagonal strokes.
- Work the float at a 45-degree angle, pushing the grout generously into the tile joints for smooth and even lines.
- Wait for about 10 minutes for the grout to slightly dry, then wipe excess from the face of the tile in a circular motion with a clean, damp sponge.
- Keep a bucket of water nearby to rinse the sponge and clean the tile surface as much as possible. Make sure not to over-wet the grout at this stage.
- Repeat until all the tile joints are filled with grout. The rule here is to work fast, as grout tends to harden quickly.
- Allow the grout to dry for the recommended time, and remove any haze left behind on the tiles by buffing with a microfiber cloth.
Tip: To mix grout to the right consistency, follow the manufacturer’s instructions. Too thin, and it will run from the tile joints before setting. Adding too much water will weaken the grout and reduce its functionality.
Over time, grout lines collect dirt and can start to lose their natural color. Applying a sealant to fully dried grout is especially important in a niche that’s constantly exposed to water. I’ve written in detail about the process in How to Seal Grout on Tile Floor. The same steps apply to sealing grout in a shower niche install. I used a penetrating sealer, which soaks into the grout pores without altering its color. Let the sealant set for the specified time, and your newly tiled niche is complete.
Conclusion
To sum up “how to tile a shower niche”, the process isn’t complex but requires careful planning and patience. From prepping the surface to waterproofing and laying tile, every step matters in creating a structurally sound application. Once completed, the results are nothing short of amazing and can add great value to the overall bathroom design scheme. More about shower niche design, read Where to Place a Shower Niche: Best Placement, Height & Design Tips.
Frequently Asked Questions
1. How do you tile inside a shower niche?
2. How do you finish tile edges in a shower niche?
3. What are the best shower niche tile trim options?
If you’ve found yourself wondering how to frame a shower niche, there are a few trim options to consider. Bullnose tile trim’s soft, rounded profile provides a clean, durable edge. Pencil tile trims are also another great alternative, offering a minimalist finish thanks to their slender profile. For an elaborate detail that leans toward a classic aesthetic, consider chair rail molding.
4. What type of tile works best inside a shower niche?
Small format tiles, such as mosaics, work best for tiling a shower niche because they fit the dimensions easily and follow slopes without awkward cuts. The tiling material should be water-resistant and durable, and fantastic options that require no sealing include ceramic, glass, and porcelain.