
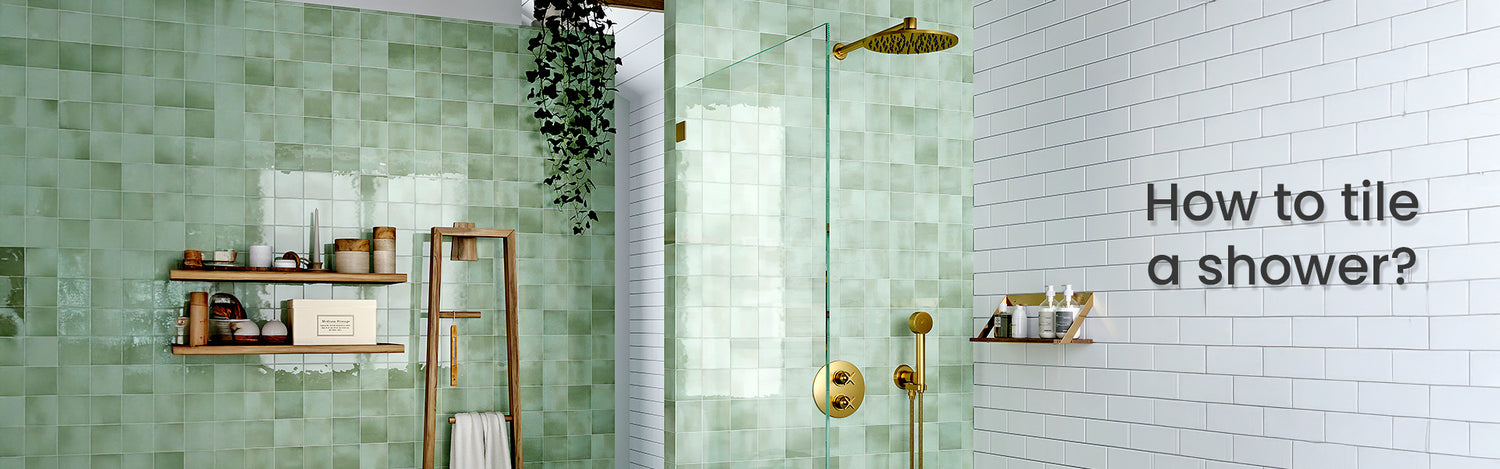
How to tile a shower: A Step-by-Step Guide
Dec 30, 2024 11 minute readAre you planning to create a charming and durable shower space? All by yourself? Then you’re at the right spot to get going with your DIY project – “How to tile a shower?” You are only a few steps away from seeing the plain shower wall or floor now tiled, giving instant gratification to your soul. Every project is a new experience and you learn a lot from it!
Step-by-Step Instructions for Tiling a Shower
Remember that creating a new shower area or upgrading the existing ones requires patience, time, and effort, but it is quite easy if you follow these steps.
1. Choosing the Best Tiles for Your Shower
Whether you are an ardent DIYer or a professional contractor, the first step is to pick the right tiles for your shower tile installation.
-
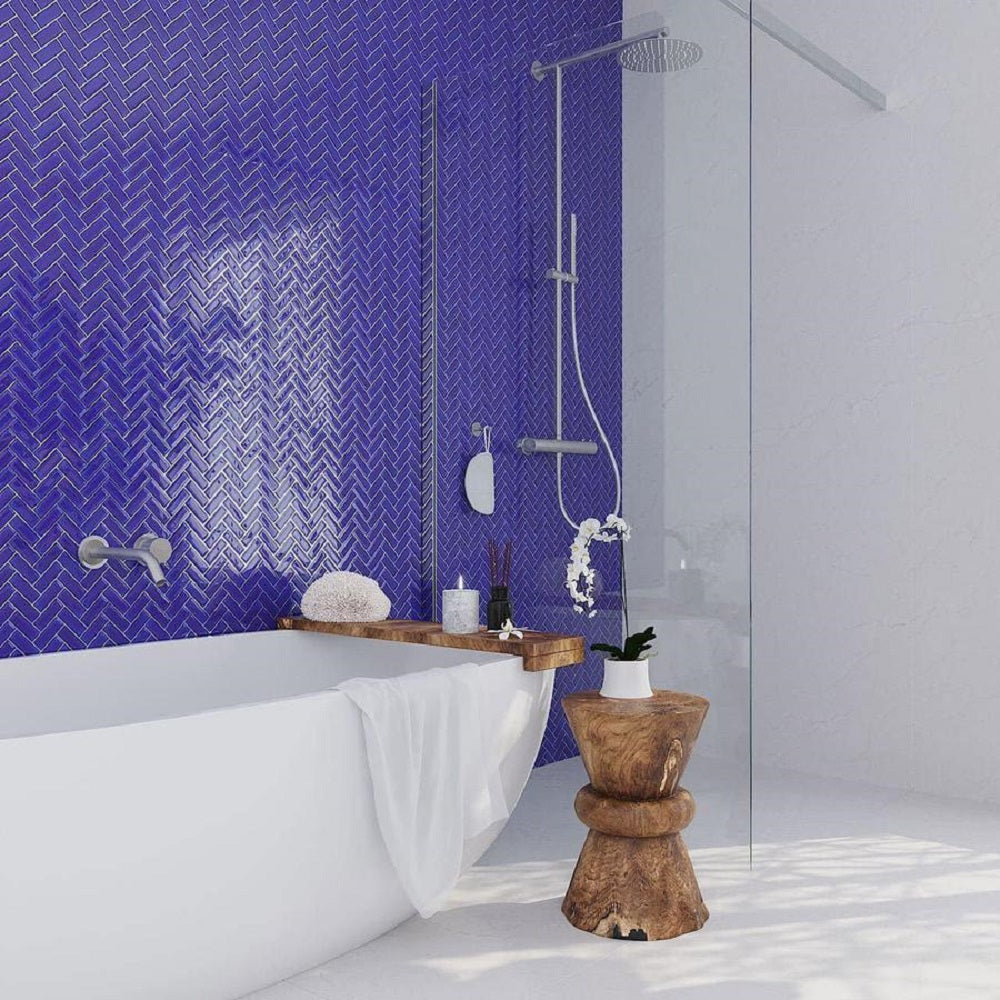
Shower wall tiles: Make sure your shower wall tiles are made of waterproof materials such as porcelain, glazed ceramic, sealed natural stone, or glass. Dense tiles have a water absorption rate of 0.5% or less and, being impervious, can be used in both dry and wet areas, indoors and outdoors. If you're planning a DIY installation, our guide on how to tile a shower wall covers everything you need to know.
-
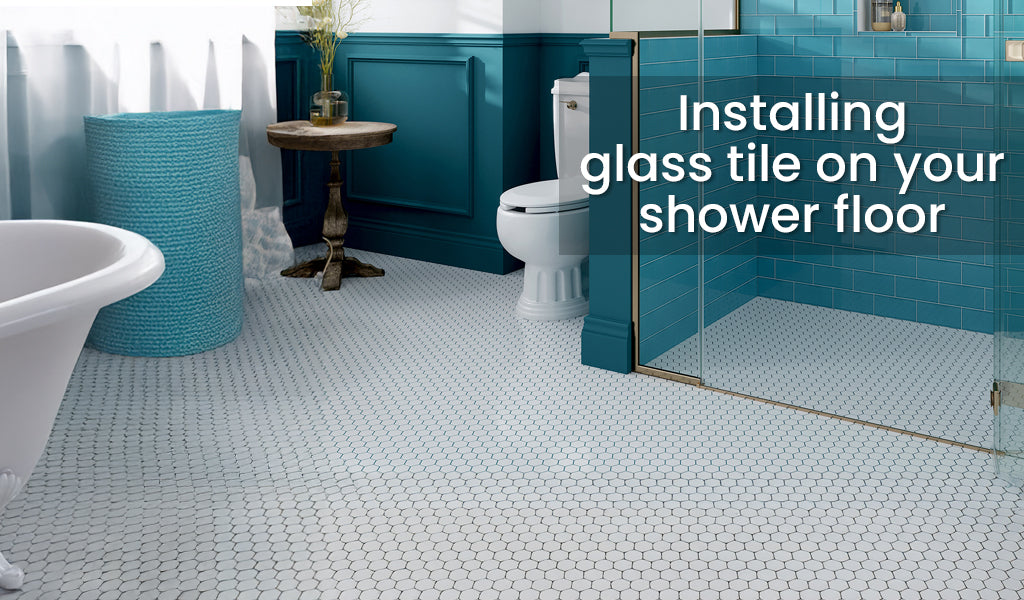
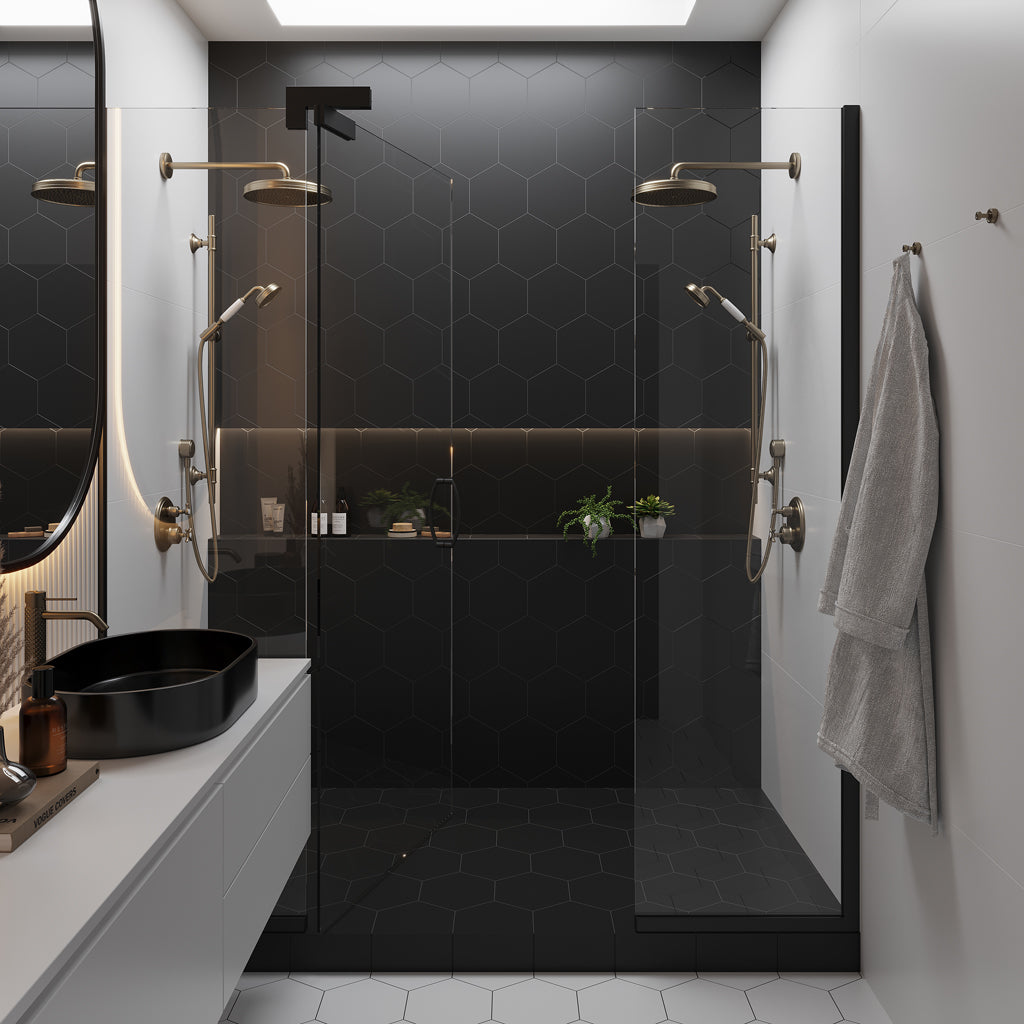
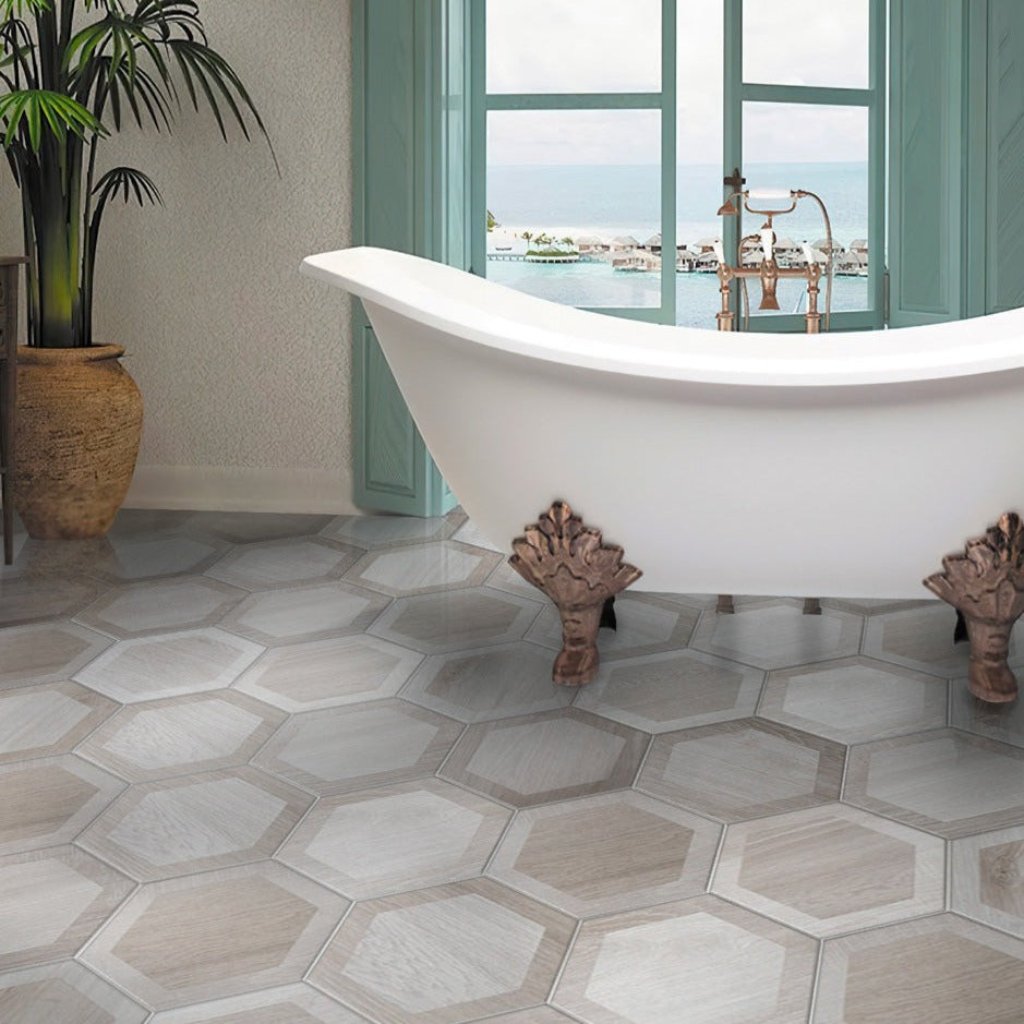
Shower floor tiles: The higher the grip, the better the slip resistance. But how do you know? Just check the DCOF rating. Any tile with a DCOF rating greater than 0.42 is suitable for wet areas. This hexagon black matte porcelain tile has a DCOF rating of 0.59, making it slip-resistant and ideal for shower floors and walls. If you're planning a renovation, our guide on how to tile a shower floor walks you through the installation process from start to finish.
-
Small or big tiles: Think of installing smaller tiles for shower floors, since extra grout lines provide extra grip. You can go for large format tiles to fit in your shower walls and give an expansive look.
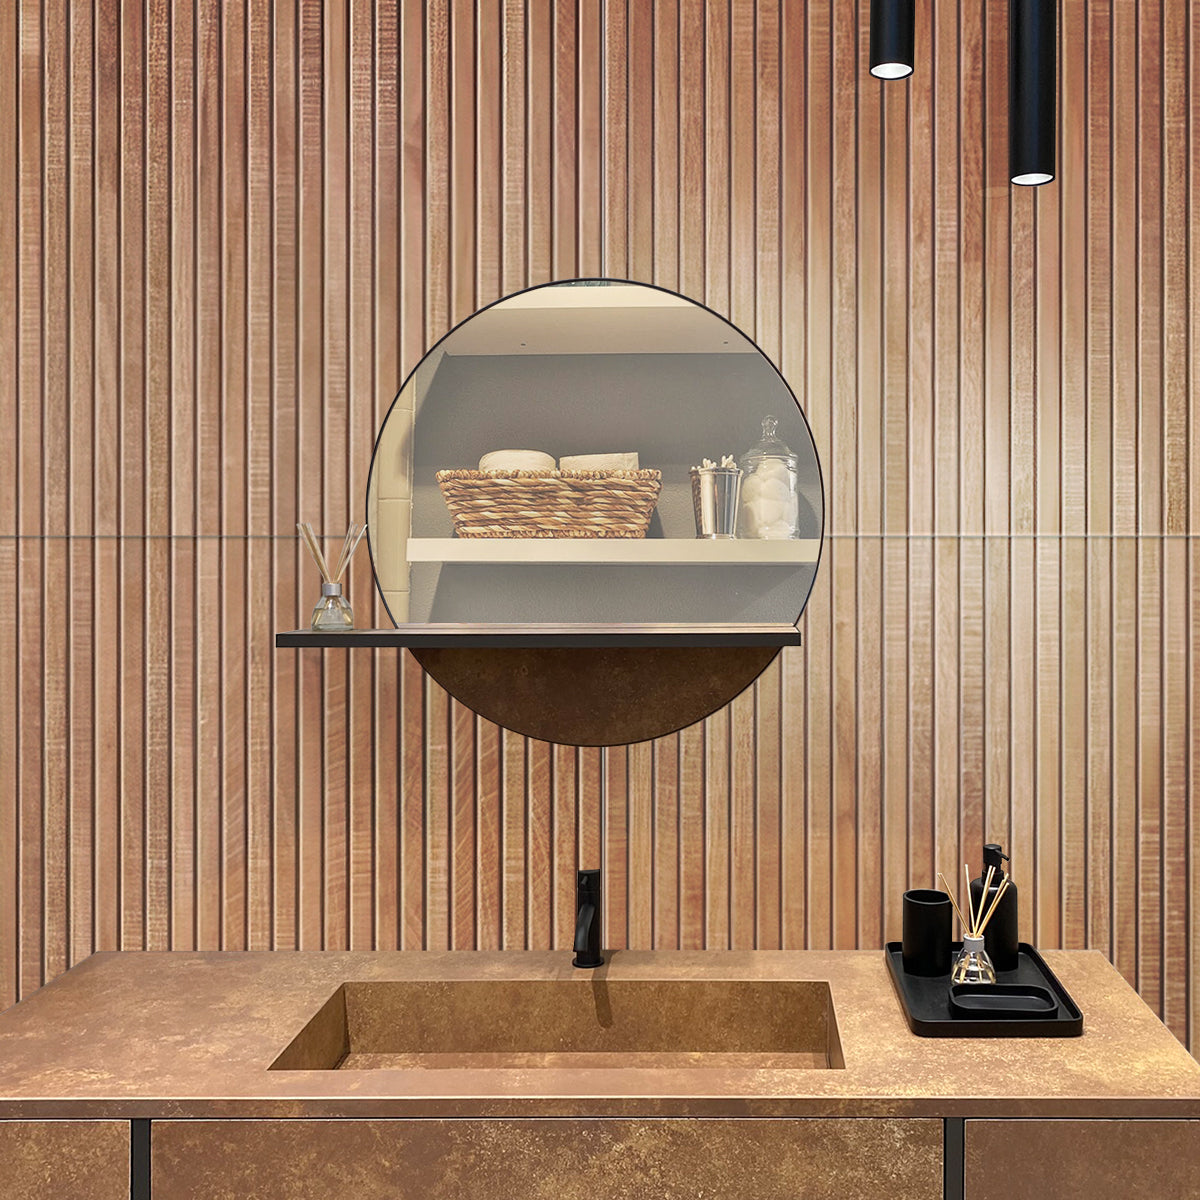
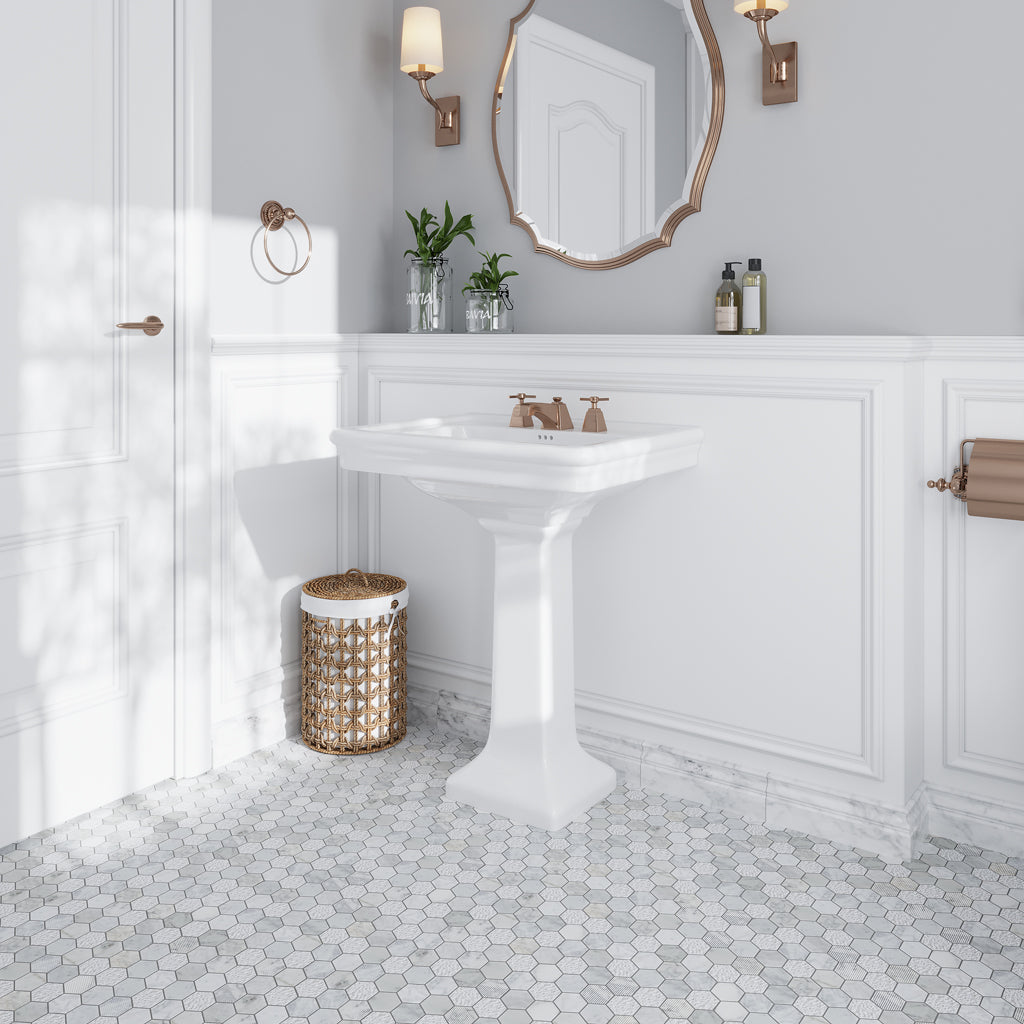
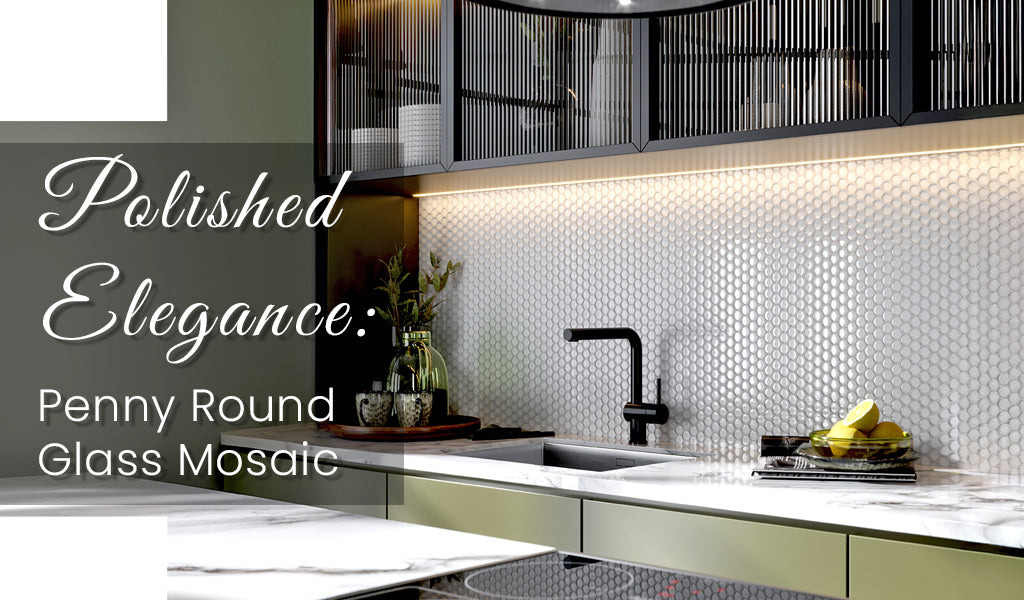
Now it’s time to order your matte porcelain ribbon tiles for shower walls and penny round or mini etched hexagon tiles for shower floors.
2. Tools and materials for shower tile installation
If you are worried about “what do you need to tile a shower?” just grab these few tools and keep them handy to not regret while installing
- Tiles
- Wet saw with a diamond blade
- Cement board or backer board
- Cement board screws
- Thin-set
- Notched trowel
- Caulk
- Waterproof paint
- Tile spacers
- Level
- Hammer
- Plastic sheet
3. Pre-preparations for tiling a shower
-
Remove the existing tiles: If you’re installing a new shower area, skip this step and proceed further. But for an existing shower, the first task is to demolish the setup.

⇒ Shut down the water and power connection to the bathroom.
⇒ Cover the bathroom doors and windows with a plastic sheet to avoid any mess towards the end. If only upgrading the shower walls, put a drop cloth and cover the shower floor.
⇒ Use a prybar or hammer to break apart the tiles from top to bottom. If your shower walls aren’t tiled but have other materials like plastic or fiberglass, remove them until you see the wooden studs and insulation. Note that any backing material such as drywall or greenboard behind the shower also should be removed, as they don’t suit wet areas.
⇒ Check the wood studs for deterioration in old homes and replace them.
Tip: Don’t forget to wear a mask and safety glasses & gloves during the process. Ensure you dispose of the waste properly.
- Prep your surface: Start by checking that your surface to be tiled is flat and level. Any gap here disrupts the durability of the shower tile installation. When you tile the shower floor, ensure that there is no slope or that the floor is flat. It’s recommended to use a self-leveling compound, which spreads out evenly, filling the low areas and creating a smooth and level base for shower floor tiles.
-
Install the shower pan or bathtub: Decide upon your requirements clearly. If you have kids, provide for a bathtub, and consider tiling up your shower floors before installation of the bathtub. In case your shower area is limited or you prefer a more efficient use of space, a shower pan is a good idea. While using a shower pan, you need not consider tiling your shower floors.

- Install a vapor barrier: Make use of a staple gun and staple the vapor barrier to the wood studs, and cover the entire shower wall. Now, trim off the excess barrier and create a neat and professional finish. This helps you to prevent mold or mildew from entering walls through tiles.
-
Lay a cement backer board or a foam backer board: Measure and mark the area to be covered with the backer board.
⇒ While foam backer board provides cushioning and levels uneven surfaces, being easier to cut and install, cement backer boards are solid, durable and provide a sturdy base for the tile adherence.


⇒ Leave a gap of ⅛ inch between the panel and shower pan, and use concrete screws to secure the backer board to the studs. This prevents the shower pan from squeaking when they rub together.
⇒ Make sure you cut out the notches for the shower head, and add provisions for shower seats, shelves, and cubbies.

⇒ Ensure you apply caulk to the studs behind the backer board and also along the seams between panels.

⇒ Fill the gap between the wall and the backer board with a seam tape and mortar.

⇒ Apply water-resistant primer with a roller or brush to prevent moisture penetration.
4. Plan the layout
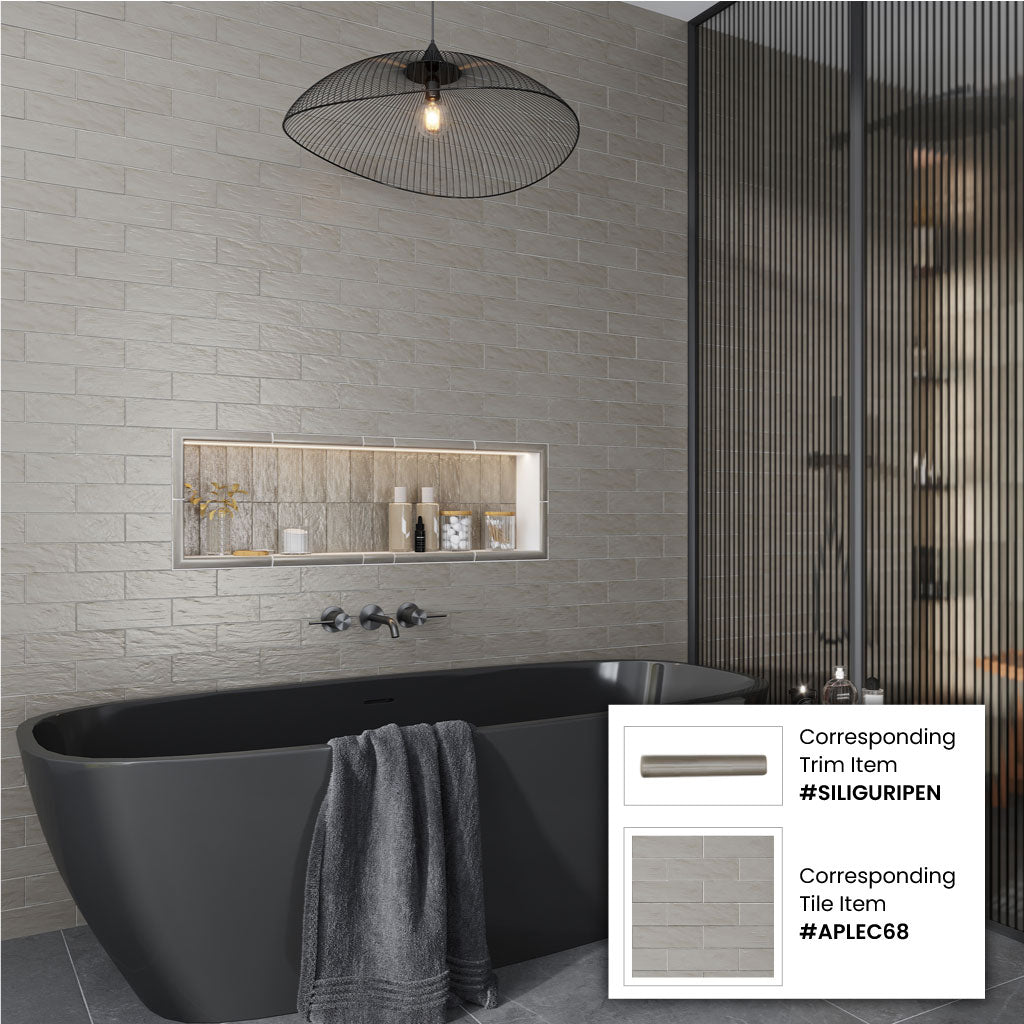
Planning where to lay the tile in both shower walls and floors is a never-miss step as it helps to avoid any slivers of tile. The vertical layout of tiles on the wall is quite challenging but still important. Dry lay the tile pattern on the floor in front of the wall to be tiled, and make adjustments to the pattern by shifting it slightly up or down, in case you suspect a tile that is close to being a sliver. Also, plan out the trim pieces that add a decorative and professional finishing touch to your shower areas. It can be a round liner, flat liner, quarter round, or bullnose tile trim. Order the best tile trims from our tile store!
5. Apply thinset
Mix enough thinset at one stretch, neither too thick nor too thin, and spread it evenly using a notched trowel around the installation area. Ensure you install the shower floor first and then move on to the shower walls.
6. Start the shower tile installation process
Shower walls: It’s advisable to start installation with the second row when the floors might not be level. You may also use a ledger board screwed into the wall, to support the second row of tiles.
Set up your first tile in the middle of the walls, then keep laying the tiles in a horizontal manner. Now cut the tiles to fit into the corners and edges. You can make these cuts using a wet saw with a diamond blade to be precise and damage-free.
Use the laser level as your guide. This ensures the ledger board is straight thus providing a level base to start tiling. That professional look is assured when you use laser levels and check them often. Don’t forget to add spacers, which help you identify grout lines between tiles.
Shower floors: When you are installing shower floors, it depends on the surface type. If it is a concrete floor, check for any cracks or uneven areas, patch them and apply waterproofing membrane. If it is a wooden floor, install a cement or foam backer board, apply waterproofing membrane and then lay the tiles.
7. Cut the shower tiles
Ensure you use a plastic sheet underneath the wet tile saw to keep your work area and the surroundings free from dust and water. After a big project, we advise you to change your tile saw or to keep it sharp for precise cuts. Also, make sure you are working with the right kind of blade. For example, to cut glass tiles, you need to use a diamond blade.
8. Complete the tile installation
Keep adding new rows and complete your tile installation to the desired height. Let it set for 48 hours for better adherence of the mortar. Then, remove the spacers and begin the grouting process in sections. Clean grout joints on the go, to stay away from dealing with grout haze later. Let the grout dry and then seal it to increase the lifespan and prevent mold or mildew growth.
Important Safety tips for Tiling a Shower
1. Don’t forget to turn off the power and water connection before you start tiling a shower wall or floor.
2. Wear a mask, safety goggles, and gloves while working to prevent accidents.
3. Cover the rest of your home and keep the bathroom doors closed to prevent dust or debris from entering the rest of your home.
4. Ensure proper ventilation for quicker drying.
5. Handle tile cutters like a wet saw with a diamond blade or a staple gun carefully to prevent any accidental hurts while using them.
6. Avoid skin contact with adhesives, grout, sealants or waterproofing material
Understanding the Cost of Tiling a Shower
The overall cost of tiling a shower depends on different factors like tile materials, backer board, adhesive or thin set mortar, grout, sealant, wet saw - whether rented or bought, cost of demolishing and waterproofing, adding niches, shelves, bathtubs, or shower pans, if hiring a professional, labour costs are also involved.
When to Consider Hiring a Professional as compared to DIY
When you have enough time, you can go ahead and enjoy the project all by yourself. Whereas if it’s quite a big area and you wish to complete it within a particular time frame, it’s better to hire a professional.
We hope your questions about how to install a tile shower have been answered. With the installation steps and safety considerations in mind, it's still a good idea to consult a professional installer or contractor to ensure the project is suitable for your space. If you're replacing old or damaged tiles instead of starting from scratch, learn how to retile a shower with our step-by-step guide.