How to Tile a Bathroom Floor: Quick and Easy Step-by-Step Guide
Oct 15, 2025 9 minute read
Tiling a bathroom floor is an easy way to change the look and feel of your space. A well-laid tile floor is long-lasting, water-resistant, and elegantly timeless. Whether you do it yourself or have it done professionally, knowing how to tile a bathroom floor will get you the desired results.
This guide will walk you through the process of how to install a bathroom floor tile, including applying adhesive, tile, grout, and sealant, the right way to achieve a professional finish.
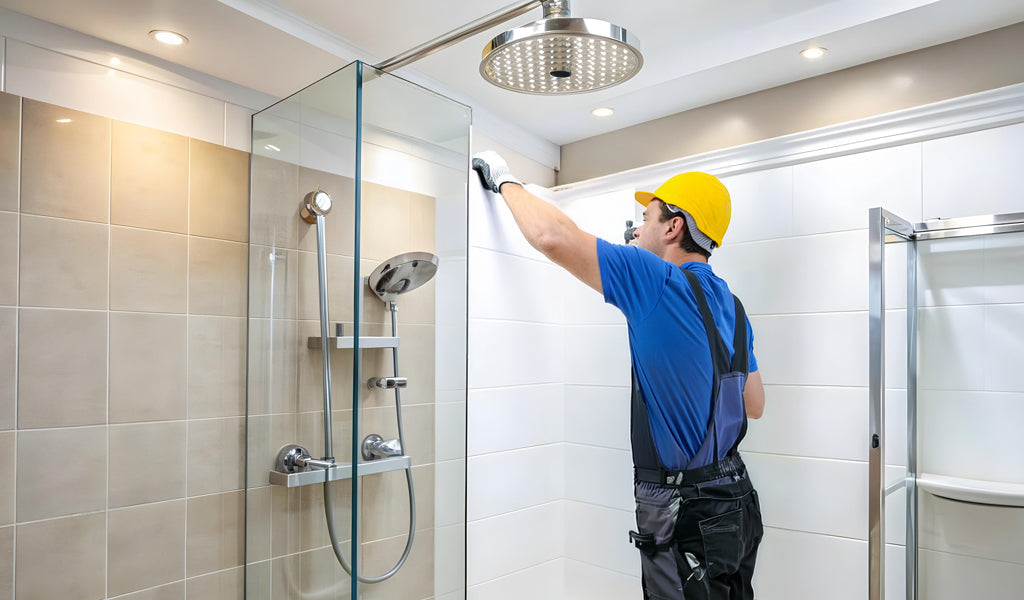
Prepare and Get Ready to Tile a Bathroom Floor
Preparation is essential when seeking to achieve a successful installation. Before you start, work through these steps to get your bathroom floor ready for new tile:

1. Measure the Bathroom Floor
Take accurate measurements of the area where the tile will be placed. Measure your bathroom floor by recording the length and width. Multiply both of these figures to get the total square foot area. We advise adding 10–15% more product for cuts, breakage, and adjustments made along the way. This is also going to help you in calculating how many boxes of tile you need to buy for the project.
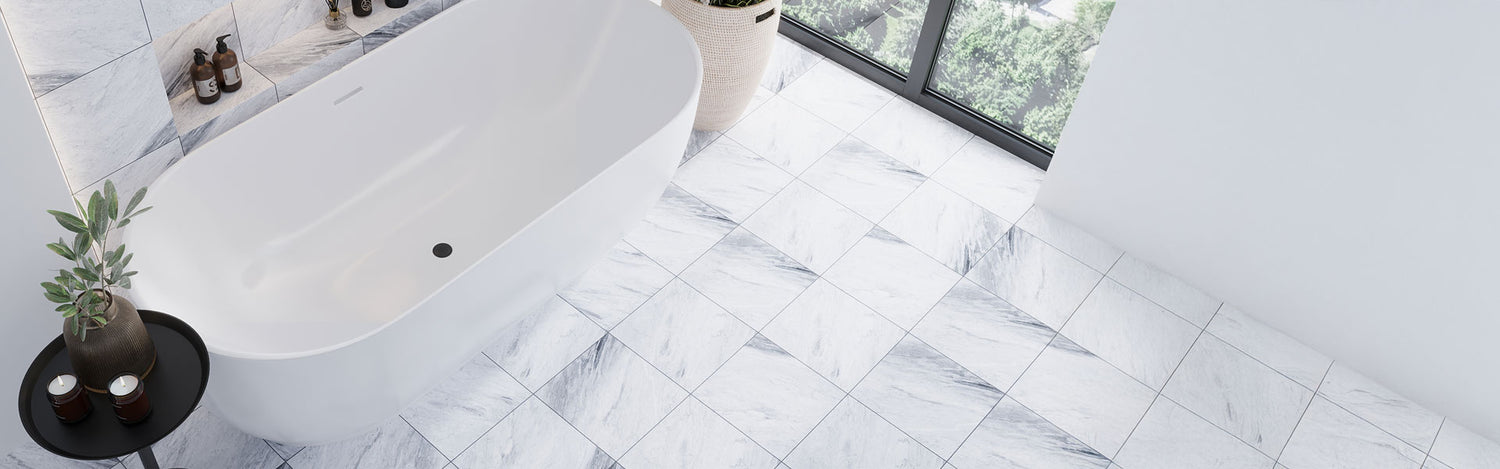
2. Select the Right Tile Size
The right tile size can make a huge impact on your bathroom's appearance. Both large and smaller spaces benefit from larger formats like 12x24 tile. In a compact room, it creates the illusion of more space due to fewer grout lines. Proper planning is important. To determine how the tiles will be laid out in the area, dry-lay the tiles before applying mortar. This will help you determine how the flooring will look, prevent awkward cuts, and keep tiles straight and even.
3. Prepare the Subfloor
Subfloor preparation is a critical step for a long-lasting installation. The floor surface needs to be free of dust, dirt, or old adhesive residue. It also has to be level, with no dips or bumps, as an uneven surface can lead to cracking or loosening of tiles over time. Even if your bathroom does feature a concrete subfloor, it still needs to be properly prepared before tiling. This involves having the surface cleaned, sealing any cracks, and applying a bonding primer. These steps help the tiles bond more securely and aid in increasing the longevity of the application.
4. Plan Your Tile Layout
A good design plan will make the floor look professional and proportional. For example, if you are working with our Light Gray 8x9 Matte Hexagon Porcelain Tile, arranging the tile from the center going outward helps keep the geometric pattern symmetrical. This technique ensures even cuts on the edges of the room. Spend some time planning the layout, and you will be able to have a neat, clean finish that brings a touch of sophistication to the bathroom.
Mix Mortar and Begin Tiling Your Bathroom Floor
With the subfloor in place, you may now continue to discover how to tile a bathroom floor effectively. Start the installation by mixing the adhesive, applying it properly, laying the first tile, and then repeating the process throughout the room.
1. Mix Thin-Set Mortar
If you are not familiar, step-by-step directions on how to tile a bathroom floor for beginners will give you the procedure. Start by mixing the thin-set mortar and water as indicated by the manufacturer's instructions. Ensure you get a smooth consistency similar to that of peanut butter. Allow the mixed mortar to rest for five to ten minutes before applying it. The quick "slaking" time will enable the mortar to achieve the right consistency and reinforce the adhesion strength.
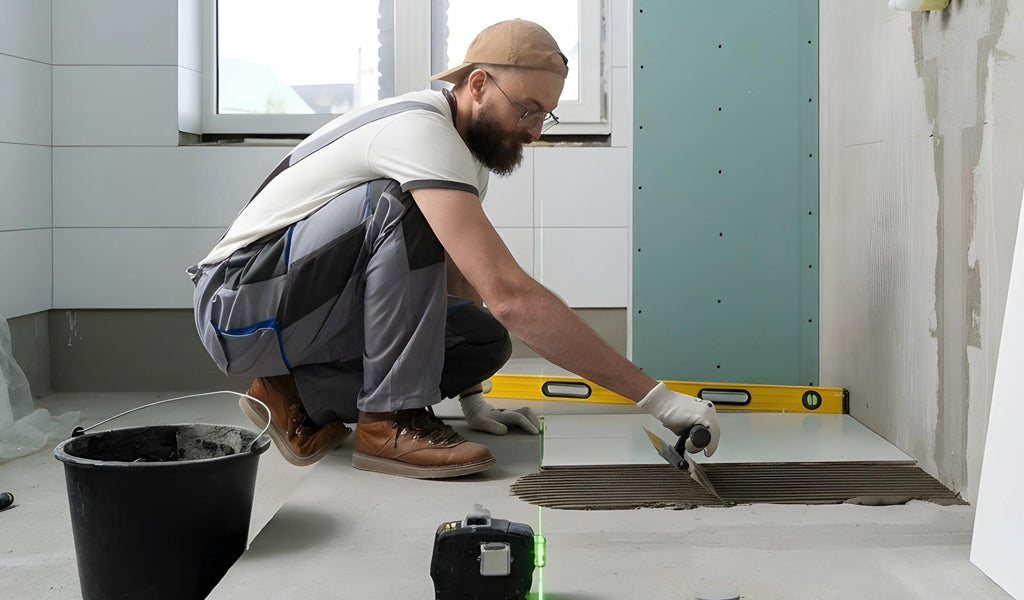
2. Apply the Mortar on the Surface
After you have the mortar prepared, apply a section to the floor at a time with a notched trowel. Hold the trowel at a 45-degree angle to create ridges while spreading it. Ridges are crucial as they allow the mortar to hold the tile firmly in position, creating a strong bond that will not move.
3. Install the First Tile
Second, place the first tile on the reference point at the center that you made during preparation of the pattern. Press it down hard in the mortar and rotate it slightly so that it is in place firmly. Place tile spacers between tiles to leave grout lines evenly spaced on the floor. The installation of the first tile correctly is the most critical process to installing the whole pattern.
4. Keep Laying the Tile
From the initial tile installation, work in small sections. Install the tiles one row at a time with new mortar and a level to ensure they are in line. This will help them be even and flat when working. Take your time and go slow, and you will not mess up. This ensures you an even, neat finish.
Cut and Fit Edge Tiles to Tile a Bathroom Floor Accurately

Not every tile will fit perfectly, especially along corners, fixtures, and edges. To achieve a professional finish, you will need to cut tiles so they fit neatly into these areas. This is how you can do that:
-
Mark and Measure Cuts: Begin by covering the area where a cut is to be made with a full tile. Carefully mark the intersection where the tile intersects with the edge, wall, or disruption. Accuracy is crucial as minor errors can result in uneven placement or wasted tile.
- Make Accurate Tile Cuts: After they have been marked, use the proper cutting tool suited for the tile type. A wet saw is used to cut thicker materials like natural stone or porcelain tile. Should you have no other option than to cut an odd shape, like working around a fixture, a tile nipper is the answer. It takes time to cut tiles precisely, but it ensures your bathroom floor looks its best.
Let the Mortar Set and Apply Grout to Your Tiled Bathroom Floor
Once all the tiles are installed, allow the mortar to fully cure before proceeding with the grouting process. Hurrying this step causes tiles to shift or loosen, which diminishes the strength of the floor.
1. Let Mortar Cure
When homeowners ask, “how long does it take to tile a bathroom floor?”, the answer should be: it depends on how long it takes the application to dry. Mortar requires at least 24 hours before grouting. Not following the recommended drying period can disrupt the alignment and cause tiles to shift.
2. Mix and Apply Grout
Once the adhesive is dry, prepare the grout according to the manufacturer's instructions. Spread the grout over the tiles with a rubber float held at a 45-degree angle to force the grout into the joints. The angle is necessary to achieve even filling of the joints and to prevent air bubbles. Wipe excess grout off the surface of the tiles before it hardens using a damp sponge.
3. Clean the Tiled Surface
Use a damp sponge to wipe the surface of the tiles while you are still waiting for the grout to dry. This clears up any residue before it hardens. For tiles that need sealing, it will make the process easier and quicker.
Seal and Finish Your Tiled Bathroom Floor
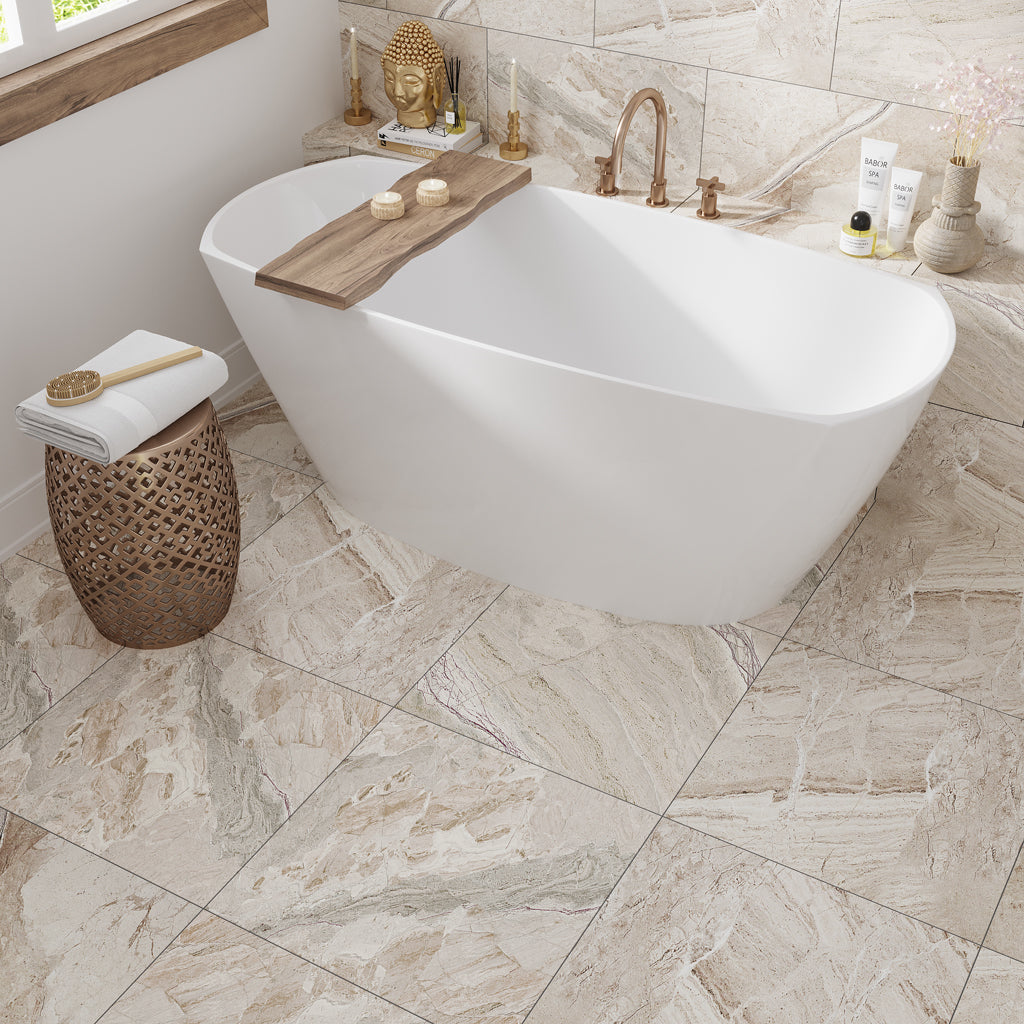

Sealing the tile and grout line is the last step when tiling a bathroom floor. This enhances durability and protects tilework from moisture and stains. Natural stone, like marble, is porous and stains easily, and should be sealed at installation, as should the grout of any tile installation.
Conclusion
Your bathroom floor is a stunning focal point that makes the rest of the room look fabulous. With careful planning, patience, and attention to detail, you have successfully transformed your bathroom into a space that blends style and functionality. For more inspiration, read our blog, Bathroom Flooring Ideas: Trends & Styles for 2025, for the latest designs and ideas for designing a gorgeous and contemporary bathroom floor.