How to Grout Tile? A Step-by-Step Guide for DIYers!
Oct 21, 2024 10 minute read
How to Grout Tiles? A Step-by-Step Guide for DIYers!
Do you have a tiling project but are not sure how to grout tile like a pro? Don’t sweat it! Grouting might seem a bit difficult at first, but with the right tools and some solid grouting tips from Apollo Tile, it’s quite easy to DIY. Moreover, it’s super rewarding and you would feel happy to save both time and money, to get that professional finish but as a DIY project.
Whether you’re tackling floors, walls, or even a kitchen backsplash, grouting does more than just fill the gaps between tiles. Be it your first time grouting tile or touching up existing work, tile grout is a crucial protector. It’s the unsung hero that prevents tiles from shifting or cracking over time. Tile grout in both powder and premixed form is available.


All you need to do is follow the manufacturer’s mixing guidelines and save any leftovers in a moisture-free area to use for future repairs, in case needed. Walking into the steps of grouting, this guide breaks down the process into a simple one with special tips and techniques added. Read further to skip the cost of hiring a pro!
Step 1: Pick the Grout that Suits Your Needs: Sanded or Unsanded

Choosing the right tile grout is key to ensuring a better fit, long-lasting results, and keeping your tile looking great for years. Grout generally falls into two categories: sanded and unsanded. Both sanded and unsanded tile grout work for indoor and outdoor projects, whether you're figuring out how to grout floor tile or how to grout tile wall. But the real key is matching the grout to your specific tile type and joint size.
Let’s dive into a quick breakdown of which grout works best with which tiles. You can get more confident and pick the right option.
| Type of Grout | Best For | Tile Varieties | Important Tips |
|---|---|---|---|
| Sanded grout | Tile grout joints from 1/8 inch to 5/8 inch | Ceramic tile, porcelain tile, slate tile, stone tile and other textured tiles |
|
| Unsanded Grout | Tile grout joints up to 1/8 inch | Glass tile, polished marble tile, metal, and smooth stone tiles |
|
Step 2: Choose the Right Tile Grout Color
Ever caught yourself asking - "How do I choose the right grout color for my tile?" It's quite easy but following a few guidelines can help you make a perfect choice that makes you ultimately happy.
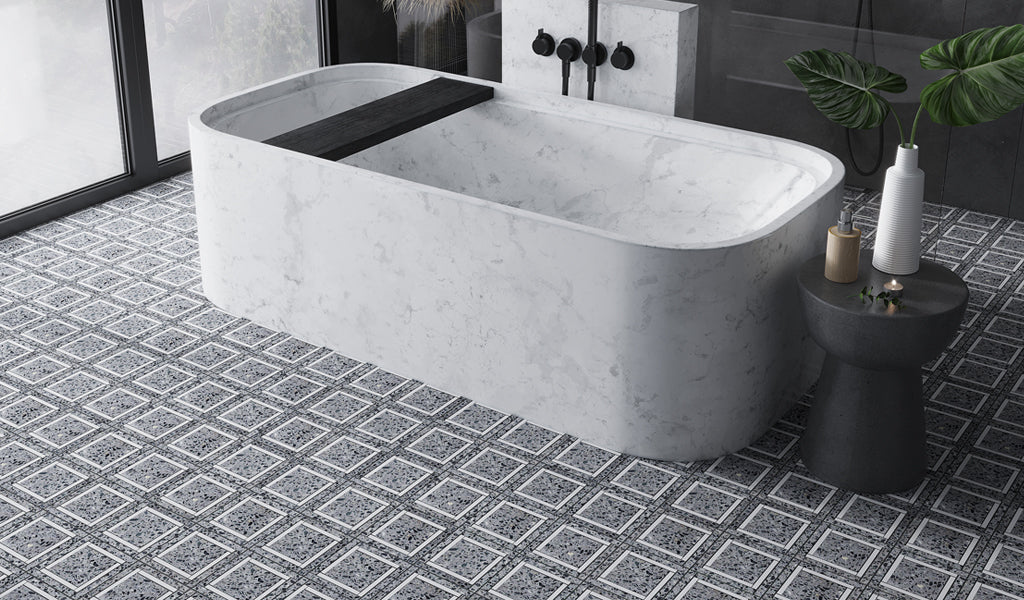
Matching grout to your tile color isn't always necessary, and it can be tricky due to variables like water ratios and curing time. Instead, consider your design goals: if you want a seamless, unified look, go for a grout that's slightly lighter than your black tile. But if you're looking to create contrast and make your tile pattern pop, a darker grout, like black, can do the trick with white tile. For high-traffic areas, darker grout hides wear better over time.
We recommend Laticrete Permacolor grout or Bostik Dimensions Diamond grout for their consistency and high-quality finish—ensuring that your grout color stays true and lasts beautifully. We have listed the recommended grout in each of our product specifications which helps you in making the right choice.
Step 3: Prepare the Area to be Grouted
It is essential to have a clean surface for grouting, whether you're starting new or refreshing existing grout. If it is an area near a sink, shower, or high moisture source, ensure it is dry before grouting. Proper preparation ensures smooth and durable grout application.
Step 4: Keep your Grouting Tools Ready
Before you get started, make sure you've got all the right tools on hand. Here's what you'll need for a smooth grouting process:
- Grout mix
- Grout additives (optional)
- Bucket
- Water
- Sponge
- Grout Float
- Margin Trowel
- Mortar mixer
- Grout joint sealer brush
- Microfiber towel
- Putty knife
- Work gloves


Having these tools ready to go will make the grouting process faster and easier!

Step 5: Hold Grout Float at 90 Degrees
The important aspect of grouting is how you hold the grout float. Holding at a 90-degree angle ensures a solid fill without any air pockets. Make sure to apply firm pressure and evenly push the tile grout into joints, working in small sections to avoid drying grout. Maintaining this angle will give you a clean, professional finish that highlights your hard work!
Step 6: Mix and Apply Grout Evenly
Are you worried about how to apply grout to tile? Don’t stress yourself, we’ve got you. Grout mixing needs to be smooth but not runny—and the mixture needs to be applied evenly across the tiles in a diagonal motion. Too much or too little water while mixing grout can lead to cracks. Moreover, consistent application helps in uniform color and coverage, thus giving a professional look to your space.
Step 7: Remove Excess Grout
When grouting tiles, it is advisable to use a damp sponge to level the tile grout and remove excess after partial drying. If you wish to attain a professional look, clearing off the residue is important as it also prevents any grout haze formation.

Step 8: Eliminate Grout Haze if Any
After waiting about 24 to 72 hours for the applied tile grout to completely dry, remove the grout haze if any. You can do this by wiping gently with a damp sponge, microfiber cloth, or grout haze remover.
Step 9: Apply Sealant If Required
Wait for grout to be fully cure, then apply a sealant to protect it from moisture and stains. Particularly in high-traffic and wet areas, you will also have to seal natural stone tiles like marble for better results.

Step 10: Caulk Along the Edges If Needed
In wet areas, you may fill the gaps with caulk and prevent moisture seepage. When you don't cover the gaps with tile trims or molding, then this step is essential.
Step 11: Let the Grout Dry. It's Time to Admire Your Work!
Allow the sealed grout to dry for 24 to 72 hours and then you can be satisfied with utmost content and peace of mind. At this point, you can admire your work and efforts!
Hope all your queries related to what is grout used for or how to grout tile are clarified after reading this grouting process.
Then, what's keeping you waiting? Go ahead with confidence and start your grouting work. For any further clarifications, you can also read our next section of common questions asked about grouting.
Frequently Asked Questions
1. What is the difference between grout vs. grout less tiles?
Grouted tiles give a professional look, are secured between the joints, and protect the surface beneath from moisture and cracking. They are also easy to maintain. Groutless tile offers a seamless appearance but requires more precision to install and maintain a proper edge-to-edge finish.
2. How long should I wait before grouting newly installed tiles?
3. Do I need to seal the tiles before grouting?
4. Will sealing grout lines prevent staining and discoloration?
5. How much grout should I mix at once?
6. What grout color should I choose for my tile design?
7. How do I prevent grout from cracking?
- Add the right amount of water to your grout while mixing – too much or not enough water will cause cracks.
- Ensure the grout applied penetrates the gaps between the tiles such that there are no air pockets formed.
- Allow the grout to cure on its own (24 to 48 hours) rather than quickly drying it with a fan.
- You can also add a grout additive to your dry grout as recommended by the manufacturer, to prevent cracking. This step improves grout flexibility.


