How to Cut Peel-and-Stick Tile?
Oct 29, 2025 8 minute read
Nowadays, a lot of homeowners choose peel-and-stick tile because it's easy to install and maintain. Wherever these peel-and-stick tiles are used, whether it's a kitchen backsplash, shower wall, or accent wall, they are sure to create an impressive look. It's also easy to install these wall tiles. However, accurate cutting offers excellent installation. Anyone can use these tiles to create an opulent look in kitchens, showers, and other wall surfaces quickly with the right tools and equipment.
Factors like unmatched style, flexibility, and ease of installation make peel-and-stick tile a still popular choice today. This blog will answer how to cut peel and stick tile, what tools you'll need, and how to use these groutless tiles for a flawless look.
Tools and Materials Needed for Cutting Peel and Stick Tile
Get the necessary equipment before beginning to install the peel-and-stick tile. Rough edges, uneven cuts, and tile damage can be avoided by using the right materials. The following supplies are needed to cut, peel, and adhere tile:
| Purpose | Item / Tools | Purpose |
|---|---|---|
| Measuring & Marking | Tape Measure | Finding the precise measurements of the space that needs to be tiled is necessary. |
| Straightedge or Ruler | Perfect for making accurate, straight cut lines. Cutting is guided by a metal ruler. | |
| Pencil or Marker | It is necessary to make clear-cut lines on the face of the tiles. | |
| Cutting | Utility Knife or Box Cutter | For scoring the tile’s surface. A sharp blade is important. |
| Extra Blades | Extra blades to prevent tearing and achieve accurate cuts. | |
| Scissors (Heavy-Duty) | Needed for cutting softer, thinner vinyl sheets or for curved cuts. | |
| Safety | Cutting Mat or Scrap Board | To protect the working surface from the utility knife blade. |
| Safety Gloves (Optional but Recommended) | To protect hands, especially when using a sharp utility knife. |
Keeping all supplies close at hand guarantees a seamless installation process and avoids disruptions. Want to know how peel-and-stick tile stacks up against traditional tile? Dive into our blog post: Peel and Stick Tile vs. Traditional Tile: Which One is Right for You?
An Easy Guide to Peel-and-Stick Tile Cutting:

Cutting peel-and-stick tiles doesn't have to be a stressful task. Anyone can do it with the correct strategy and a little perseverance; no particular abilities are needed. Follow these steps for the best method to cut peel-and-stick tile and ensure a clean, perfect fit every time.
1. Get Your Measurements:
Start by measuring the area where you want to lay the tile. When installing tiles around curved areas, corners, or cutting peel-and-stick tile around a toilet, double-checking your calculations helps prevent last-minute surprises. Our White Gold 12x12 Honed Hexagon PVC Peel & Stick Tile offers an impressive look to various surfaces, whether curved or flat.
2. Make a note of your cut line:
Turn the tile so that the back is facing up. Draw your cutting line by using a pencil or marker. Use a ruler or straight edge to make the line proper.
3. Get the tile scored:
Using a utility knife (the most common peel and stick tile cutter tool), lightly score along your marker line, and gently press to crack the surface. Cutting all the way through is not necessary just yet.
4. Break the tile along the line:
You can easily break the tile by gently folding along the line you scored. You may need to score both sides of heavier tiles. Do this a few times.
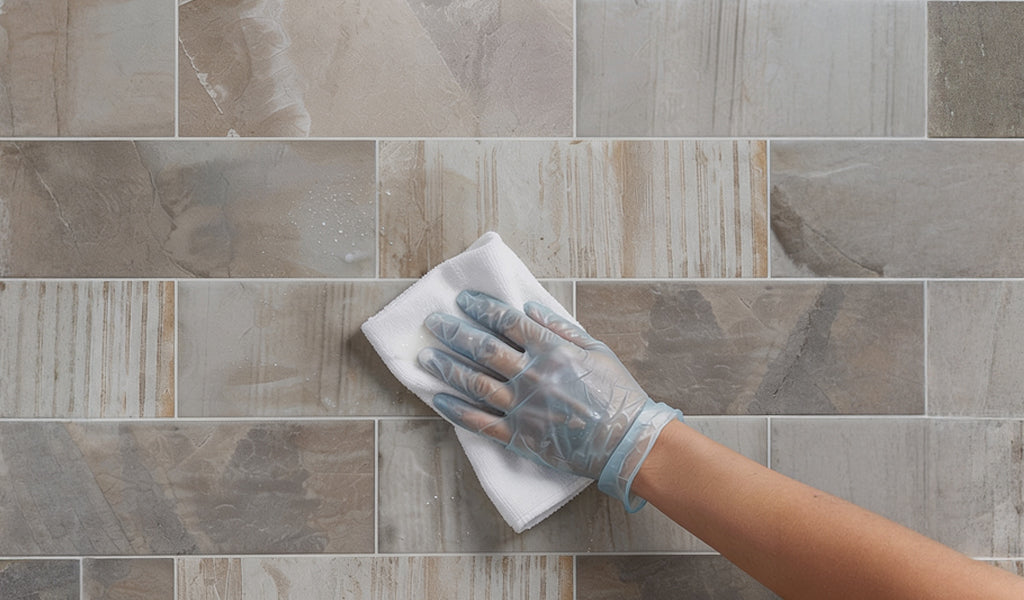
5. Tidy Up the Edges:
Use your knife, scissors to trim any rough or irregular edges you come across. For a neat and clean appearance, clean the edges.
6. Test the Fit:
Dry-fit your tile at the place where you want to install it before removing the backing. This allows you to make minor changes without wasting any materials.
7. Stick It Down:
Remove the backing and press the tile into position if you think it fits. Beginning at one edge, gradually smooth it down. This keeps everything stuck exactly where it should be and prevents bubbles.
With the above steps, you can get a professional look by fitting your tile precisely.
How to Cut the Peel-and-Stick Tile?
Small but crucial methods are necessary for getting precise cuts. The following useful advice will make the process easier:
-
Make use of a sharp blade. To guarantee clean cuts, replace the knife blade frequently. A weak blade can cause sloppy edges or rips in the surface.
-
Make multiple scores for thicker tiles. Continue until the tile separates cleanly, if it doesn't break easily after the first score.
-
Work cautiously and accurately. Cutting too quickly frequently results in uneven lines and additional expenses from material waste.
-
The tiles that feel stiff can be made more flexible and easier to cut by using a hairdryer.
-
Label the tiles when cutting peel-and-stick tile around corners or edges.
-
To keep the room's appearance consistent, align any tiles that have a pattern or design.
These little tips can guarantee long-lasting effects and give the installation a stunning appearance.
Avoid these common blunders when cutting peel-and-stick tile.
A few avoidable errors can cause even straightforward installations to go wrong. Understanding typical errors helps prevent accidents later:
-
Tile surfaces are torn or shredded by dull blades. For every cutting operation, make sure the knife is always sharp.
-
Making an estimate instead of taking measurements can increase workload and time. It can result in gaps or misalignment.
-
Uneven edges and misaligned corners are frequently the result of placing tiles very soon after cutting.
-
Cutting on an uneven surface may result in cuts that are bent or not precise. Always work on a level, sturdy surface.
-
Remember, extreme cold makes tiles brittle, while heat can affect the adhesives' impact. It is recommended to always cut and install tiles in a moderate room temperature.
-
Utility knives are sharp; accidents can be avoided with gloves and a steady cutting hand.
By avoiding these easy mistakes, the process will remain seamless and the final surface will look exquisite.
Conclusion
With a little planning, a peel-and-stick tile project is very easy to complete. A sharp knife, a little perseverance, and precise measurements are essential for a perfect, expert finish. You can make sure your finished surface is smooth, clean, and long-lasting by paying close attention to those last edge details and avoiding common installation errors. Remember that the best tools in your toolbox are patience and accuracy, whether you're adding a chic backsplash or cleaning a dirty old floor.