How Long Does Grout Sealer Take to Dry? Complete Drying & Curing Guide
May 04, 2026 5 minute readSealing grout is a vital step in ensuring floor or wall tile installations are properly maintained and remain in good condition. Because grout is porous in nature, it is likely to soak up water, dirt, grease, and even stains if left unsealed. Eventually, this may cause discoloration, formation of mold, and weakening of grout lines, particularly in wet areas. Applying a sealer creates a protective coating on the grout.
It’s important to understand the difference between drying and curing. Drying means that the sealer is no longer wet to the touch. While curing is the process in which the sealer bonds completely with the grout. The grout will not be ready to use immediately, even if it appears to be dry. Knowing how long does grout sealer takes to dry allows the sealer to work effectively and appropriately.
- ✓ Grout sealer protects tile against stains, moisture, and wear. It must dry and cure correctly to function.
- ✓ Applying sealer correctly and allowing it to cure fully ensures maximum protection and keeps the grout looking fresh.
Step-by-Step Grout Sealing Made Simple
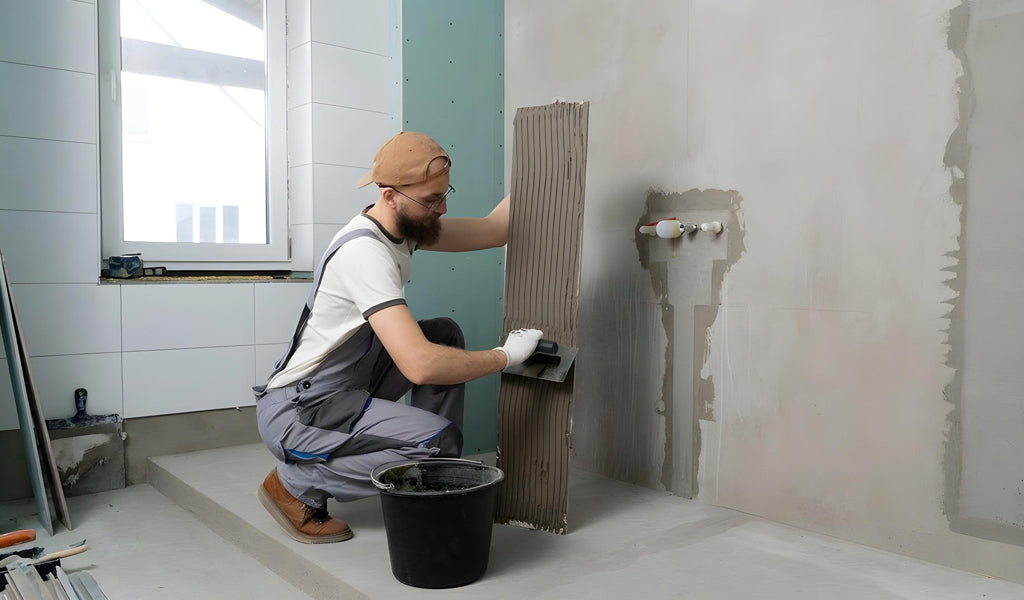
After laying tile, it is important to know how long to wait before sealing grout to ensure that it adheres properly. By following these steps, you will be able to protect your grout lines.
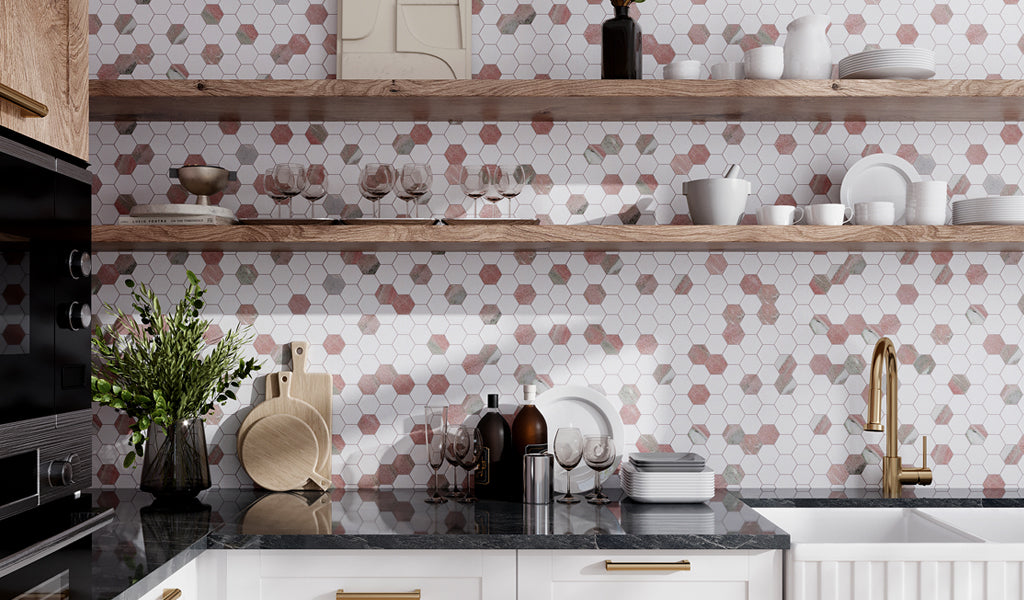
Clean and Prepare the Grout
Clean the grout lines. Let the grout dry completely before applying the sealer.
Safely Set Up Your Tools
Make sure the tile surface is dry and dust-free. Place tools nearby.
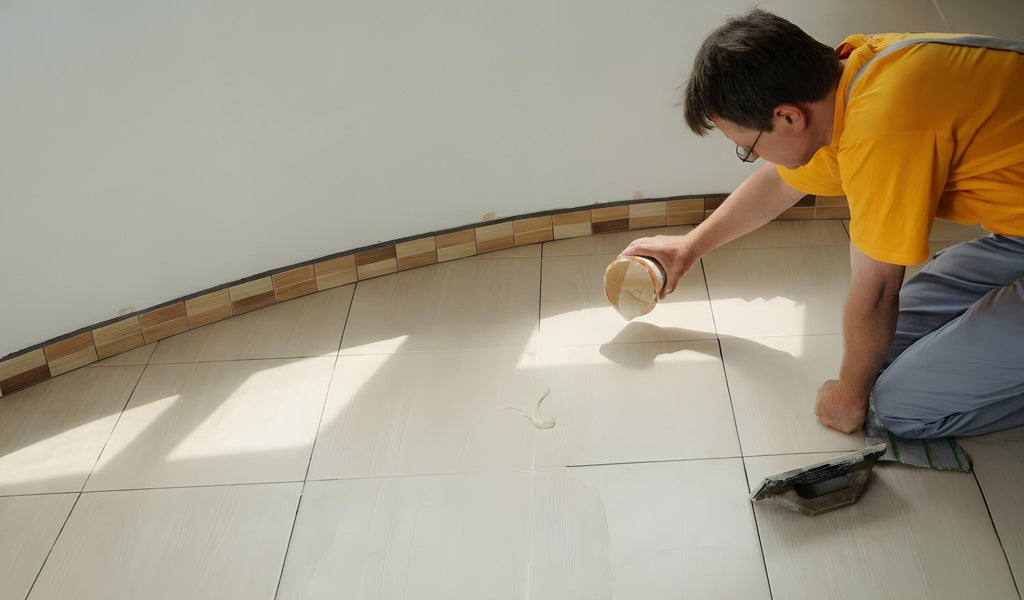
Apply Grout Sealer Correctly
Apply the grout sealer slowly and thinly to ensure correct absorption.
Wipe Off Excess Sealer
Wait a few minutes, and then wipe off any sealer on the tile surface.
Allow Grout Sealer to Dry and Cure
Wait for the grout sealer to dry. Avoid any water exposure and heavy traffic.
What Factors Affect Grout Sealer Drying Time?
The grout sealer dry time is affected by various conditions. Some sealers dry to the touch within 30 minutes to 4 hours, while the full curing time usually takes 24 to 72 hours. However, you need to know that conditions may vary. Here’s a breakdown of the factors that influence drying and curing:
Type of grout sealer:
The type of sealer affects the grout time to dry. Penetrating sealers and spray formulas dry faster than thicker liquid sealers. They may dry in an hour, or they may take several hours before the grout feels dry.
1Humidity and Temperature:
High humidity levels can slow down the rate of evaporation. Warm temperatures and well-ventilated rooms can help speed up grout sealer dry time.
2Amount of Sealer Applied:
Using too much grout sealer at once will not only slow down the drying process but will also prevent the grout sealer from being absorbed. Thin coats are always advisable. This will allow the grout sealer to penetrate the grout lines evenly on the surface.
3Ventilation and Airflow:
Having adequate ventilation will allow moisture to evaporate faster. This will speed up the drying process. Open windows or use a fan for proper ventilation. This will be important for bathrooms or kitchens, as they tend to have higher humidity.
4When Can You Walk, Shower, or Use Sealed Tile Safely?

Even though your grout sealer appears dry, it’s important to know how long does grout sealer take to dry, as it may still be in the curing process.
You may walk on your floor tile within 2-4 hours after sealing it. Wait a little longer before subjecting your tiles to heavy foot traffic. This enables the sealer to bond more fully with your grout.
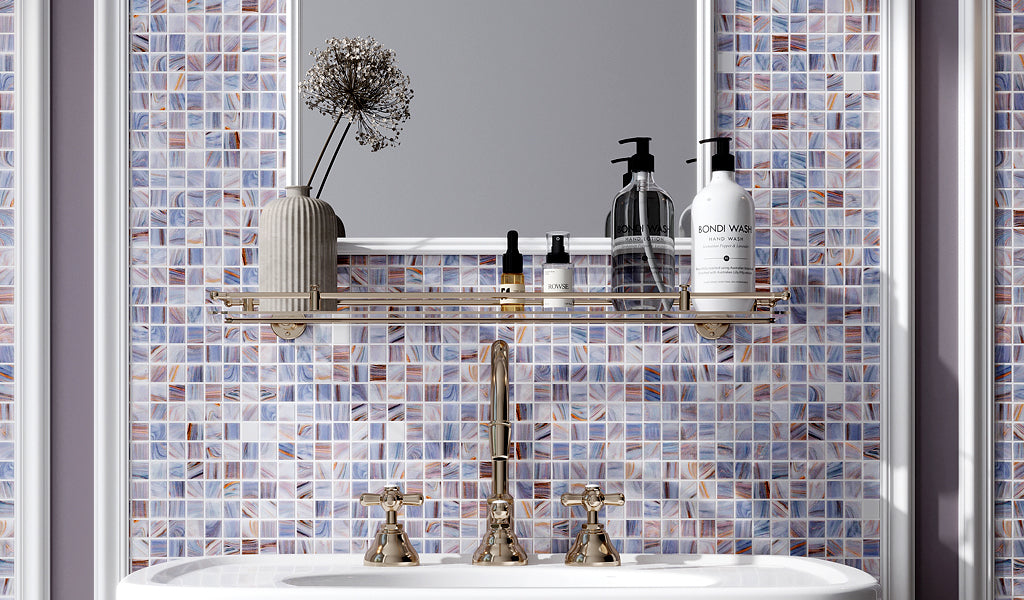
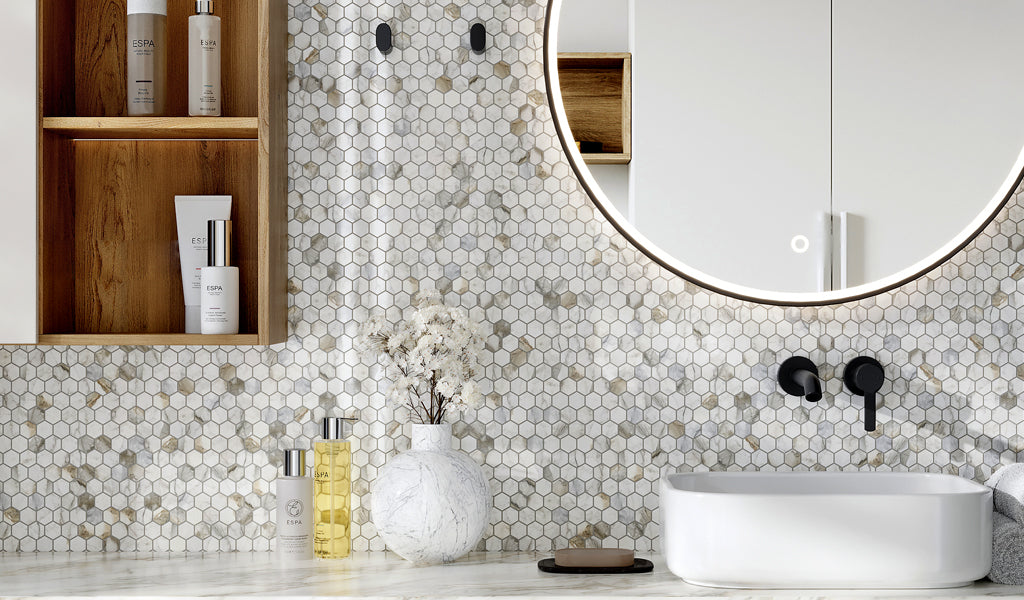
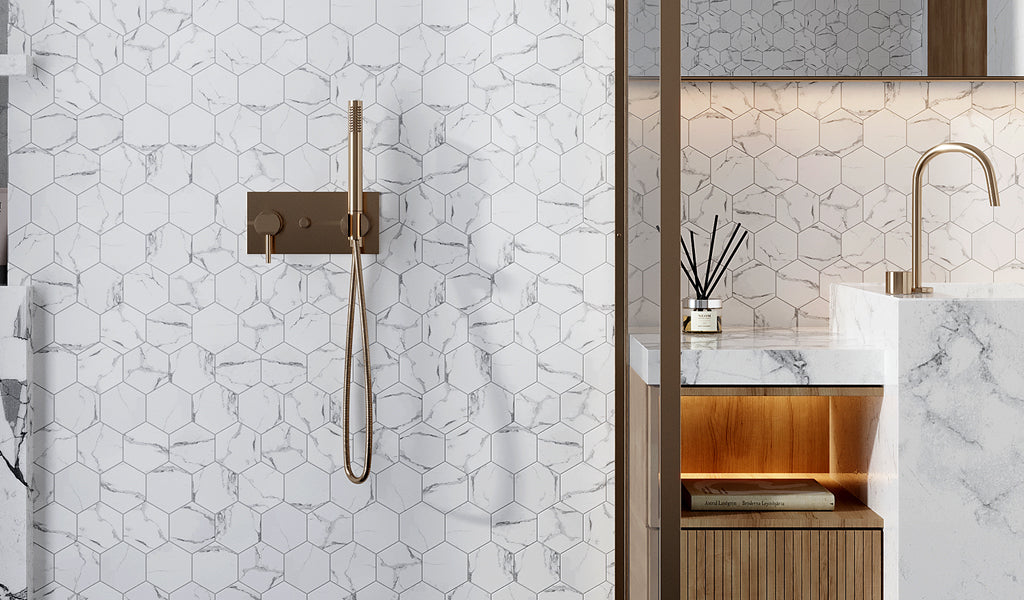
For your shower, kitchen backsplash, or bathroom areas, it is best to wait 24-72 hours. During this time, the grout sealer between our White 12x24 Polished Field Bianco Carrara Marble Tile can fully set, making it durable and water-resistant.
Avoid mopping or using cleaners on your tiles until the sealer has fully cured. Cleaning your tiles too soon may cause the sealer to weaken, which would defeat the purpose. Wait for the full curing time to pass to give your tiles the longest protection.
Conclusion
It is vital to allow the sealer you applied to your grout to dry completely. Although it might take a bit of time, a properly cured sealer ensures that your grout and tiles remain protected from stains, moisture, and general wear and tear, hence keeping them fresh and clean.
For step-by-step instructions on applying grout sealer, check out our guide on:
➜ How to Seal Grout on Tile Floor: A DIY Guide to Protect and Beautify Your Tiles.