DIY Tile Backsplash Installation: A Step-by-Step Guide for Beginners
Feb 10, 2025 10 minute read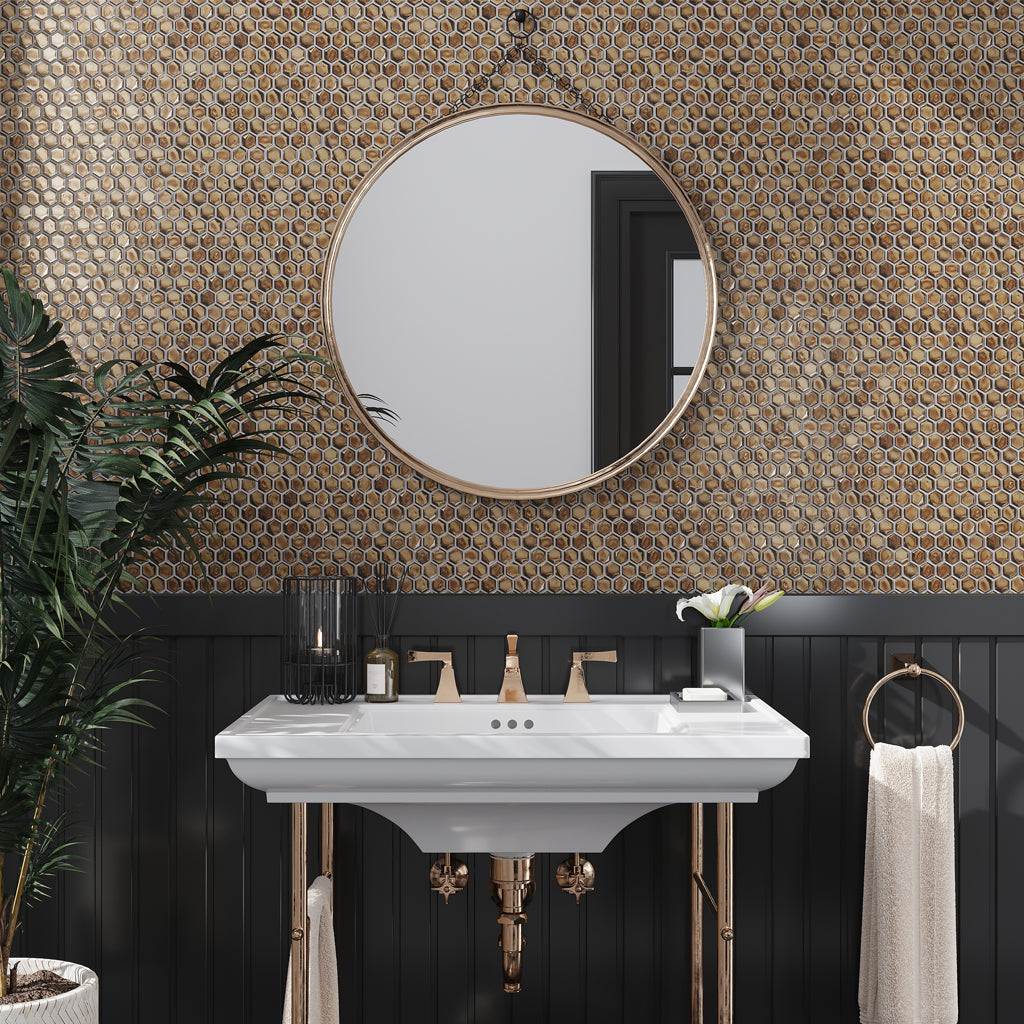
Some things are best entrusted to the experts. But tile backsplash installation is a manageable DIY project that can save time and money. A meticulous eye for detail can help you handle the inevitable surprises of a home improvement and allow you to feel more in control of the process. So, if you’re a homeowner with a newfound sense of adventure, take note of this guide on how to tile backsplash like a pro!
Installing a backsplash in the kitchen or bathroom is one way to create a distinct, well-defined, and purposeful space. That’s why Apollo Tile offers an extensive array of tiles to complete your design vision flawlessly. The possibilities are endless in terms of material choices! Our selection of ceramic, marble, porcelain, and glass tile is guaranteed to add aesthetic and functional value to your home!
Before You Start a Tile Backsplash Installation
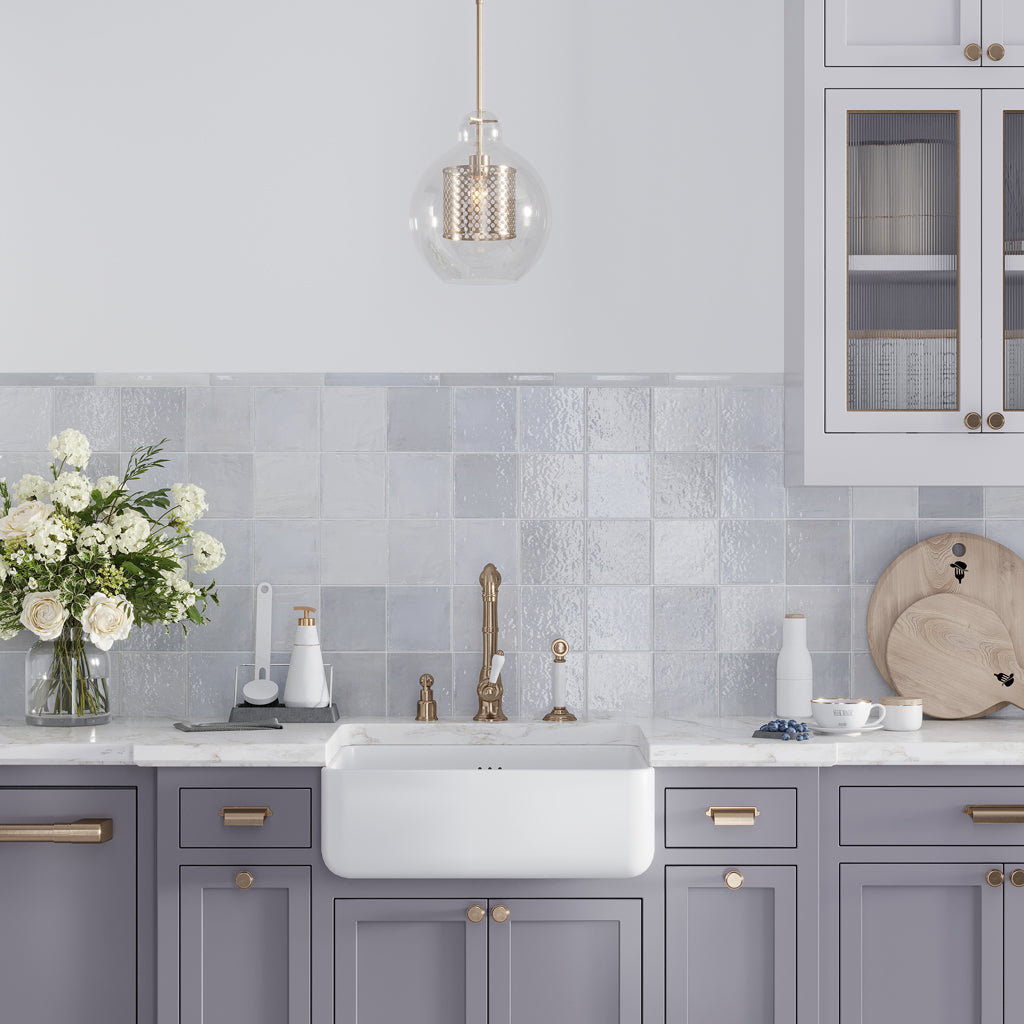
It might seem like a small detail, but knowing what steps to take when carrying out a DIY tile backsplash installation is crucial to the success of your project. Kitchen wall tile can go on the area between the lower and upper cabinets, above the countertop to the ceiling, or as a feature behind the range. It protects the walls from spills and splatters caused by overzealous cooking and daily activities, thanks to enhanced durability and stain resistance. Plus, tile’s easy maintenance makes practical sense!

Aesthetically, it’s a visually pleasing element that can become the room’s focal point. For this reason, well-execution is important if you want to enjoy the transformation for years to come. With proper planning, a gorgeous tile backsplash installation can be yours in a single weekend.
Get started by creating a detailed plan that includes measuring the area before making a tile order, gathering the right tools, and prepping the wall surface. Let’s take a look at each step in detail:
A. Choose a tile backsplash design
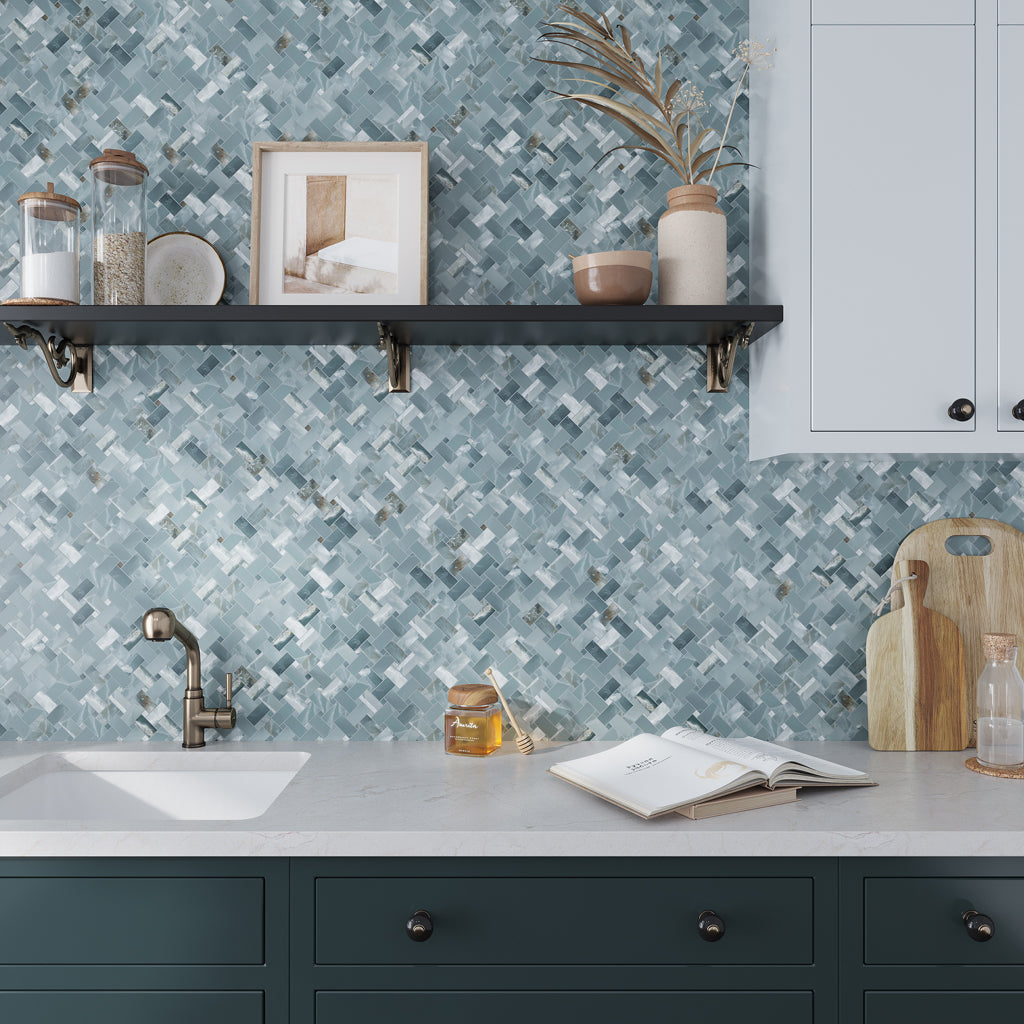
Before diving into the ins and outs of how to install a backsplash, you’ll need to choose tile that meets your desired aesthetic. This could be a design that complements and ties the room’s other elements together, including cabinets, countertops, and flooring.
You can go for large or mosaic tile to inject a punch of color to a muted scheme or ground an already vibrant space. Or you can even maintain cohesion by keeping the backsplash the same as your kitchen floor tile.
Tiles come in a plethora of materials, so there is something for every preference. For instance, glass tile’s reflective quality evokes a radiant glow that opens up the room, making it feel spacious and airy. Porcelain tile is just as versatile in its style options. It can mimic the look of marble, terrazzo, and hardwood, adding a whole new dimension with minimal upkeep.
Once you’ve taken a moment to consider what colors, textures, and patterns resonate with your taste and lifestyle, you’re well on your way to bringing your dreamy ideas to life. Check out our No Nonsense Guide to Choose the Perfect Kitchen Backsplash for more insights!
B. Find out how much tile you will need
The next step on “how to tile a backsplash” agenda is to figure out the number of tiles you’ll need. Measure the area to be tiled to find the width and height, then multiply the two to get the square footage.
As a rule of thumb, invest in 10% extra product for a simple design like laying square tile. If your DIY tile backsplash involves an overly intricate pattern or a wall with lots of jogs and corners, then order 15% extra tile than you expect to use. This will compensate for cuts, damage, and future repairs.
Once you’ve determined the exact number of tiles, it’s time to order your chosen product! The cost of porcelain and ceramic tile can fall between $7 – $45 per square foot, while glass and marble tile can be as much as $35 per square foot.
C. Gather the right tools for installation
A tile backsplash installation calls for a tile cutter or a tile saw to make necessary cuts to fit around outlets, switches, and other obstacles. While a manual hand cutter might be cheaper and easier to move, a wet tile saw with a diamond blade gives a cleaner, smoother, and more precise cut with any material.
A notched trowel and grout float are also important tools to have in hand during a DIY tile backsplash installation. The former is used to apply adhesive and the latter for spreading the grout. Make sure to pick hand tools that provide a comfortable ergonomic grip.
Installing a backsplash tile yourself also requires that you confirm the type of adhesive you’ll use. A pre-mixed version can save you time and effort. If it’s in powder form, a mortar mixer tool is necessary to achieve the right consistency. Your selected adhesive and grout should be compatible with your tile backsplash installation project. Add spacers to the list for uniform grout lines, a level to keep things aligned, and safety glasses and gloves for protection when cutting and laying tile.
D. Clear the area and ready the surface
Now that you have your tiling material delivered, it’s time to roll up your sleeves and get your DIY tile backsplash going:
- Tape a kraft paper or drop cloth to cover countertops and any surface nearby and loosen the wall outlet covers.
- An 80-grit sanding paper works nicely to remove any bumps and provide a matte surface.
- Patch any cracks or holes and sand once more so the surface is level. This helps the tile to adhere tightly and stay in place.
- Dampen a cloth in a solution of water and detergent to wipe away dirt and grime and allow to dry thoroughly.
Installing Your Tile Backsplash
In this how to tile backsplash guide, we’ll now walk you through every step:

1. Pre-lay tile to verify fit
- Use a level and pencil to draw a centerline that will direct your installation as you lay tiles upwards and downwards.
- Dry lay the tile along the countertop, spacers included between the gaps, to get a visual picture of how your tilework will look on the actual backsplash.
- At this point, you should be able to determine the cuts needed to fit into your application and achieve a professional-looking tile job.
2. Apply adhesive and place the tiles
- Mix powder mortar to the right consistency and use the flat side of a notched trowel to scoop and apply it to the wall.
- Work at a 45-degree angle and strive for an even coverage. Make sure to spread the adhesive in small sections so it doesn’t harden before you’ve completed the job.
- Start placing the tile and press gently into a thin enough layer of adhesive so it is properly embedded. Add spacers as you go to keep the gaps even.
- Repeat this step until you have completed your tile backsplash installation.
- If you plan to conceal the edges with a tile trim, there are plenty of options to choose from. These include baseboard, pencil, chair rail, and bullnose tile trim.
- Add the profile where the backsplash ends to provide a seamless closing detail. Trims can also be used as a transition piece from one style of tile to another.
- Allow your installation to dry for at least 24 hours.
3. Apply grout to the tile backsplash
- The adhesive has had ample time to dry, the next step on “how to install a tile backsplash” is grouting.
- If you’re installing natural stone like marble, seal the tile at least 3 hours before applying grout to prevent staining.
- Mix grout according to manufacturer’s guidelines and fill the tile joints using a grout float.
- Work grout well in a diagonal direction and allow it to dry slightly before wiping access from the tile surface with a damp sponge. Rinse the sponge in clean water and repeat the process several times.
- Wipe again after few hours of drying to remove any formed grout haze. Buff tiles gently with a soft microfiber cloth to get a nice sheen.
4. Seal grout and complete final touches
- Allow grout to cure, then seal it using a penetrating sealant to prevent moisture infiltration and staining.
- Fill the gap where your backsplash meets any countertop or upper cabinet with latex caulk. Choose one that matches grout color to attain a uniform finish.
- As the last step, tighten the outlet covers and move appliances back in place. You’ve just completed your DIY tile installation!
Maintaining Backsplash Tile After Installation
To maintain your newly tiled backsplash going forward, clean stains with a soft cloth and a solution of warm water and mild tile cleaner. Marble is a porous stone and requires sealing every 6-12 months to enhance its performance. Other than that, tiles shouldn’t be a hassle to keep in an immaculate condition and retain their beauty for years.
Mistakes to Avoid When Installing a Backsplash
Tiling a backsplash might be an easy undertaking, but mistakes are possible when there is a lack of attention to the details.
- Getting measurements of the area to be tiled wrong can lead to a shortage of tile. This can delay completing your project on time.
- Failing to prep the surface may result in the tile not adhering well to the wall surface. Leaving bumps or adhesive residue from the previous installation can cause uneven tilework.
- Ignoring details like adding spacers between the tile joints, checking if placement is level as you go, or following the recommended drying time can hinder the success of your DIY tile backsplash.
- Not adding a trim to the tiled backsplash. Uncovered edges are prone to moisture, dirt, and chipping, and the sharp corners can be hazardous. Most tiles can be paired with a matching trim so you can protect and give the borders a nice finish.
Conclusion
Once you’ve selected your desired material and gotten the right tools for the job, a DIY tile backsplash should be a walk in the park. We hope this step-by-step guide clears up any confusion and gives you the confidence you need to elevate your space. To jumpstart your project, let these 25 Kitchen Tile Ideas for 2025 inspire your creativity!
Browse our kitchen and bathroom tile collection and you’ll find endless possibilities for your project. We have products for every budget and need, and our friendly tile experts are happy to walk you through your selection. That’s not all; you can order samples to try out before making a big purchase.
Frequently Asked Questions
1. What type of tiles are best for a kitchen backsplash?
Ceramic and porcelain tiles are popular with homeowners and designers alike, but they aren’t the only materials available. You’ll also find glass, stone, and mother of pearl tile among stunning and practical options.
2. How long does a DIY backsplash project typically take?
3. Can I install a new tile backsplash over old tiles?
You can DIY tile backsplash over old tiles if they are sturdy and in good shape. If you choose to remove tile before a new application, check out our blog on How to Remove a Tile Floor.