The Ultimate Guide to Installing Peel and Stick Backsplash
Dec 16, 2024 9 minute read
Are you wondering “How to install peel and stick tile backsplash”? It is as simple as applying wallpaper to your space. Bid adieu to grout, adhesive, mortar, and messy installation stuff by welcoming these ready-made sheets available in various colors like brown, gold, and white tile. You can use them to cover small areas like tubs, sink surrounds, countertops, behind stoves, kitchen islands, bathroom vanity, or space inside a cabinet or shelf.
When you can’t spend time, money, or effort to install a new backsplash, give a simple makeover to your spaces, using peel and stick tiles. Be it seasoned DIYers or beginners, peel, stick, and enjoy with no mess, and no stress would be a go-to mantra.
Preparing for Peel and Stick Backsplash Installation
Preparation is the key to enjoying a durable and long-lasting finish! The prep tools that you need are
- Screwdriver
- Warm water
- Mild pH solution or gentle soap
- Sandpaper
- Degreaser (for kitchen backsplash installations)
- Microfiber cloth or sponge to wipe
- Measuring tape
Come, let’s follow some simple steps to get your surface ready:

- Use a screwdriver and remove screws from the switchboard or electric outlet cover. Keep the screws and the switch plates safely in a box to reinstall after tiling.
- Mix the mild pH solution in a cup of warm water, dip a microfiber cloth or sponge in it, and scrub any dirt or dust till the surface is clean and smooth to ensure better adhesion of peel and stick tiles. Take care while cleaning exposed outlets with a damp cloth or sponge and avoid accidental shocks.

- You can remove grease using a degreaser if you’re making a kitchen backsplash installation. Work in a well-ventilated area using degreasers to avoid breathing harmful chemicals.
- Wait at least for 30 minutes to let the walls dry. Switch on fans and open up windows to facilitate quick drying of walls. Touch them with bare hands to ensure they aren’t damp before installing.
- Level up the cracks using caulk to fill the gaps or use sandpaper to smoothen the installation area for textures or bumps. You can also apply a primer layer on painted drywall or uneven textures to improve adhesion.
- If you are planning to install a peel and stick backsplash over tile, be it ceramic, marble, glass, or porcelain tile ensure the grout seams are flush with the tile. Otherwise, the gaps pave the way for mold or mildew and hinder durability.
Make the right preparations for a stylish and durable peel and stick tile installation, and avoid any hiccups or messes with our step-by-step guide.

**Note: Cover the items in the room where you work with a protective sheet to shield them from dust. Also, keep the doors of the room closed to avoid dust from settling down through the rest of your house.
Step-by-Step Guide to Installing Peel and Stick Backsplash

1. Measure and mark: Once leveling and cleaning are complete, measure and mark the outline of your backsplash using a ruler and pencil. Creating a border helps to decide the right quantity of peel and stick tiles required for the backsplash. Using a pencil helps in marking faint lines that would not be visible when finished.
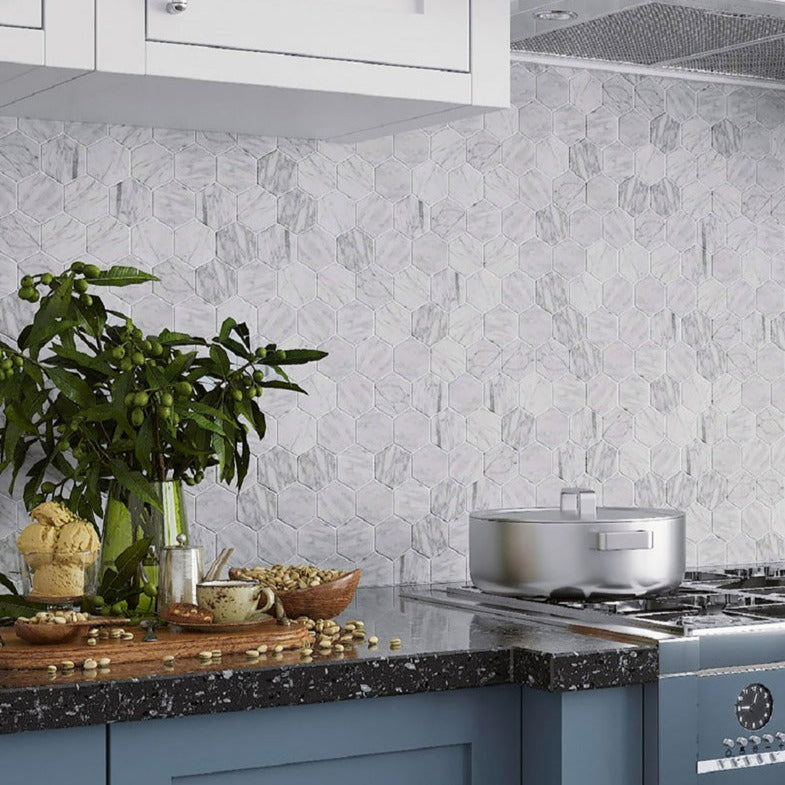
2. Choose the right backsplash: Read the description carefully to ensure you pick the right backsplash tile that fits the surface you’re working with, say for ex. drywall, painted wall, or over the existing tile. Also, check for the sheet sizes to fit into your installation plan.
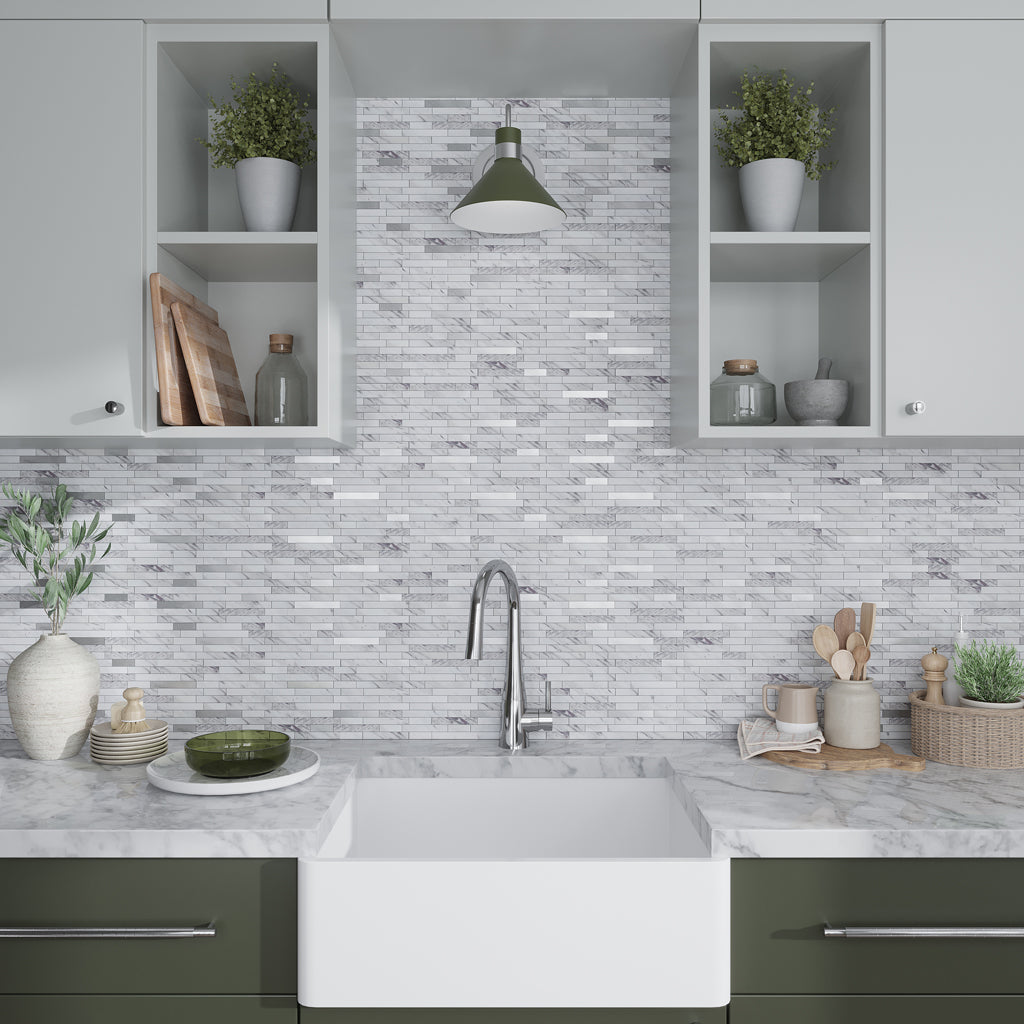
Confirm that the style of your backsplash complements the rest of the kitchen appliances, countertops, and other fixtures and fittings. For ex. Our hexagon marble tile backsplash fits best with dark-speckled granite countertops, blue cabinets, stainless steel stoves and utensils, and natural décor elements like the greenery and wooden cutting board.
Calculate and order: Multiply the height and width of the backsplash to calculate the area of a regular shape, and reduce the area of the outlets or window openings. For irregular shapes, divide the space into sections, calculate the area separately for each section, and add them together. Then, reduce the area of the outlets or window openings. Now, divide the total area by the single tile area to arrive at the total number of tiles that need to be ordered.
You can order the backsplash tiles from the best tile store, after adding 15% extra to account for cutting mistakes, damages, or keeping future replacements into consideration.
4. Plan the Layout: Once you receive the tiles, arrange them on the flat installation surface to visualize both pattern and placement. Plan your layout based on the tile size to avoid unnecessary wastage.
5. Gather Tools Required: The common tools required are a utility knife, a level, a soft cloth, or a roller to press tiles firmly. Additionally, you may need a mask, eye protection goggles, and gloves to keep away from dust or accidental hurting.
6. Cut the Tiles: If you’re stuck with the question – “How to cut peel and stick tile?”, remember that this is a crucial step. You need to take additional care to fit around electrical outlets, window frames, faucet openings, and vents. You may also need half or partial tiles to fill the gaps near chimneys or cabinets. Mark the measurements on the back of the sheet, then use a utility knife to trim them off.
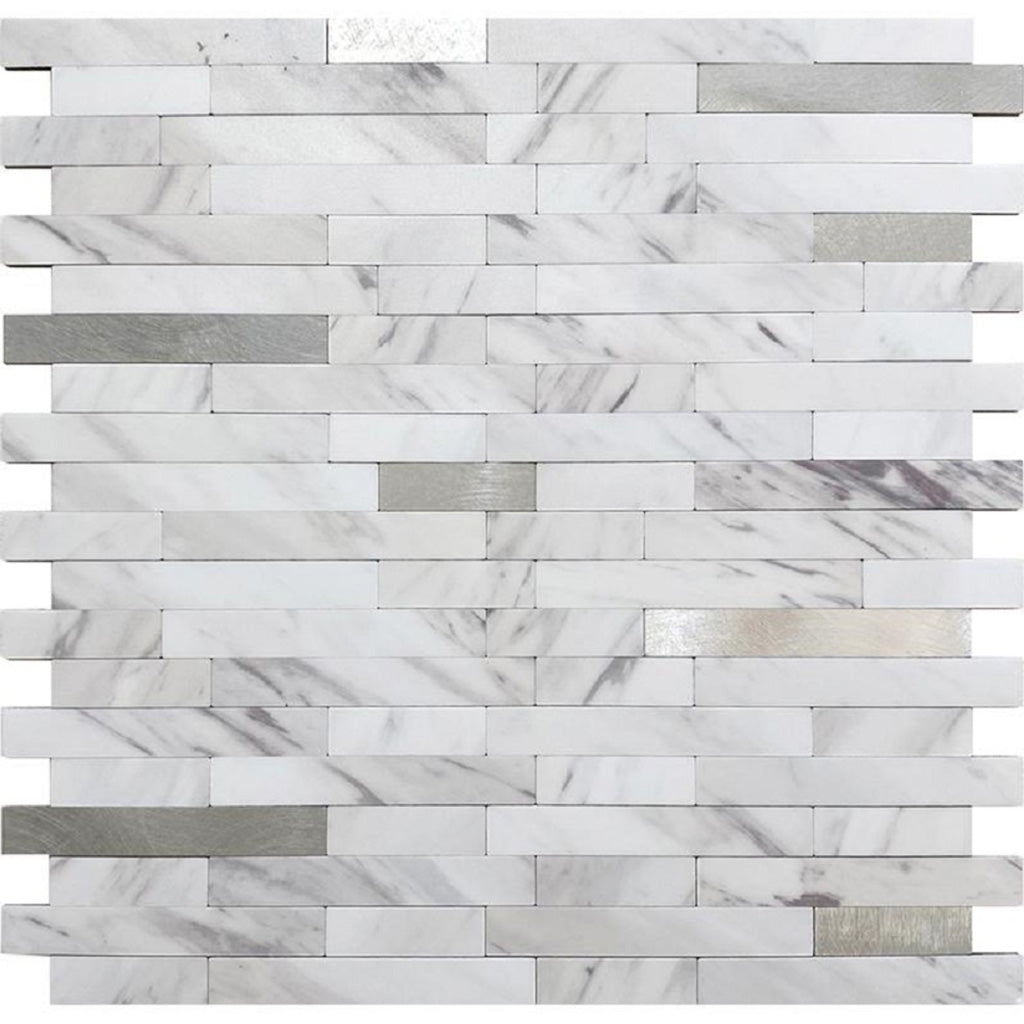
In an interlocking design like the above, while fixing the edges of walls you’ll have to trim it on one side to fit the space. For ex. This white linear peel and stick backsplash has an interlocking design with edges that protrude out, so, you’ll have to trim off one side of the sheet to align it with the edges of your wall. Mark a straight line and cut using a utility knife along the edges to fit better.
7. Stick the Tiles: Start the installation from the bottom corner of your wall on any one end. Align the edge of the sheet and wall, then peel only half of the paper backing. As you press the sheet, carefully pull the rest of the sheet to roll onto the wall. This helps to prevent any air bubbles from being trapped beneath. Now press down the sheet once again to eliminate raised or warped areas. Ensure a snug fit irrespective of the peel and stick design, may it be a hexagon tile, picket, and linear or brick tile.
8. Reinstall Electric Outlets: Now, it’s time to check if all gaps are filled and reinstall switch plates, back in position. Secure the screws and smile to see all your hard work pay off with a beautiful backsplash.
Post-Installation Tips for Peel and Stick Tiles Backsplash
- We recommend going over the tiles using a roller or a cloth to ensure better adhesion and avoid air bubbles.
- Avoid exposing the tiles to moisture for at least 24 hours post-installation.
How to maintain peel and stick backsplash tiles?
- Regular cleaning is important to keep your peel and stick backsplash in the best condition. A mild cleaning solution is always preferred, avoid using harsh chemicals.
- Heavy water exposure is not advisable. We recommend you wipe off spills immediately.
- Pay attention to smaller repairs like say for ex: in case an edge starts lifting, quickly clean the surface underneath and resecure it using a double-sided tape or adhesive.
Handling Potential Issues
- If a tile is crooked, peel it off immediately and replace it in the right position before the adhesive sets in.
- Ensure the peel and stick backsplash you have chosen can withstand high temperature or moisture, before placing them near heat sources. Our brick peel and stick backsplash can be used in heat areas up to 150 degrees Fahrenheit like countertops, wall tiles near ovens, fireplace surrounds, and radiant heating systems.
- While installing tiles ensure you line up the top and bottom edges of tiles for an even placement.
- Do not get frustrated in case your cuts are not lining up perfectly when you cut for the first time. Just adjust and trim them until it fits right. Though very minor setbacks don’t show off from a length, for your satisfaction you can get things right and perfect but patiently.
Be patient and gentle while handling your peel and stick DIY project. Do let us know if you have any queries related to “How to install peel and stick tile backsplash?”.

