Chipped Tile? Simple Fixes That Really Work
Apr 13, 2026 7 minute readWhile tiling materials like porcelain and marble are steady, tough, and durable, they can still fall victim to damage. Chipping of tile occurs due to impact from heavy objects or wear and tear over time. The good news is that unless the damage is extensive, you do not have to go through the hassle of replacing the entire tile. Many chips can be easily fixed with simple tools and materials, and no one will know the difference.
In this How to Fix Chipped Tile guide, we’ll go over the tools needed for the job, step-by-step instructions, costs involved, and tips to prevent future damage.
Key Takeaways
- Chipped tiles can be easily fixed using epoxy adhesive and touch-up paint, making the repair nearly unnoticeable.
- DIY repairs are less expensive, costing $10 to $30 for a color-matched filler kit, while professional repairs can range from $100 to $300 for small fixes.
Essential Tools & Materials for Chipped Tile Repair

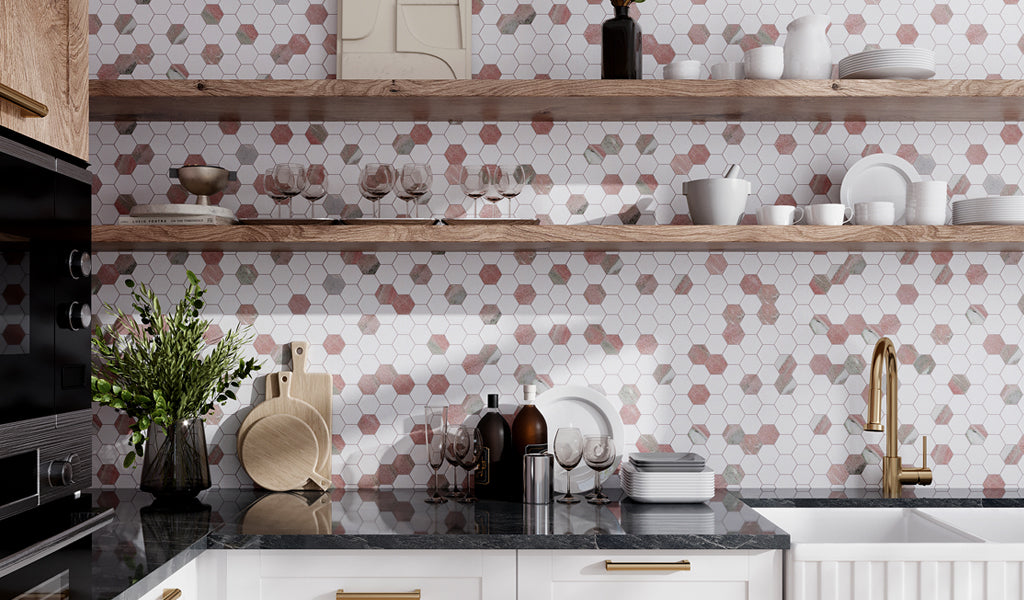
To fix chipping on living room, kitchen, or patio tiles, you should have the right tools and materials. Here’s what you’ll need to get the job done:
- Epoxy resin or tile repair kit
- Fine-grit sandpaper (400–600 grit)
- Touch-up paint or glaze
- Clear sealant (optional)
- Tile filler or putty
- Protective gloves
- Safety goggles
- Sponge and clean cloth
Step-by-Step Guide to Repairing Chipped Tiles

How to fix a broken tile without replacing it? Once you’ve gathered the necessary tools and materials, follow the steps below:
Clean & Prep the Area:
Start by cleaning the affected area to remove dust, dirt, and debris. For instance, if repairing shower floor tile, make sure to clean every trace of soap residue and let the area dry completely. This step should not be skipped because it secures a clean, bonding surface for the epoxy adhesive.
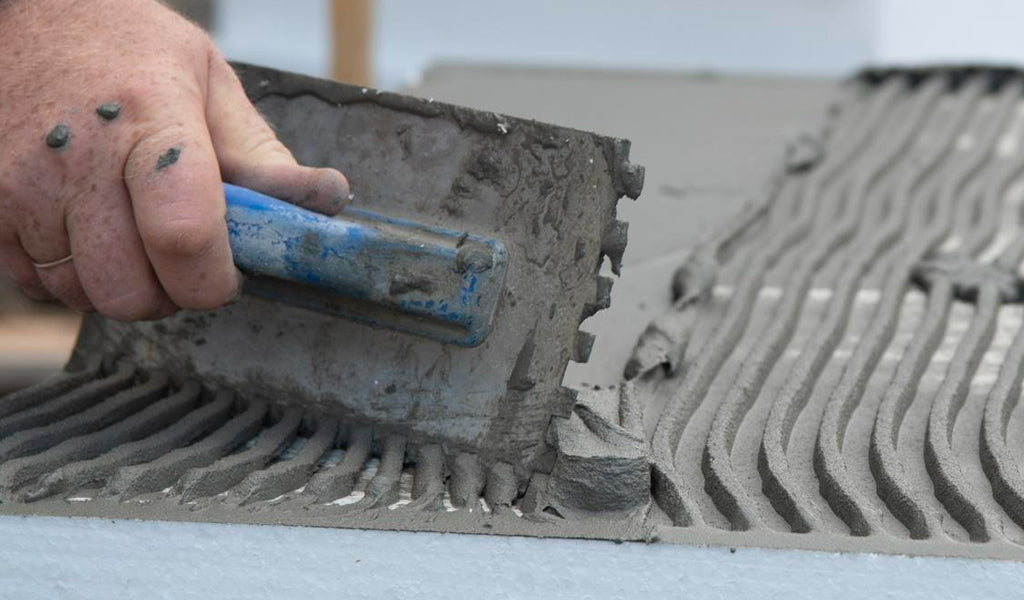
Apply Epoxy Adhesive:
For this step, a tile repair kit is your best friend. A standard kit comes in two parts: an epoxy resin and a hardener. To prepare, mix the two as instructed by the manufacturer. Apply in small coats to the chipped tile using a putty knife or paintbrush.
Smooth it Out & Allow to Dry:
Cover the entire chipped area with an even coat of epoxy and smooth it out so it sits level with the tile’s surface. Use a clean, damp sponge to wipe excess before it hardens. Let the filler set for the recommended time.
Sand for a Seamless Finish:
Should the filler have a raised or uneven surface once dry, gently sand the repaired area with fine-grit sandpaper until it blends in with the rest of the tile. You’ll know you’ve done a good job if you run your finger across the tile and don’t feel anything.
 Pro tip
If fixing a white glazed ceramic tile, then a standard white filler will work just fine. But with a colored tile, the repaired area may still be noticeable. You can use matching tile touch-up paint to camouflage the chip and blend with the tile’s color and texture.

How to Repair Chipped Tile Edges and Corners
Wondering how to fix chipped tile corners and edges? While the steps are the same as those outlined above, the process involves molding the epoxy filler to take on the tile’s original shape. Here’s a scenario: You have a square floor tile, like Arctic White 12x12 Matte Square Porcelain Tile, and want to fix a chipped corner.

Fill the area with epoxy adhesive, then use a putty knife or sculpting tool to square and refine the corner so it looks similar to all sides of the tile. Let the epoxy cure for the time recommended on the repair kit’s instructions before sanding to flatten any uneven surface.
How to Fix Chipped Mosaic Tiles Without Replacing Them
Fixing a broken tile mosaic without replacing it can be tricky due to its dainty size and often patterned, multi-tonal finish. To repair chipped mosaic tile, start by cleaning the affected area, and use a small paintbrush or toothpick to apply a coat of epoxy.

Once the filler has completely cured, sand gently (if necessary) so it blends with the tiles. For a multi-toned design, like our Black 12x12 Matte Basketweave Porcelain Mosaic Tile, you’ll need to pick two or three touch-up paint colors that reflect the variation in the original tile. Using a small brush, gently dab paint to build up the finish so it matches the rest of your tiles.

Cost to Repair a Chipped Tile: DIY vs Professional

One of the benefits of tackling a DIY repair project to fix chipped tiles is cost savings. A DIY two-part epoxy or color-matched filler kit ranges from $10 to $30, while many repair contractors have a $100 to $300 minimum service fee. While you can take on this job and get the best results, going the professional route is a worthwhile step for high-visibility areas, complex tile designs, or damage that may worsen over time.
How long do chipped tile repairs last?
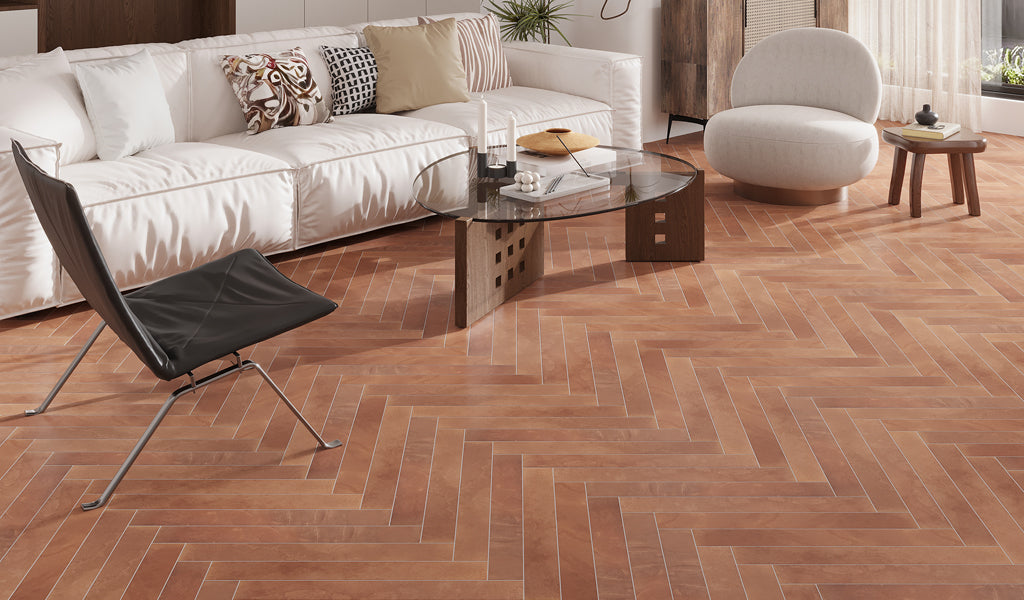
Epoxy offers a reliable repair solution that can handle foot traffic without wearing, meaning your restored floor tile can last for years with no issues. It’s important not to place excessive pressure or heavy objects such as furniture on the repaired area. Should significant damage occur, you might have to replace the affected tiles or call in the pros for advanced tools and techniques.
01 / Inspect
Inspect tiles often for imperfections and remedy any issues promptly.
02 / Protect
Consider placing rugs over flooring tile in high-traffic areas.
03 / Cushion
Place protective pads under heavy furniture to reduce the risk of damage.
04 / Seal
Add an extra layer of protection by sealing tile, especially natural stone like marble.
Conclusion
If you’ve ever wondered how to fix chipped tile, we hope this guide points you in the right direction. Tile repairs are an effective way to maintain the visual appeal and quality of your installation. The steps outlined above show that not every imperfection calls for replacing the entire tile. The process is far from daunting; the right tools, materials, and a bit of patience will restore your tilework to its former glory.
Other damages, including cracked tile, can be remedied by following the simple steps in our guide: How to Fix Cracked Tile. If your tiles are beyond repair, it might be time for a revamp, which can be the perfect opportunity to explore new tile options. Browse our many collections to find the best match for your home. After all, beautiful spaces start with the right foundation!
Frequently Asked Questions
1. Can you fully restore a chipped tile's appearance?
2. Does repairing a chipped tile restore its strength?
3. Can chipped tiles on heated floors be repaired?
4. Is repairing a tile more cost-effective than replacing it?
5. Can textured or patterned tiles also be repaired?
6. Should you seal a repaired tile after fixing the chip?
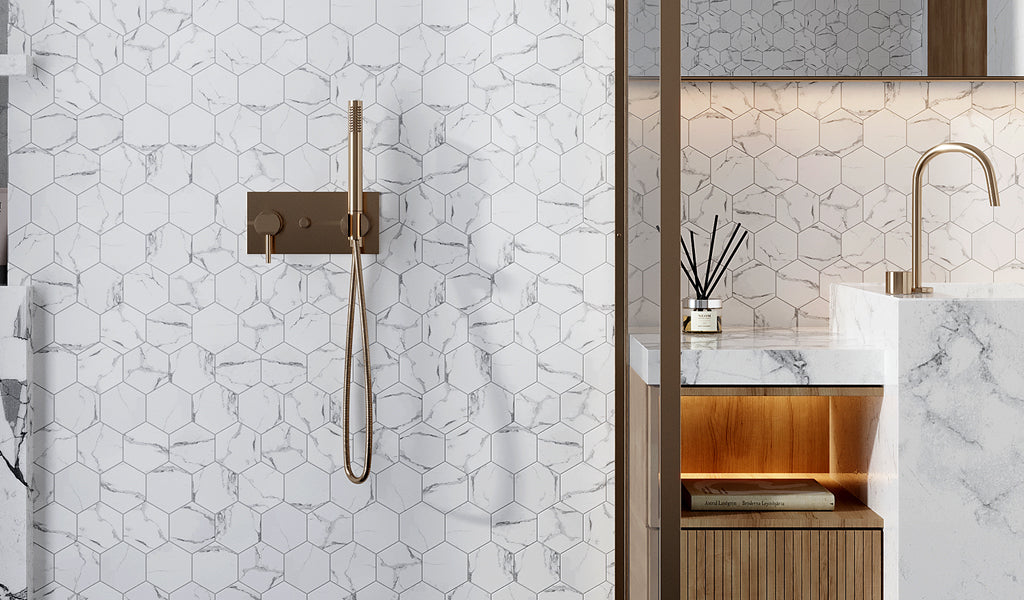
7. Does tile chip repair work on wall tiles and backsplashes?
Chip repair also works on wall and backsplash tile. It’s important to get color matching right since these areas sit at eye level, making flaws more noticeable.