

How to Lay Tile: A Step-by-Step Guide for a Professional-Looking Finish
Jul 24, 2026 9 minute readWhether you’re looking to spruce up bathroom floors or upgrade kitchen wall tile, learning how to lay tile the right way ensures a durable and flawless finish. Installing tiles is not particularly a hard undertaking, but it is easy to do poorly. Ahead, we share insights into the process, including the correct tools to use and steps for a well-prepared surface and planned layout.
Key Takeaways
- An adequately prepped surface is crucial to learning how to lay tile floor and achieving a visually pleasing, durable, and long-lasting tile installation.
- Using the right tools, making accurate cuts, maintaining uniform spacing, and applying adhesive and grout the right way contribute to a professional-looking finish.
What Tools and Materials Do You Need to Lay Tile

How to lay tile and attain a flawless finish? Have the right tools in hand. Below is an essential checklist:
Tools
- Pencil or chalk
- Tape measure
- Tile cutter
- Notched trowel
- Grout float
- Spirit level
- Sponge and bucket
Materials
- Tile Material
- Tile adhesive
- Tile grout
- Tile spacers
- Goggles and gloves
How Do You Prepare the Surface Before Laying Tile

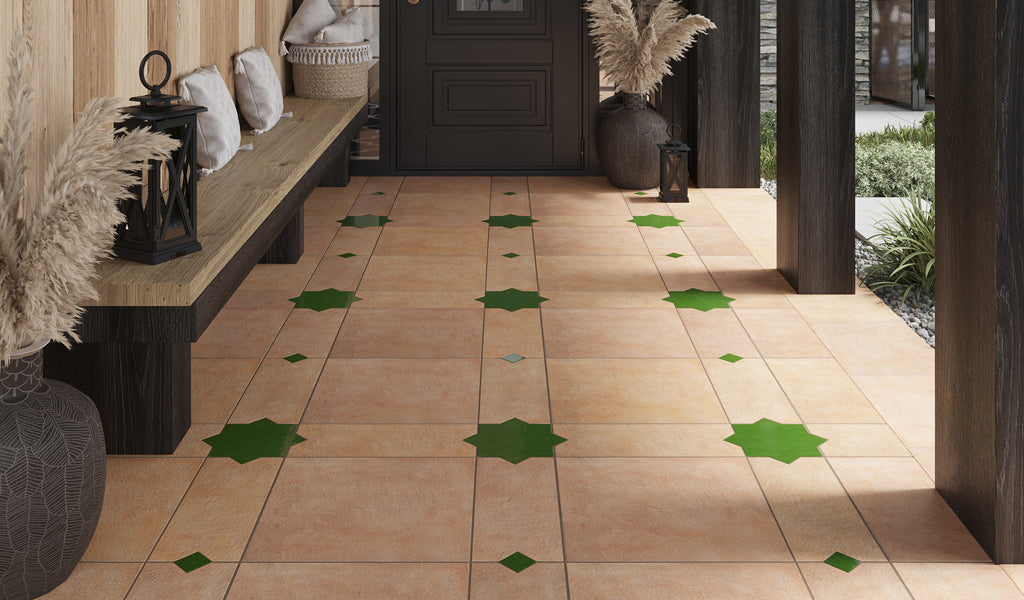
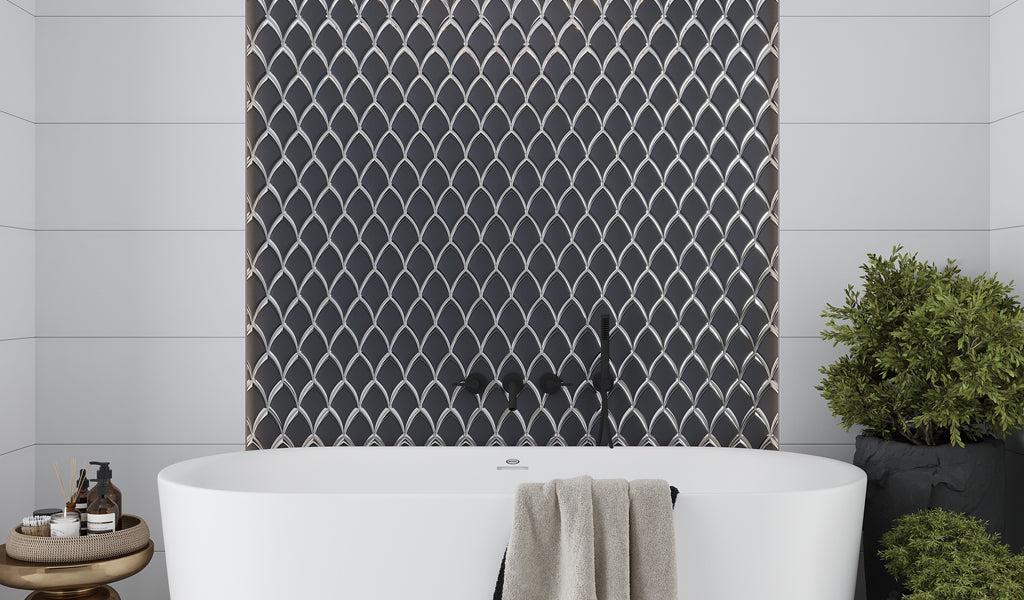
There’s no learning how to lay tile floor or wall without diving into the merits of proper surface preparation. Whether installing mosaics or large formats, such as our Blue, Gray 10x12 Glossy Glass Arabesque, Fan Mosaic Tile or Soft Beige Terracotta 13x13 Matte Lattice Porcelain Tile, a well-prepped substrate is the foundation of a successful tile installation.
The surface should be flat, clean, and dry. Defects can affect adhesion, so inspect for gaps and cracks and repair with a patching compound. Sand down any raised seams using a diamond cup grinding wheel and vacuum the area thoroughly. Once the surface is clean and structurally sound, apply a tiling primer to promote a stronger adhesive hold.
How Do You Plan a Tile Layout for the Best Results
How to lay floor tile with even grout lines and a professional-looking finish. It starts with planning the layout.
- Measure the length and width of the installation area to find the center of the room and create two intersecting chalk lines to be used as a placement guide later.
- Next, dry fit the tiles to have an idea of how the final layout will look and determine where the cuts will fall at the edges of the room.
- Make adjustments to the layout as you see fit. When learning how to lay porcelain tiles or any other material, you want to use as many full pieces as possible.
- If tiny slivers are impossible to avoid, shift the starting chalk lines to ensure cut pieces are at least half the width of a full tile.
How to Measure and Cut Tile Accurately

Cuts are necessary when you reach the edges of the room or have to fit tile around obstacles like electric sockets or the toilet flange. Measure the area carefully and mark the cut line on the tile surface with the exact dimensions. A manual tile cutter works just fine for quick, clean, straight cuts, particularly when learning how to lay ceramic tile. It’s a lightweight material that’s easy to work with and cut. Complex and curved cuts may require an angle grinder with a diamond blade. Smooth sharp-cut edges with a tile file or rubbing stone.
How Do You Mix and Apply Tile Adhesive
When learning how to lay tile on concrete, cement, or other substrates, it’s important to know how to properly mix the adhesive for a secure and long-lasting bond. You’ll find manufacturer’s instructions on the product package, including the following:

- To start, add the adhesive to a bucket of water in a ratio specified by the manufacturer.
- Do this gradually, mixing in between with a paddle mixer until it reaches a thick, “peanut butter” consistency.
- Allow the mixture to rest (slate) for about 5-10 minutes, then give it a final stir before use.
- Using a notched trowel, spread the adhesive across the substrate and comb it in a single, straight direction for consistent ridges that improve coverage.
- The adhesive takes about 30 minutes to start drying, so it’s best to work in sections and mix only what can be used within this timeframe.
- If installing large formats, such as our Warm Beige 12x36 Matte Stone-look Ceramic Large Tile, “back-butter” the tile with an even coat of mortar using the flat side of the trowel for maximum adhesion.
How to Lay Tile Evenly and Maintain Consistent Spacing

Completing a visually pleasing tile installation involves straight lines and consistent spacing between joints. It’s important to plan the layout before mixing and applying the adhesive. This way, you get a preview of the completed look and where the cuts will fall at the edges of the room, and make adjustments as needed. After all, the goal is to avoid tiny slivers and use as many full-sized large or small format tiles as possible.
Uniform grout lines are achieved with tile spacers. For more detailed guidance on using the correct size, read our blog Different Types and Sizes of Tile Spacers Used in Installation. Lastly, make use of a long spirit level as you work to maintain straight tile lines and ensure individual pieces sit flush with each other.
How Do You Install Tile Around Corners, Edges, and Obstacles
The next part of learning how to lay tile floor and wall is understanding the best way to tile around corners, obstacles, and odd edges. These tricky areas require correct measuring and cutting to get it right. Walls and floors are rarely perfectly square, so start by measuring each corner, doorway, or fixture individually. Next, follow the tips below:
- Using measurements taken for where pieces will go on corners, edges, or around obstacles, mark clearly the cut line on the tile using a pencil.
- Depending on the type of cut required, proceed with a tile cutter, wet saw, or tile nipper.
- Before applying the adhesive, test-fit cut pieces into position using the same grout spacers.
- To properly finish edges, such as on a tiled backsplash, install border tile to give tilework a polished, professional quality. Options are varied and include pencil, bullnose, chair rail, and baseboard trim.
How to Grout and Finish a Tile Installation

Now that the adhesive has fully dried and cured, the next step is grouting between the tiles. This process involves filling the joints with grout to enhance the installation’s structural integrity. Part of learning how to lay tile in bathroom or kitchen spaces is knowing the right steps to follow, which are as follows:
- Mix grout to a “peanut butter” consistency based on the manufacturer’s instructions.
- Using a rubber grout float, scoop the grout and spread it diagonally across the tiles.
- Press grout deeply into the tile joints at a 45-degree angle, ensuring they are filled firmly.
- Let grout harden for about 10-15 minutes, then use a damp sponge to wipe excess from the tile surface.
- Allow the grout to dry, usually 24 hours. If installing natural stone, such as Carrara or Calacatta marble tile, apply a sealer to protect against moisture, stains, and wear. Cement-based grout should be sealed, too.
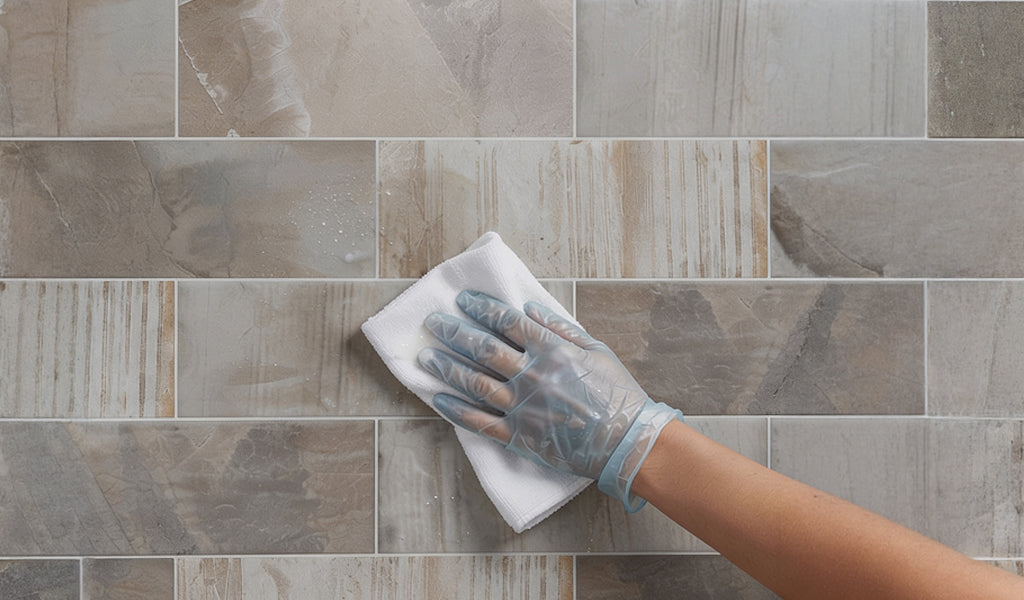
- Once the sealant is dry, polish tiles with a clean, dry microfiber cloth to remove any lingering grout haze.
What Common Tile Installation Mistakes Should You Avoid
Many tiling mishaps occur for several reasons, all of which leave tilework looking like an eyesore or failing prematurely. If learning how to lay tile, these are common mistakes to watch out for and avoid expensive redos:
- Inadequately prepared surface on which tiles will go, causing uneven or poor adhesion.
- Matching the tile with the wrong adhesive, resulting in poor bonding and tiles loosening.
- Failure to plan tile layout, leading to misaligned grout lines or awkward edge cuts.
- Inconsistent spacing between tile joints that ruins symmetry and impacts aesthetics.
- Rushing and filling the tile joints with grout before the adhesive has fully dried and cured.
- Neglecting to seal natural stone tiles such as marble or cement-based grout when required.
Conclusion
There you have it: simple steps for learning how to lay tile. Good tiling requires the right tools, ensuring the substrate is level, clean, and free of defects, planning the layout, and properly applying adhesive and grout. Getting it right the first time around helps avoid costly mistakes and structural issues further down the line.