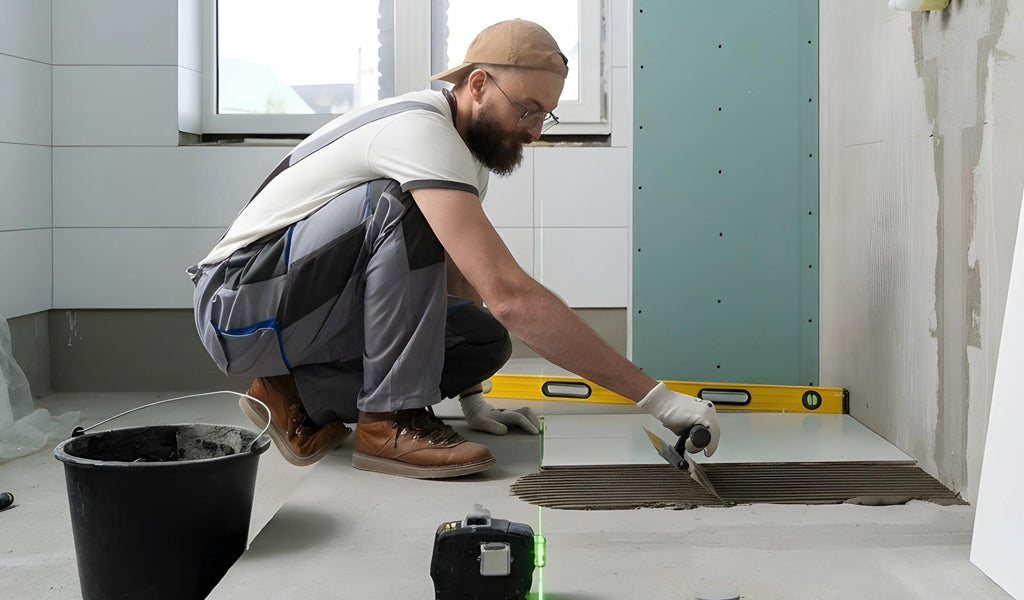


How to Choose the Right Trowel for Any Tile
Aug 05, 2026 11 minute readChoosing the right trowel size for tile isn't just a minor detail; it's one of the most critical decisions you'll make. The size and shape of the tool directly affect how much adhesive is applied, which in turn determines how well your tiles bond to the substrate. Use the wrong trowel, and you risk poor adhesion, hollow spots, cracked tiles, or even complete installation failure.
At its core, a tile trowel is designed to create consistent ridges of adhesive. When you press a tile into these ridges, they collapse and spread evenly across the back of the material, ensuring proper and adequate coverage. Industry standards typically recommend at least 90–95% mortar coverage, especially for high-traffic floors and wet areas, to ensure durability and water resistance.
But here's where it gets tricky: there's no one-size-fits-all trowel. The right choice depends on several factors, including tile size, thickness, and back texture, as well as the condition of the substrate. This guide breaks down everything you need to know about trowel size for tile, so you have the right tools in hand every time you take on a tiling project.
Key Takeaways
- The bigger the tile, the bigger the notch. Larger tiles need more adhesive to ensure full contact, so deeper, wider notches are the ideal choice.
- The right trowel isn't just about size. It's about how well it works with the tile, adhesive, and subfloor to achieve full, even coverage.
Before diving into the details, here's a quick reference tile trowel size chart to give you a solid starting point when selecting your tools:
| Tile Size | Recommended Trowel Notch |
|---|---|
| Mosaic (≤2") | 1/16" x 1/16" or 3/16" V-notch |
| Small Wall Tile (1"–6") | 1/8" x 1/8" or 1/4" x 1/4" |
| Medium Tile (6"–15") | 1/4" x 1/4" or 1/4" x 3/8" |
| Large Tile (15"–24") | 1/2" x 1/2" or 1/2" x 3/8" |
| Extra-Large (24"+) | 1/2" x 1/2" or larger |
How Tile Size Impacts the Trowel You Should Use
Tile size is the most important factor when choosing a trowel. From the tile trowel size chart above, we can conclude that larger tiles require a thicker bed of adhesive, which means larger notches. So why does size matter?

Tiles are rarely perfectly flat. Larger format tile, particularly porcelain or marble, often has a slight curvature called "warpage" or "crowning". A larger trowel notch helps compensate for this by applying more adhesive underneath. If you use a small trowel on bigger tiles, you'll end up with pool coverage, hollow spots, or increased risk of cracking. On the flip side, using a large trowel on small tiles can waste adhesive, cause the tiling material to sink unevenly, or create messy joints. To sum up:
- Small-format tiles require less mortar because they conform easily to the surface. This means a smaller trowel size for floor tile (1/8-inch to 1/4-inch) can be used to apply adhesive.
- Large-format tiles require more mortar to bridge gaps and ensure full contact. A bigger notched trowel size (3/8-inch to 1/2-inch) is recommended for applying adhesive.
Recommended Trowel Sizes for Small, Medium, and Large Tiles

To understand what size trowel for tile is appropriate, let's break it down into practical categories you'll encounter in real projects.
Small Tiles
Small format tiles that measure up to 6" don't require much adhesive. In fact, too much can cause them to shift or create uneven grout lines. For this reason, the recommended trowel size for tile is 1/16" to 1/4" notch (V or square).
Medium Tiles
This is the most common tile category, with sizes ranging from 8" to 15". A moderate notch size of 1/4" x 1/4" or 1/4" x 3/8" ensures enough adhesive for a strong bond without over-application.
Large Tiles
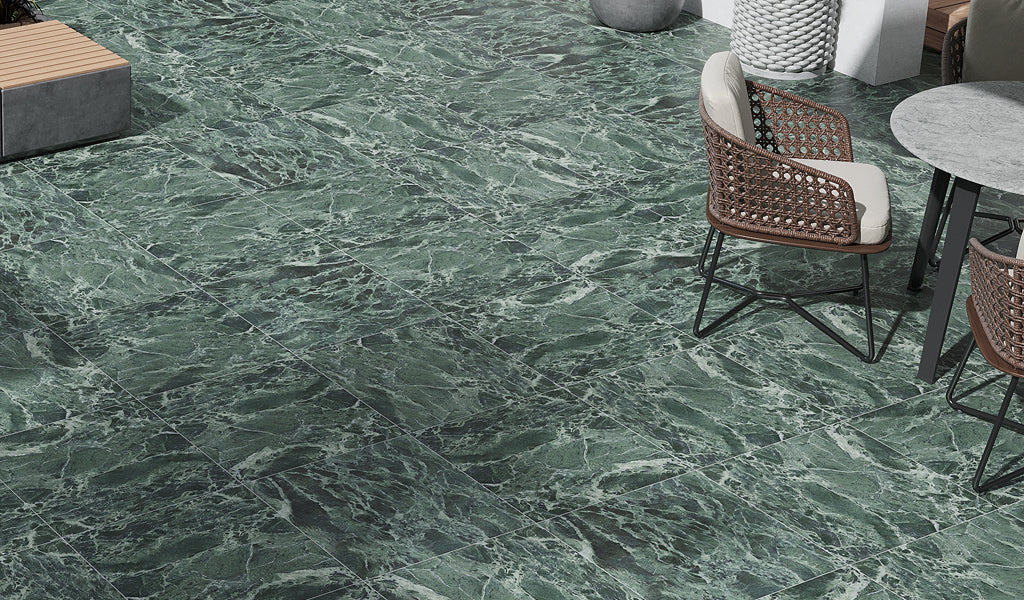
Bigger tiles measuring 15" to 24" and above, such as our White Beige 24x48 Matte Fluted grooved Porcelain Large Tile, demand more adhesive to ensure proper coverage and prevent voids. The recommended trowel size is 1/2" x 1/2" or larger.
Pro Tip: Many installers use back-buttering (applying adhesive to the back of the tile) for large-format tiles to ensure full contact. This technique helps eliminate voids beneath the tile, improving bond strength and reducing the risk of cracks or adhesive failure over time.
How Tile Thickness and Surface Texture Affect Trowel Size

Tile size isn't the only factor; thickness and texture also play a major role. Thicker tiles require more mortar to support their weight and ensure proper bonding. The trowel size for floor tile with a thickness of 10mm to 20mm should have larger notches for adequate support. In comparison, lightweight tiles with a thickness of 3mm to 6mm can use smaller notches.
When it comes to installation, surface texture, both on the back of the tile and the substrate you're bonding to, is often overlooked, but it plays a crucial role in determining what size trowel for tile is correct. Even if you've chosen the right notch size based on tile dimensions, ignoring texture can lead to poor adhesion, voids, and installation failures over time.
Smooth-Backed Tiles
Tiling material with smooth backs, such as glass or ceramic wall tile, requires less mortar because there are no grooves to fill. A smaller notch size usually works well, preventing excess adhesive from squeezing into the grout lines.
Textured-backed Tiles
Some tiles, especially large-format porcelain, have deep ridges, waffle patterns, or "lug backs". What size trowel for porcelain tile in this case? For excellent installation, you'll need a larger trowel to ensure the mortar fills those voids.
Choosing the Right Trowel for Floors vs Walls


Floors and walls behave very differently under load and environmental stress, meaning the trowel size for tile needs to adapt accordingly. Understanding these differences will help you avoid common issues such as tile sagging on walls, hollow spots in floors, or long-term failures due to poor coverage.
1. Trowel Size for Floor Tile Installations
Floor tiles, such as our Natural Wood 10x60 Matte Plank Porcelain Large Tile, demand high adhesive coverage, typically around 95% or more, especially in high-traffic or wet areas like kitchens, bathrooms, and entryways. Here's what you should keep top of mind when choosing a trowel size for floor tile:
- Tiles must be fully supported to prevent cracking
- Voids (empty spaces under tiles) can lead to breakage under pressure
- Uneven subfloors often require more adhesive to compensate
Typical trowel size for floor tile:
- Small tiles (≤6") → 1/4" x 1/4" notch
- Medium tiles (6"–15") → 1/4" x 3/8" notch
- Large-format tiles (15"+) → 1/2" x 1/2" or larger
2. Trowel Size for Wall Tile Installations
Walls are a different challenge. Instead of supporting weight from above, they must prevent tiles from sliding down before the adhesive sets. Here's why wall tile requires smaller trowels:
- Too much mortar increases the risk of tile sagging
- Gravity can pull tiles out of alignment
- Vertical installations require better control
Typical trowel size for wall tile:
- Mosaics and small tiles → 1/8" x 1/8" or V-notch
- Standard wall tiles (4"–12") → 1/4" x 1/4"
- Large wall tiles → 1/4" x 3/8" or 1/2" x 1/2" (with adjustments)
How Subfloor Conditions Influence Trowel Size Selection

Even with the perfect tile and an appropriate trowel size based only on dimensions, installation can still fail if the substrate isn't properly prepared. Surface flatness and stability influence how adhesive behaves and how effectively tile bonds. Below is how these factors affect trowel size selection and how to adjust your approach for the best results.
1. Substrate Flatness & Evenness
Flatness is the most important factor. Tiling material, be it bathroom or kitchen tile, needs a level surface to sit evenly and achieve full contact with the adhesive. If the subfloor has dips or high spots, the adhesive layer becomes inconsistent. In minor cases, you might use a slightly larger trowel to compensate. But for significant unevenness, increasing trowel size for tile is not the solution; surface leveling is.
Using a larger trowel size for floor tile on an uneven surface can create more issues. It can lead to excess adhesive buildup, uneven tile heights, and poor bonding. The better approach is to correct the surface first using leveling compounds, patching materials, or grinding techniques.
2. Substrate Material Type
The type of subfloor also plays a role. Concrete can be rough or uneven, while cement backer board is usually more consistent and predictable. Plywood subfloors may have slight flex, which makes full mortar coverage even more critical. Each material interacts with mortar differently, influencing how much adhesive is needed.
3. Structural Stability and Movement
Structural stability is just as important as surface condition. If a subfloor flexes or moves, tiles are more likely to crack. A larger trowel size for tile can help ensure full coverage and better load distribution, but it won't fix structural issues. Reinforcement or proper underlayment may still be necessary.
Pro Tips to Match the Right Trowel with Any Tile Project

These pro tips will help you consistently match the right trowel to your tile project and avoid common pitfalls.
Start with a Recommendation, Then Verify
When choosing the right tool, think beyond the tile trowel size chart. Begin with the recommended trowel, then test it in real conditions. Adjust size based on the tiling material, environmental conditions, and adhesive type.
Prioritize Coverage Over Trowel Size
The goal isn't to use a specific trowel; it's to achieve proper adhesive coverage. For most projects, that means at least 90% coverage, and closer to 95% for floors and wet areas.
Use the Right Notch Shape for the Job
Not all trowels are the same. The shape of the notch affects how mortar spreads and how easily ridges collapse. Three types you should be aware of include:
-
Square-notch trowels are the most common and work well for most tile sizes.
-
U-notch trowels provide slightly more mortar and are often preferred for larger tiles.
-
V-notch trowels are ideal for small tiles, where too much mortar can cause issues.
Match Adhesive Type to Tile and Trowel
Different adhesives behave differently. Standard thinset works for many applications, but larger or heavier outdoor tile often requires specialized products.
Keep Multiple Trowels Available
Professional installers rarely rely on a single trowel size for tile. Having multiple sizes on hand allows you to adjust quickly if conditions change. For example, you might start with a 1/4" x 3/8" trowel, but switch to a 1/2" x 1/2" if coverage isn't sufficient.
Conclusion
Choosing the right trowel size for tile ultimately comes down to achieving consistent, full adhesive coverage while adapting to your project's unique conditions. Tile size and thickness, substrate condition, and whether you're working on floors or walls all play a role, but no chart can replace hands-on testing and proper technique. Whether you're a DIYer or a professional, taking the time to match the right trowel to the job is what transforms a basic tile installation into a durable, high-quality finish.
Find more in-depth advice on different types and sizes of tile spacers to help boost your tiling knowledge.