How to Measure and Plan Your Kitchen Backsplash
Aug 14, 2025
Tiling the backsplash is one of the most rewarding kitchen upgrades any confident DIYer can tackle. Whether you’re starting from scratch or working with an existing area, the results are sure to give your culinary space a stylish and functional transformation. After all, backsplash tile does more than just look good. Its main job is to protect the wall from splashes and spills caused by overzealous cooking. So, before diving into tile shopping, the important question to ask: how to measure for backsplash?
Key Takeaways
-
Careful measuring is crucial for a smooth installation process and project timeline.
-
Adding at least 10% extra product will cater to cuts, mistakes, and future repairs.
-
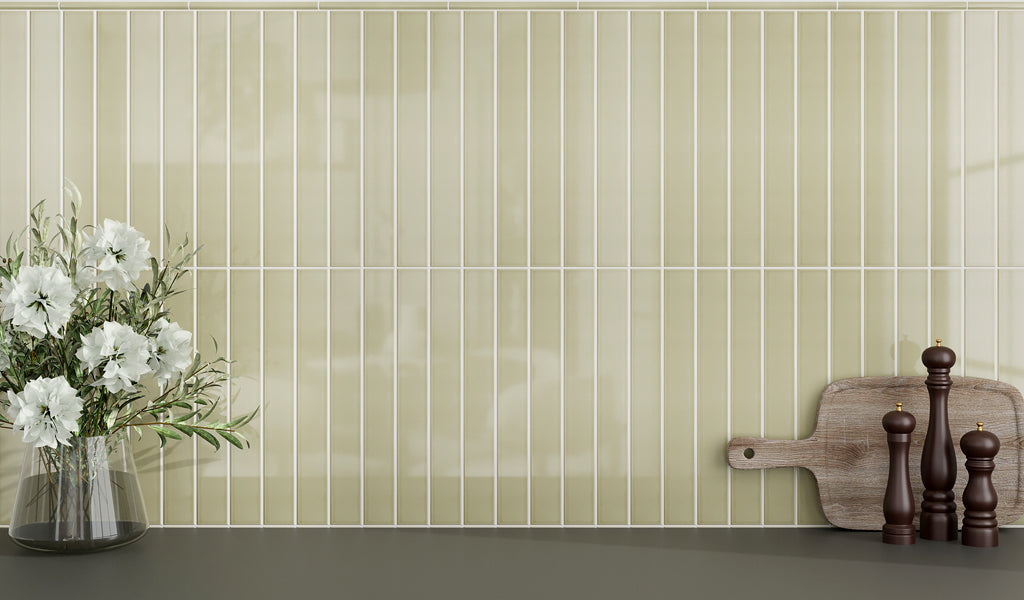
Extending the backsplash higher offers plenty of aesthetic and practical benefits. It ultimately depends on your style preferences and the backsplash layout.
-
Pre-planning tile layout helps with the overall measurements and determining the amount of material needed.
In this guide, we will look at the simple steps for measuring a backsplash and calculate how much tile you will need. By the end, you should know what tools to use and the best techniques to get precise numbers so you can avoid common pitfalls, stay within budget, and ensure the outcome is exactly how you envisioned.
Why Accurate Measurement Is Essential for a Kitchen Backsplash

When buying material from our online tile store, it’s important to have accurate measurements for a successful backsplash installation. Even a small miscalculation—like underestimating by a few extra inches or missing a corner—can frustrate and lead to:
- Shortage of tiles and interruptions to the project timeline.
- Added costs due to over-purchasing or last-minute ordering.
- Complicated visual alignment that throws off your design layout.
- Visible gaps or mismatched edges once the installation is completed.
With the right numbers in hand, you can shop for tiles confidently, avoid unexpected hiccups during the application phase, and ensure the finished backsplash is what you desire for your kitchen.
Tools and Techniques for Measuring a Kitchen Backsplash

As you go through this guide on how to measure for backsplash, it’s important not to overlook each step. First up: gathering all the essential tools to calculate the size of the area to be tiled. You will need:
| Tools | Purpose |
|---|---|
| Measuring tape | To accurately measure kitchen backsplash height and width |
| Pencil and notepad | To record the measurements as you go |
| Level | To check for an uneven surface and ensure lines are straight |
| Calculator | To calculate the area once you’ve measured the height and width |
Technique tips to get it right the first time:
1. Break measurements in sections: Does your backsplash run across multiple walls? No worries! Break into manageable rectangular or square sections and measure each individually to make the process less overwhelming.
2. Measure twice for accuracy: Always double-check those numbers to catch errors. Future-you will thank you once the installation is underway.
3. Watch out for obstacles: Outlets, windows, cabinets, or vents should be marked for accurate tile planning.
How to Calculate Square Footage for a Kitchen Backsplash
Once you’ve gathered all the tools needed, the next step: how to calculate square footage for backsplash. You will need a tape measure and a notepad to jot down the numbers:
Multiply the height by the width in inches, then divide by 144 to get the total square footage of your backsplash.
Height (in inches) × Width (in inches) ÷ 144 = Square Feet
Example:
Let’s imagine that the backsplash has a height of 18 inches and a width of 120 inches:
18” x 120” = 2160 square inches
Convert to square feet:
2160 ÷ 144 = 15 square feet
Pro Tip: To calculate square footage for an uneven or angled backsplash, repeat this process for each section and add them together before dividing by 144. As with any project, it is always a good idea to order more tile than you think you will need. This way, you will have extras in case of breakage or mistakes. We advise ordering 10-15% more than your total square footage to account for the overage.
Why Accurate Measurement Is Essential for a Kitchen Backsplash


The standard height of the kitchen backsplash can vary based on aesthetic preference and cabinetry layout. Nonetheless, there are a few common standards that can help you decide what works best for your space:
- 4 inches for minimal coverage—common in traditional kitchen settings to fit standard-sized tiles with minimal cutting, such as 3x6 subway tile.
- 15 to 18 inches tends to be the recommended height by industry professionals and is the most popular. It runs up the wall from the countertop to the upper cabinets, offering maximum wall protection.
- Some homeowners choose a full-height backsplash that can extend up to 30 to 36 inches or even to the ceiling for a dramatic statement.
Thinking about going higher with your backsplash? Here’s why it’s a fantastic idea:
- A taller backsplash is excellent for busy households. More covered surface means greater protection against daily splashes and splatters.
- Going full-height results in a bolder, more dramatic style statement. This approach is brilliant if you want the backsplash to take the leading role by showing off a striking pattern or color.
- Kitchen tile that runs the wall from the countertops all the way to the ceiling gives the space a clean, well-appointed look. This is especially true with large formats, where fewer grout lines mean less visual interruption.
- Why play it safe? A higher tiled backsplash breaks away from the ordinary and will give your culinary space a custom, designer feel that reflects your distinctive taste.
- Lastly, a tall backsplash means fewer exposed painted walls that can get messy while cooking or damaged over time. Tile, such as ceramic, porcelain, and glass, is much easier to wipe down and maintain.
How to Calculate the Number of Backsplash Tile Needed?

So, how to measure for tile backsplash? Once you’ve multiplied the length and width and divided the total by 144 to get the square footage, the next step is to divide the coverage area by the area of one tile. This calculation will determine the number of tiles you need to complete your tiling project.
Remember, tiles are sold by square foot, sheet, or box. Check product specifications for how many square feet each box or sheet of tile covers. To figure out how many boxes you will need to order, divide the total square feet (including extra for waste) by the box coverage.
Example:
If you need 20 sq ft and one box covers 10 sq ft:
Add 10% or 15% overage for waste (Multiply the total area by 1.10 (for 10%) or 1.15 (for 15%).
Total with overage = Total Area x 1.10 or 1.15
20 x 1.15 = 23 square feet
Number of Boxes = Total Area with Overage ÷ Coverage per Box
23 ÷ 10 = 2.3 → Buy 3 boxes (Rounded up to make sure you don’t run short during application)
If you're a no math whiz but still wondering “how much backsplash tile do I need?”—fret not. Online tile calculators help automate estimates so you can figure out exactly how many boxes of tiles you’ll need for your project. These tools take your measurements, that is, the kitchen backsplash height and width, and factor in extra for cuts and waste so you can plan without having to crunch the numbers yourself.
Kitchen Backsplash Layouts and How to Measure Them
When determining accurate measurements, it helps to understand the different tile orientations for a smooth and beautiful installation. Here are some popular layouts that may affect how to measure for backsplash:
1. Horizontal Offset Layout:
Also referred to as “running bond”, this laying pattern staggers each row by half the tile width, creating a brick-like look that complements classic, transitional, and modern interiors.


Measuring Tips:
- Measure the kitchen backsplash height and width as you would for any layout.
- Because tiles are staggered, expect more cuts along the edges of the backsplash.
- Add 10–15% extra tiling material to cater for these cuts.
- The offset layout is forgiving for imperfect walls, but accurate measurements are a must to avoid frustration.
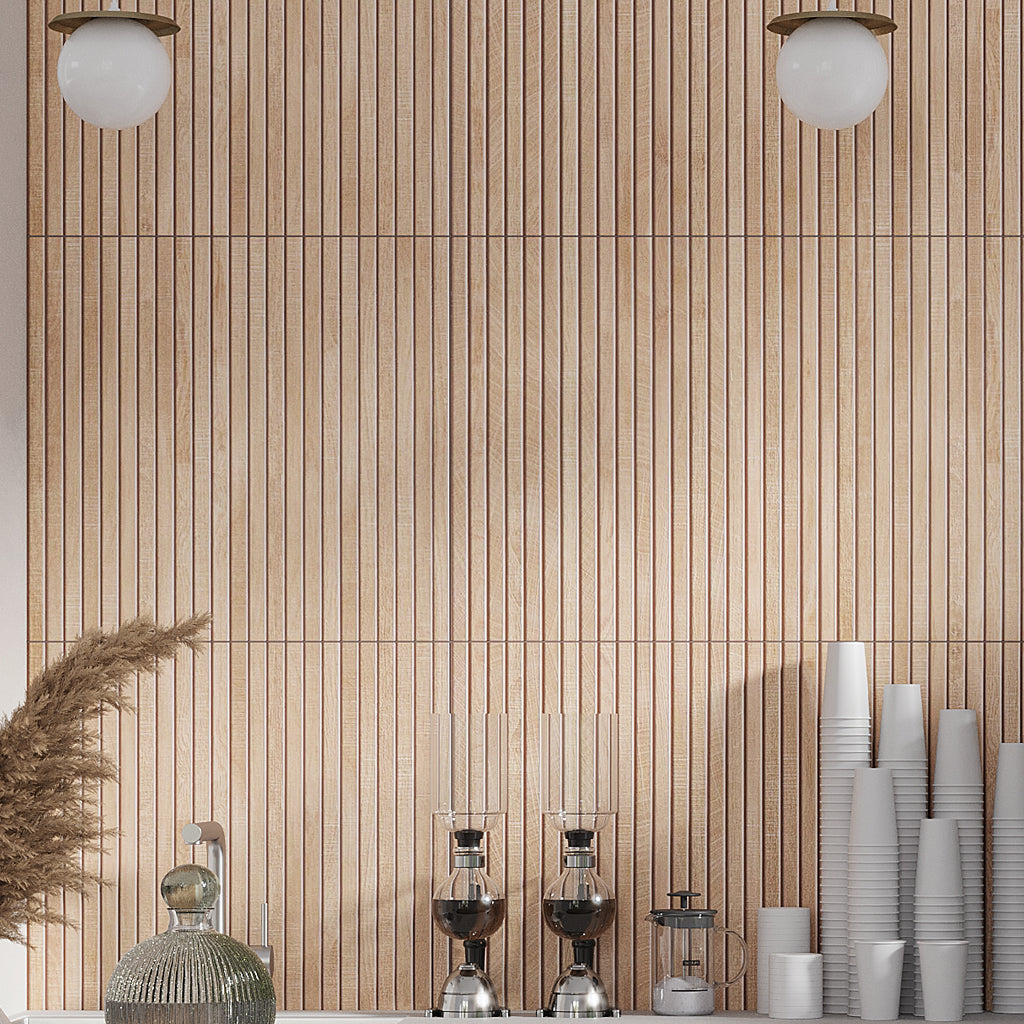
2. Vertical Stack Layout:
This layout features vertical tile stacked in straight columns instead of horizontal rows—delivering a sleek, modern look that draws the eye upward and adds a sense of height.
Measuring Tips:
- Measure backsplash height and width just as with the running bond pattern.
- Because a vertical straight stack gives an impression of taller walls, make sure the tile height corresponds to the backsplash height.
- For a clean, polished look, pay close attention to vertical cuts along edges and corners.
- Again, include 10–15% more tiling material to cover cuts and unexpected waste.
3. Herringbone Layout:
To create a herringbone layout, rectangular tiles are laid at a 90-degree angle, forming a broken zigzag pattern. The staggered effect adds textural dimension and visual rhythm to the kitchen backsplash.

Measuring Tips:
- For uneven or angled walls, measure the height and width of each section.
- The diagonal layout may result in more cuts and tile waste. This is important when figuring out “how much backsplash do I need?”
- To be safe, plan for about 15–20% extra tile to accommodate layout complexity.
- Herringbone’s intricate design requires planning and precision, so measure carefully and consult a professional tile setter if unsure.
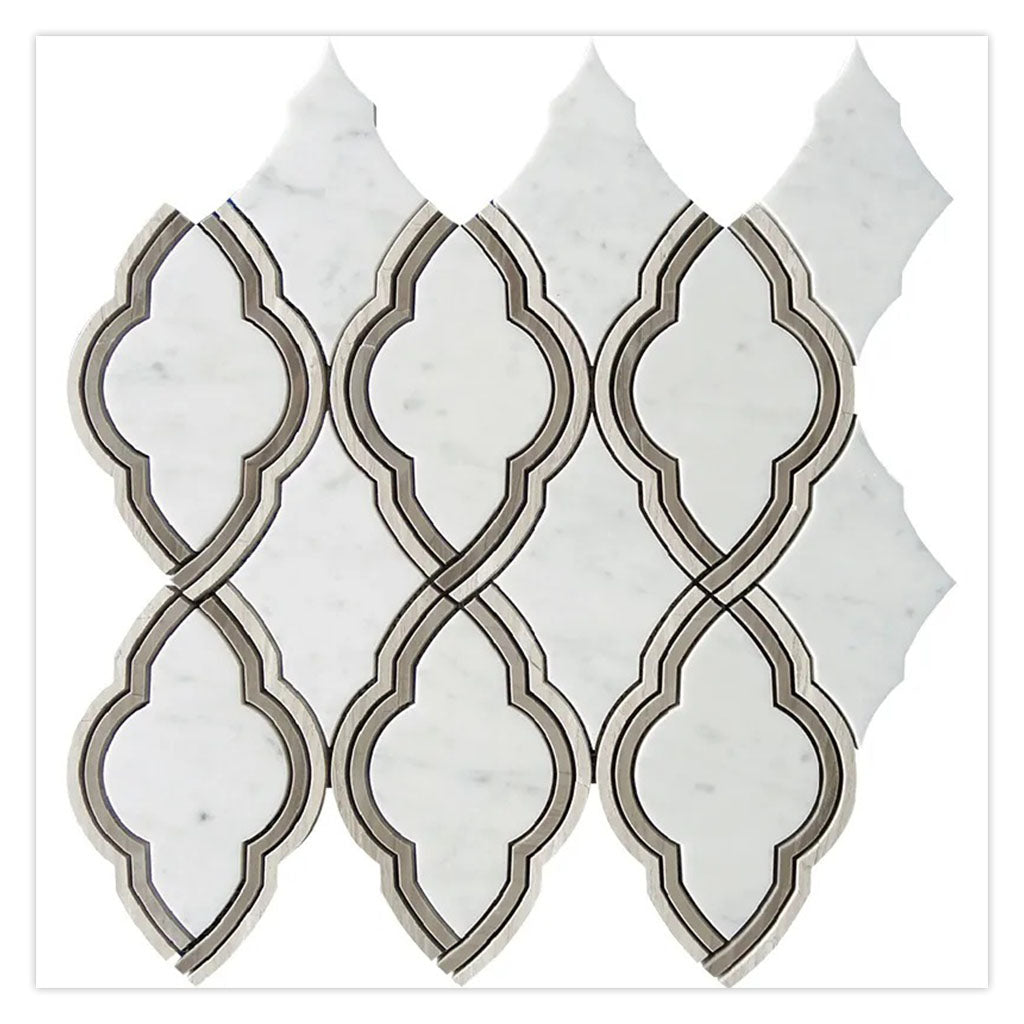
4. Mosaics or Mixed Materials:
Mosaics combine small tile chips or varying materials like glass, stone, or metal into intricate designs. A good example is Apollo Tile’s Light Gray 12x12 Polished Textured Square Glass Stone Mosaic Tile. Mesh-mounted mosaic tiles are highly customizable and decorative.


Measuring Tips:
- Measure the kitchen backsplash height and width as you normally would.
- Because mosaic tiles come with chips fixed to a mesh, check the coverage per sheet.
- With this tile style too, 10–15% extra material for cuts, pattern matching, or possible future repairs is necessary.
- Note that mixed-material mosaics can vary in thickness—measure the depth as well if you need a flush finish.
Common Mistakes to Avoid When Measuring Your Kitchen Backsplash
Inaccurate measurements can disrupt your planned installation and deviate from the intended design. Below is a helpful list of common missteps to avoid so your project stays on track and stress-free:
1. Not Investing in Extra Tiles: As mentioned earlier, it’s always a good move to add 10–15% more product when tiling the backsplash. Tiles break, cuts go wrong, styles get discontinued, and you just might need to make future repairs, so extra material will have you covered in any case.
2 . Forgetting to Account for Outlets: It’s not uncommon to have placed outlets and fixtures on the backsplash, and these reduce the actual tile surface. Measuring and not subtracting the space these obstacles occupy can lead to overestimating the tile you need.
3. Not Factoring in Grout Spacing: A common mistake when learning how to measure for tile backsplash is not accounting for grout spacing. Failure to factor in the width of grout lines—typically between 1/16" to 1/8"—can lead to errors and throw off your tile count and layout.
4. Assuming Walls Are Straight & Level: This is where a level comes in handy when measuring for backsplash tile. Most walls have slight irregularities, and not paying close attention to curves, bumps, or angles can lead to uneven tile placement. To avoid this, be sure to check for inconsistencies and break your measurements into smaller sections for better accuracy.
5. Failing to Plan Transitions: Overlooking how your backsplash transitions at the edges can lead to a big headache during installation. Account for edge trimming where the backsplash meets the wall, cabinet, or countertop to achieve a professional finish. The last thing you want is last-minute design decisions.
6. Measuring Just Once & Not Rounding Up: “Measure twice to confirm accuracy” should be your go-to mantra when working out how to measure for backsplash. Also, don’t forget to round up to the nearest inch to ensure you have enough tile so you don’t come up short mid-project. Like we always advise our customers: it’s better to have a little extra product.
Conclusion
If you’ve been wondering how to measure for backsplash, we hope this guide has been helpful. Planning and measuring to determine how much tile you’ll need is more than just numbers—it’s about laying the groundwork for a smooth installation, staying on budget, and ensuring the results are exactly what you envision for your space. With careful preparation, the right tools, and a bit of foresight, you'll have everything you need to turn the backsplash into a standout feature that melds form and function. Remember, it is always a smart idea to order more than you expect to use in case of breakage or mistakes.
Are you ready for a style boost and want more tips on choosing the right tile for your culinary space? Check out our blog: A No Nonsense Guide to Choose the Perfect Kitchen Backsplash.
Frequently Asked Questions:
1. How much gap should be between the countertop and backsplash?
A small gap of about 1/8” between the countertop and backsplash is necessary to serve as a waterproof seal and allow for the tile’s natural expansion and contraction. This gap should be filled with flexible caulk to better accommodate these changes without cracking.
2. Why do you divide by 144 when measuring for a backsplash?
There are 144 square inches in one square foot. By dividing the area (width x height) by 144, you effectively convert square inches to square feet.
3. Which way is the width and height of the kitchen backsplash?
The width of the backsplash is the horizontal measurement, while the height of the backsplash is the vertical measurement.
4. Do I need to include grout lines in my measurements?
For an accurate fit and to determine the number of tiles you’ll need, it’s important to account for grout lines when measuring the kitchen backsplash height and width.
5. How do I measure a backsplash with uneven or angled walls?
In the case of uneven or angled walls, measure in sections and use a level to check for any discrepancies. Record the length and width of each area, round up the measurements to the nearest inch, then add all results to get the total.
6. What is the rule of thumb for designing a kitchen backsplash?
Staying within a cohesive color scheme can be an effective strategy to create a unified look. That is, the tiled backsplash should tie in with the countertop, cabinetry, and overall kitchen theme.
7. How do you choose tile size for a kitchen backsplash?
The size of the tile should reflect the size of the backsplash and kitchen. Dainty mosaics or small-format tiles are great for compact areas and can easily go over curves or uneven surfaces. Bigger tiles can work for both small and large backsplash areas, making the space feel more expansive due to fewer grout lines.
8. What backsplash tile makes a kitchen look bigger?
Light-colored, glossy, or mirrored finishes such as our Clear Silver 3x12 Polished Glass Subway Tile can help make the backsplash appear larger and brighter. Large-scale tiles with minimal grout lines also introduce a sense of space by providing a seamless finish.
9. How far up should kitchen backsplash tile go?
The kitchen backsplash height depends on your preferred style and room layout. Traditionally, a tiled backsplash runs from the countertop up to the bottom of the upper cabinets. However, it's common to extend the tile to the ceiling or around range hoods in modern kitchens. This approach creates greater visual impact and a contemporary look.
10. How do you apply grout when tiling the backsplash?
After the adhesive has dried, spread the grout with a rubber float, press it into the joints, and wipe excess with a damp sponge. Allow to dry for 24-48 hours, then buff the tiles to remove any grout haze.