

How to Replace Damaged Floor Tiles: A Step-by-Step Guide for Cracked, Broken, and Loose Tiles
Jul 06, 2026 10 minute readTile flooring makes a stunning addition to any space – able to anchor, ground, or serve as a statement-making foundation. In the rare case that you have to deal with a cracked, broken, or loose piece, perhaps due to heavy impact, old adhesive, or everyday wear and tear, you will need to know how to replace damaged floor tiles.
Damaged floor tile isn’t just a cosmetic concern; it can lead to more trouble over time if left unchecked. Even small cracks can spread and weaken the structural integrity of your entire installation, encouraging moisture and mold infiltration and harming the surface beneath.
The good news is that these defects don’t always call for a professional contractor, as they are manageable to tackle yourself without ripping out an entire floor. This comprehensive guide walks you through a step-by-step process to restore tiles to their former glory and highlights the tools and materials you’ll need for a professional-looking repair.
Key Takeaways
- Damage to flooring tile can occur gradually or appear suddenly due to impact, everyday wear and tear, or a shifting foundation.
- Ignoring signs of cracked, broken, or loose tiles can lead to more extensive repairs and even compromise the integrity of the entire installation.
Is Your Floor Tile Damaged? Signs You Shouldn't Ignore

To understand how to replace tile floor, it's essential to assess the condition and identify what damage has occurred and what needs fixing. These are telltale signs to look out for:
- Hollow Sound When Tapped: If tile feels loose underfoot, moves when stepped on, or makes a hollow sound when tapped, it's a clear sign it needs attention. This debonding happens for several reasons: aging adhesive, poor installation, environmental stress, or moisture seepage. While a single loose tile may seem a minor issue, it can quickly destabilize surrounding tiles and even damage grout.
- Visibly Cracked Tiles: Cracked tiles are another common reason to learn how to replace damaged floor tiles. Cracks occur for several reasons, including blunt force from a falling object, heavy furniture placed without protective pads, an aging concrete subfloor, or stress on improperly spaced joints that shift over time. Walking on marble or ceramic floor tile can exacerbate the issue, increasing the likelihood of additional damage and moisture that weakens the adhesive.
- Repeated Breakage or Lifting: If tiles underfoot crack or loosen repeatedly in the same spot, creating an uneven floor surface and a trip hazard, it’s far from a good look. This stems from a few issues, a major one being failing or improperly installed tiles.
- Persistent Moisture or Mold: If you notice recurring moisture, damp spots, or mold growth around tiled areas, moisture may be trapped underneath the tiles and needs to be addressed. Left untreated, it can create conditions that allow mold to spread.
- Grout Crumbles Around Tiles: Stained or crumbling grout can mean so many underlying issues: lack of expansion joints; low-quality or inadequate adhesive; shifting and moving foundation; or everyday wear and tear.
Why Does Floor Tile Crack or Break in the First Place?
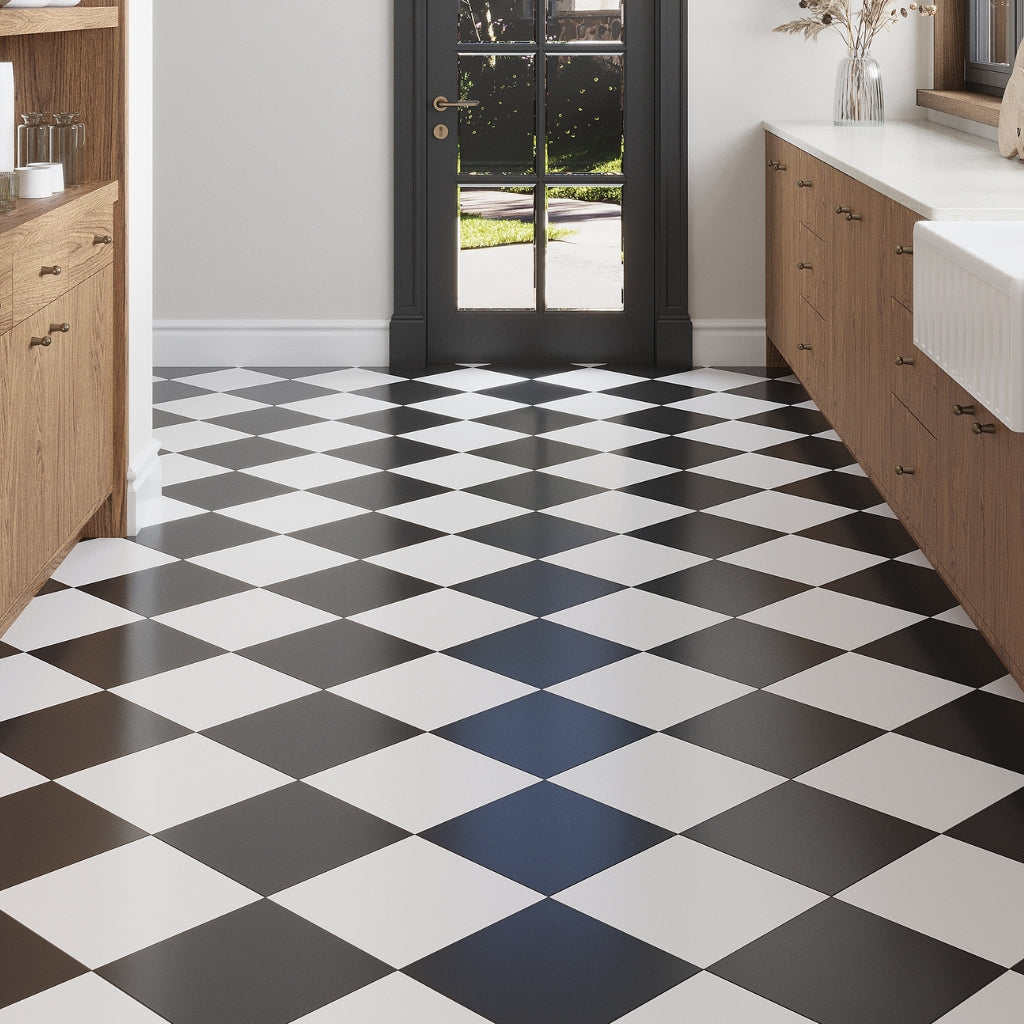

When a tiled floor goes rogue on you, cracked, loose, or broken tiles can be a nightmare! But why does damage occur in the first place? When there’s an unsightly crack in your once-pristine kitchen or living room tile, or debonding from the subfloor has turned into a norm, understanding the hows and whys first, then learning how to replace floor tile that has seen so much damage is imperative.
While tiles such as Arctic White 12x12 Matte Square Porcelain Tile are remarkably durable and hardwearing, becoming loose is not uncommon if installation wasn’t done right the first time. Poor subfloor preparation, inadequate adhesive application, insufficient curing time, lack of expansion joints, heavy or concentrated loads, and the natural effects of age and wear are some main reasons why tile flooring cracks, breaks, or lifts.
What You'll Need to Repair or Replace Damaged Floor Tile

So, how to replace damaged floor tiles? Start with the appropriate tools! To repair severely cracked, broken, or loose tiles, you’ll need:
- Safety Gear: Work gloves to shield hands and safety goggles to protect eyes.
- Chisel: To pry tile from the adhesive.
- Hammer: To fracture tiles and remove piece by piece.
- Replacement Tile: New tile from spares or the same production from the supplier.
- Adhesive and Grout: High-quality adhesive and grout that suit the material used.
- Notched Trowel: For spreading new adhesive over the subfloor.
- Rubber Mallet: To tap the new tile into the adhesive so it sits flush with the nearby tiles.
- Tile Spacers: For uniform gaps between new tile and surrounding tiles.
- Grout Float: To spread grout and fill it in between tile joints.
- Sponge and Water Bucket: For cleaning messes during removal.
Start Here: How to Safely Remove Grout Around Damaged Tile

How to remove floor tiles without damaging them? And by “them” we mean tiles surrounding the cracked or broken piece. By first removing grout, that’s how! Start by applying painter's tape along the perimeters of neighboring tiles to prevent scratches caused by flying debris.
Tool up with a grout saw or utility knife, then score the grout lines encasing the damaged tile in a slow, controlled back-and-forth motion. Work down through the grout along all sides until it crumbles and you reach the adhesive layer. Once the damaged tile is fully separated from nearby tilework, vacuum or brush away grout dust, ensuring there’s a visible gap all the way around it.
How to Remove a Broken Tile Without Damaging Nearby Tiles
Once you’ve vacuumed or brushed away grout, it’s time to apply your skills on how to remove floor tile. Use a putty knife or a similar tool to pry the tile at the edge, skillfully maneuvering on each side until it lifts.
If the tile is still bonded in some places, you may need to use a hammer to break it inward into fragments for easier removal piece by piece. Be careful not to damage any surrounding tiles. Lastly, vacuum up any debris left from removing the broken or loose tile.
Don't Skip This Step: Prepare the Surface for a Lasting Repair

Now that you’ve reached the subfloor, it’s time to give it the attention it needs. Your goal is to remove any old adhesive, and to do so, you’ll need a putty knife or flat-blade screwdriver to scrape away any residue. Next, soak your sponge in warm water and mild detergent and wring it out so it’s damp. Wipe the subfloor clean and allow it to dry out completely.
Before moving forward with reinstallation, inspect the subfloor for cracks, unevenness, or damp spots. If the surface shows signs of damage, it calls for repair.
If the damaged tile is part of a waterproof installation such as a shower floor tile, be cautious not to disturb the membrane beneath.
Finish the Repair with Grout and Keep Future Tile from Damage

- The next step is reinstallation. Use a notched trowel to spread the adhesive evenly over the subfloor. We advise back-buttering tile for a strong bond, especially if replacing large format tile.
- Set the tile in place and gently tap it with a rubber mallet into the adhesive until it sits flush with nearby tiles. Make use of spacers to achieve uniform joints around the new tile.
- Allow the adhesive to attach to the subfloor and cure based on the manufacturer's recommendations, typically 24 to 48 hours.
- For the final installation step, use a grout float to spread grout over the tile’s surface, working it into the joints until they are evenly filled.
- Allow the grout about 10-15 minutes to harden, then wipe excess from the tile surface with a damp sponge. Make sure not to pull the grout out of the seams as you wipe.
- Avoid pets or walking on the replaced tile until grout cures according to the manufacturer's instructions, typically 24 hours.
- Now that the grout has fully cured, seal grout lines to create a protective layer that repels moisture and stains. This is a crucial step for cement-based grout, especially when replacing kitchen or bathroom floor tile where exposure to water is a concern.
Conclusion
There you have it, a step-by-step guide on how to replace damaged floor tiles. With careful preparation, the right tools, and a little patience, you can give a precarious tile a new lease on life and restore the integrity of your installation. If you want more expert DIY tips, check out our blog on how to fix chipped tile. Armed with the right knowledge, it’s possible to keep your tilework in tip-top shape without the expense of replacing the entire floor.
Frequently Asked Questions
1. Can I replace a single damaged floor tile without replacing the entire floor?
2. What is the easiest way to remove a cracked floor tile?
3. Why do floor tiles crack after installation?
4. Can I replace a floor tile if I do not have extra matching tiles?
5. What type of adhesive should I use for replacement floor tiles?
Use an adhesive suitable for the tile and subfloor. For ceramic and porcelain floor tile, a high-quality thin-set mortar is a recommended choice for a strong, durable, and long-lasting bond.