Cracked Tile? Here’s How to Fix It Quickly Without Replacement
Mar 27, 2026 8 minute readA cracked tile attracts negative attention, causing quality tilework to look dated and poorly maintained. Cracks can appear on tiled floors, backsplashes, or walls, but this doesn’t always call for a full tile replacement. They can be fixed to bring the installation back to its former glory.
Noticed a small crack or chip? Fixing it early can save you the cost and hassle of replacing the entire wall or floor tile installation. In this guide, we’ll explore how to fix cracked tile and maintain a good look.
Key Takeaways
- Most cracked tiles can be easily repaired without having to replace the entire tile installation.
- Color matching, filling, and sealing can help restore the tile to its original condition.

Tools and Materials for Effective Tile Crack Repair
- Tile repair epoxy or crack filler
- Putty knife or plastic scraper
- Fine-grit sandpaper (400–600 grit)
- Tile cleaner or rubbing alcohol
- Painter’s tape
- Microfiber cloth or sponge
- Small brush
- Tile sealer
- Safety gloves
- Safety goggles
- Dust mask
Cost Considerations: How Much You’ll Spend to Repair a Cracked Tile
Learning how to repair cracked floor tile doesn’t have to break the bank. This technique proves to be a lot cheaper compared to replacing the entire installation. The amount spent depends on whether you’re doing it yourself or hiring a professional for the task. Below are estimated costs:

DIY Repair Costs
If you are planning to do the tile crack repair on your own, the cost is generally within an affordable range, depending on the materials used. The cost of an epoxy kit, which is generally used for the repair, ranges from $10 to $30.
The cost of tile adhesive, which is used for replacing the tiles, ranges from $5 to $15 per tube. Grout is $5 to $15 per bag or tube. As for the tools, depending on whether you have the basic tools such as a putty knife, sponge, and gloves at home, they can total upto $20. In general, fixing tile on your own ranges from $10 to $80.
For further information on the cost involved in the process, you can check our blog, Tile Installation Cost: Budgeting Smart for Your Project.
Professional Repair Cost
The advantage of hiring a professional is that a cracked tile repair is done effectively, especially for intricate designs.
The advantage of hiring a professional is that a cracked tile repair is done effectively:
-
Labor: Professionals charge between $50 and $150 per hour. Most repairs take between 1 and 2 hours.
-
Materials: Most professionals include materials in their service, but may charge for special materials like epoxy or adhesives.
- Estimated professional cost: Hiring a professional ranges from $70 to $200, depending on the intricacy of the repair work. Fixing intricate designs, natural stone, or large format tile requires more care and precision, thereby making the repair more costly.
Factors That Affect Cost
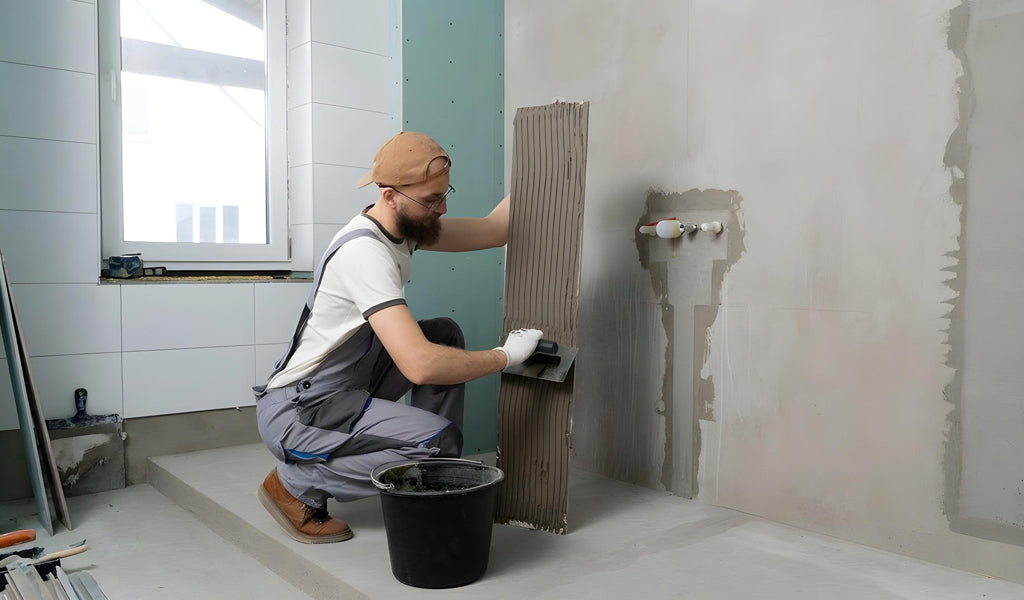
Several factors can influence your overall cost. Tile material matters, with porcelain and marble usually costing more. The location of the damage can increase the cost, especially if it is a difficult area to get to, such as a backsplash tile installation or under cabinets. The extent of the damage influences the total cost, as a small crack will be less expensive to fix than a full tile replacement. The total price may also be influenced if the replacement tile is hard to find.
How to Match Color and Texture While Fixing Cracked Tiles?


Matching color and texture in fixing cracked tiles can seem challenging, but it can be done. Here’s how:
1. Identify the Tile Type
It is essential to know what type of tiles you have, because each has different characteristics in how it would react to any given type of repair compound.
2. Choose the Right Filler:
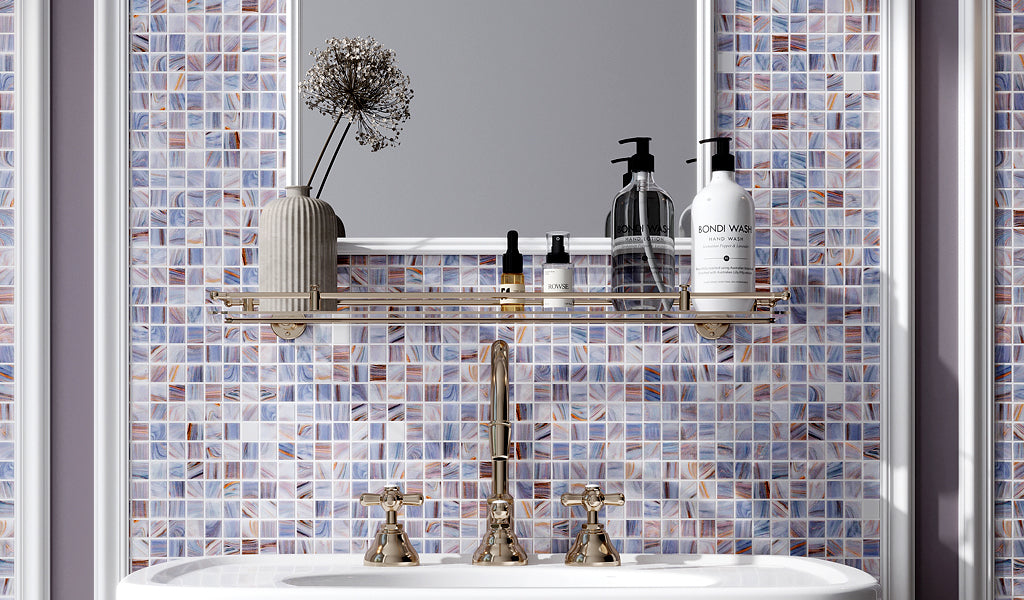
Epoxy or Resin-Based Fillers: These are best used for ceramic or porcelain surfaces, especially if you can mix your own colors to match the existing finish. This works for repairing chips or hairline cracks on tiles like our Light Tea Green 2.5x8 Glossy Matte Subway Ceramic Tile. This is commonly used for kitchen backsplashes or accent walls. The application of a color-matched epoxy filler is best used when you repair cracked tile, ensuring that it blends well with the rest of the surface without having to replace it.
Grout Color Matching: You should choose a color that matches the existing grout color. This makes the repaired area less visible, allowing it to blend in with the existing surface.
- Color-Matched Repair Kits: These kits are found in most hardware stores. They are designed to match common tile colors. They usually contain fillers or an epoxy that can be colored to match the existing surface.
3. Matching the Texture
To make the repair less visible, match the tile’s texture as closely as possible. For smooth tiles, sand the repaired area once it is dry. For matte or textured tile, use a sponge or brush while the filler is still wet before it hardens.
4. Mixing Colors Properly
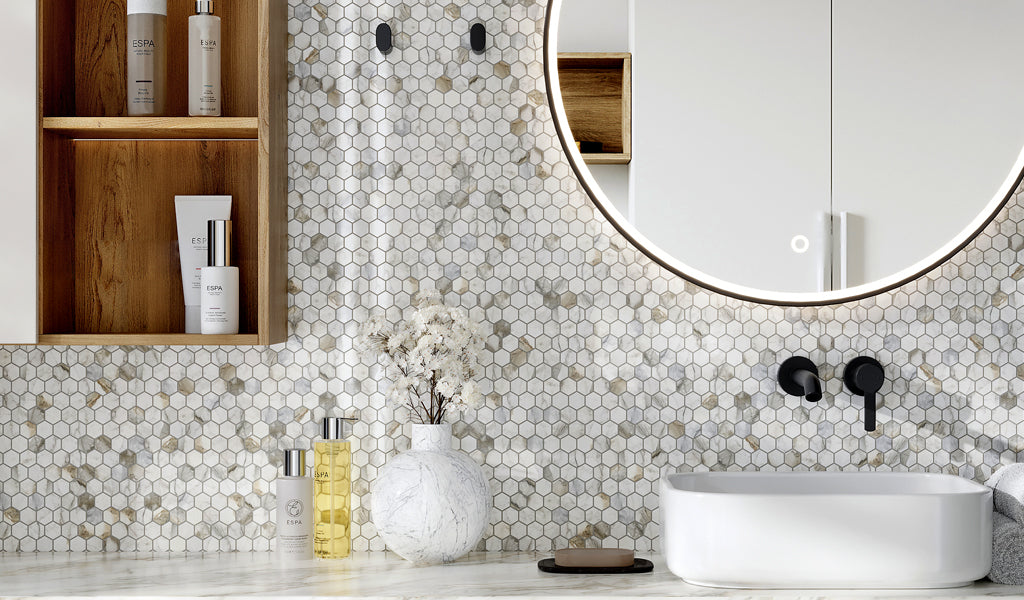
To do this properly, mix the paint or epoxy filler gradually with the base color until it is almost similar to your tile. Take your time in getting the right color, as it is the key to making your repair look perfectly blended. For stone or textured tiles, like our Cream Soft Earthy 12x12 Foiled Texture Square Stone Mosaic Tile, apply many coats of paint in thin layers. This makes the designs on the surface of the tiles well replicated.
5. Finishing and Applying a Sealant
After learning how to fix cracked tile, the final step is sealing it. After the color and texture match the surrounding surface, it is ready to be sealed. For a bathroom tile crack repair, the tile needs to be dry and moisture-free before sealing. For polished ceramic tiles, a light buff gives them a shiny look, enabling them to blend in perfectly with the rest of the surface.
 Tips for Long-Lasting Tile Crack Repairs
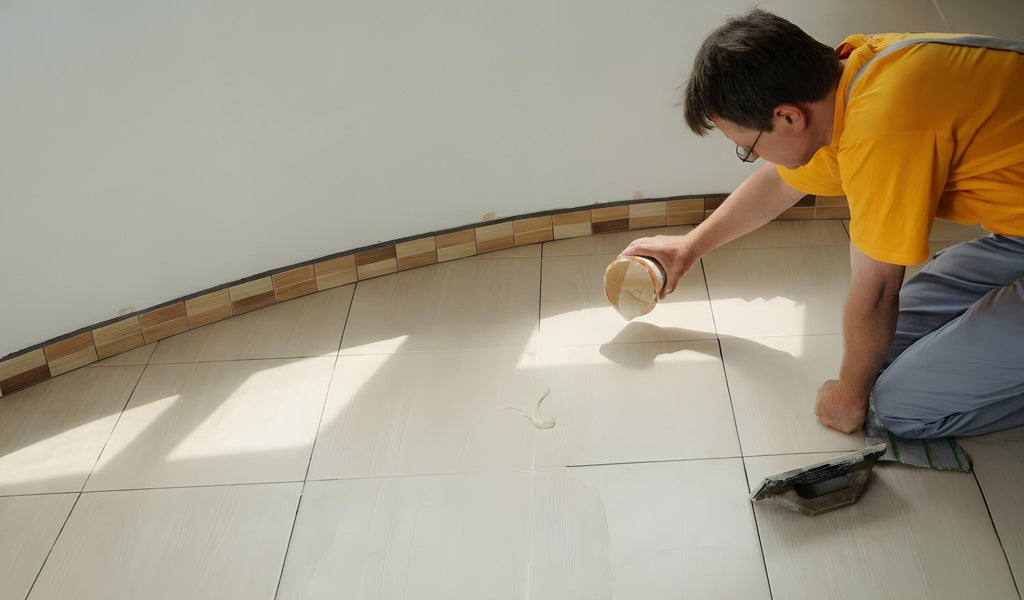
For long-lasting results, start by cleaning and preparing the cracked area to remove any dirt, grease, or old grout so the filler bonds properly. Use high-quality resin to ensure the tile is strong. Fill the crack with the resin, being careful to smooth it so that it does not leave any air pockets. Once dry, apply a sealer to protect against moisture and stains. To prevent further damage, keep heavy objects off the tile and check the area occasionally for signs of wear so you can make small touch-ups when needed.
Proactive Measures to Prevent Future Tile Cracks
Even though tile cracks are a nuisance, there are measures that need to be taken to avoid tile cracks.
Preparation of the Surface
The surface should be clean, dry, level, and stable before the tile is placed. This ensures there are no uneven and unstable surfaces, which are major causes of tile cracks.
Choosing the Correct Tile Adhesive
The right tile adhesive keeps tiles well fixed to the surface beneath, preventing any movements or structural issues that may cause cracks and damage.
Expansion and Contraction
Tiles tend to expand and contract due to temperature changes. It is important that there is space around the tiles and that there are expansion joints on the tiles.
Protection from Heavy Impacts
Protect tiles from falling heavy objects and avoid placing items that may scratch and damage the tile surface.
Maintenance of the Tiles
The tiles should be well-maintained so that there are no issues identified at an early stage before the cracks develop.
Conclusion
Learning how to fix cracked tile does not always require replacing the tile completely. With the right tools and easy repair procedures, tiles can be easily fixed. By preparing the surface, filling the cracks, and sealing, you can restore your tilework to a well-maintained appearance while protecting them from further damage. This protects tiles and also saves time and money.